-
Legacy Member

Rust Bluing
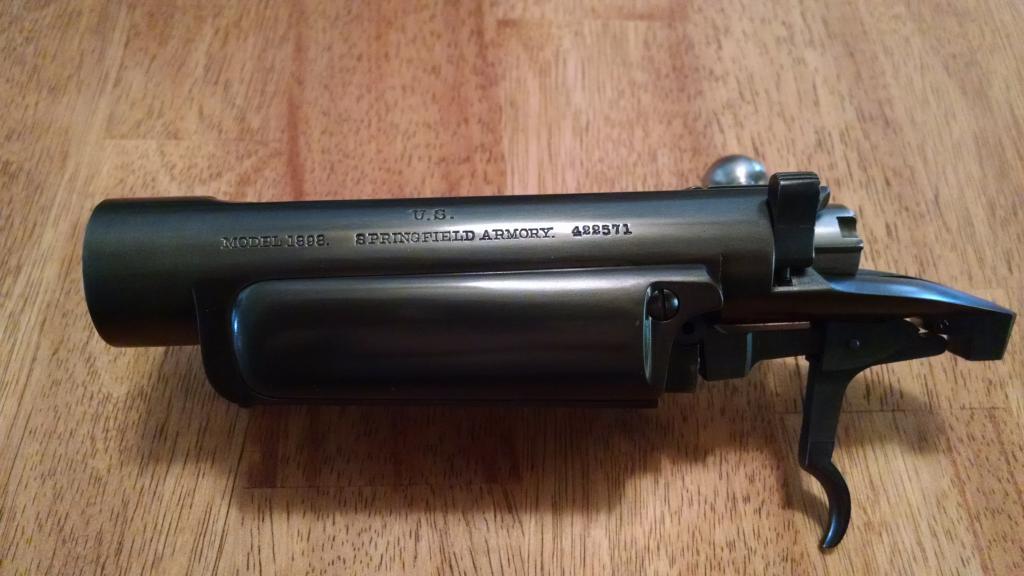
One of my back burner projects has been a 1898 Krag I bought at a gun show about 8 years ago. As far as Krags go, it was in pretty decent shape, but it had been Bubba'ed with the stock cut down and the barrel was pitted inside and out. It's been sitting in the back of the safe since then, and I decided that since Criterion is making exact repro barrels for both rifle and carbine, I'd start doing research on getting things lined up to start on it.
Up until WWI, firearms were finished with a controlled rusting process to both protect the steel, and provide an attractive finish. Originally, the process was called "browning" in the flint lock days because the color produced was rust brown. By the mid 1800's, it was discovered that chemical additions to the solution would produce an attractive rich blue color and that became fashionable and eventually standard. Strangely, the process was still referred to as "browning", "bluing" not coming into use until later.
Anyway, the original finish on the various Krag parts except the barrel, butt plate and hinge bar was a by product of their individual manufacturing processes and not a "finish" in the sense of a protective coating for the metal. These held up poorly in the field, and most Krags encountered today were refinished during overhaul at one of the Gov't arsenals. The barrel, butt plate and hinge bar were originally rust blued, and this was the process used during overhaul on all the metal parts that were originally just case hardened and quenched in oil. . Hot bluing as we know it today did not come into use until the 30's, so this was pretty much the only technology available at the turn of the century.
Like most things from that era, it was low tech, high quality, but too labor intensive for mass production today. However, for the hobbyist, it will produce a blued finish superior in appearance and durability to hot blue.
I chose to use rust blue in this instance for a couple of reasons.
Nostalgia. It was the original type of blue used on the Krag. It will "look right".
Economy. I can do it myself and save some $$$.
Satisfaction. I like making a silk purse out of a sows ear.
The Readers Digest instructions:
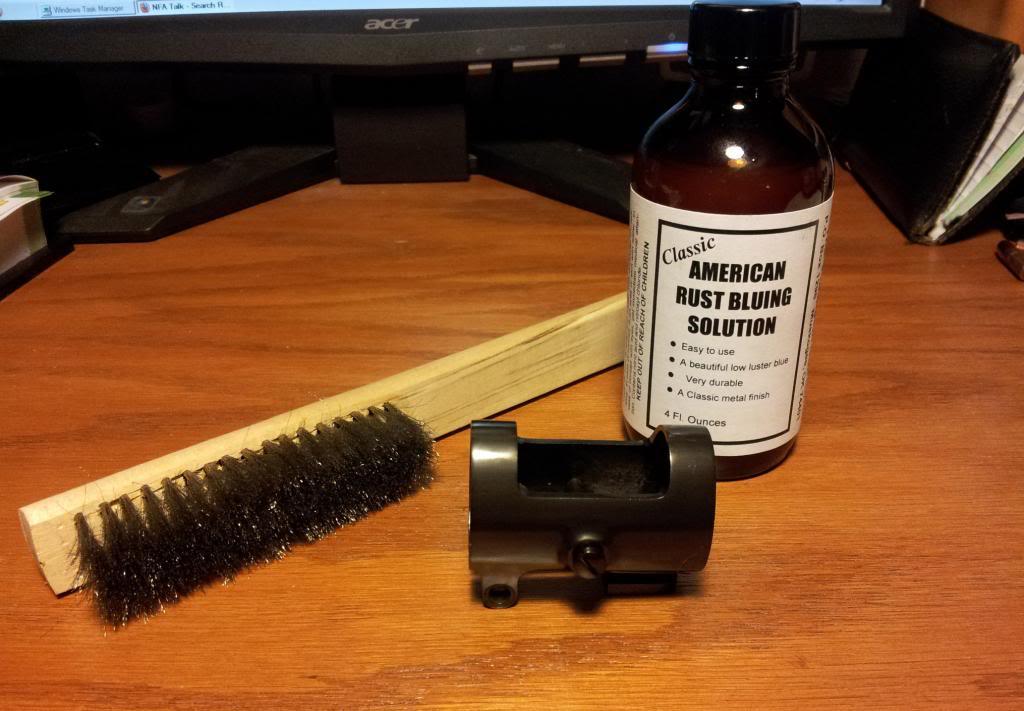
Polish parts to a 320 grit finish.
Degrease thoroughly with a residue free solvent. Wear nitrile gloves and don't touch the parts with bare hands after degreasing.
Apply the rust blue solution. Allow part to sit for 1 hour.
Reapply solution. Let part sit for 3 hours.
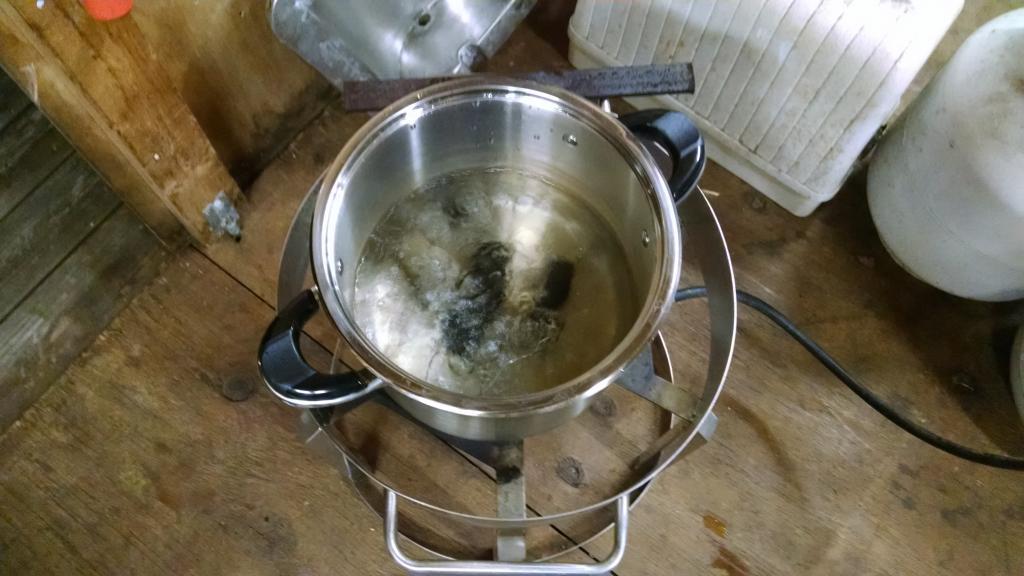
Boil for 30 minutes in distilled water. This converts the red rust to black oxide.
Gently card the part with a .003 carding wheel or brush.
Repeat until desired finish is achieved. Usually 4-6 evolutions.
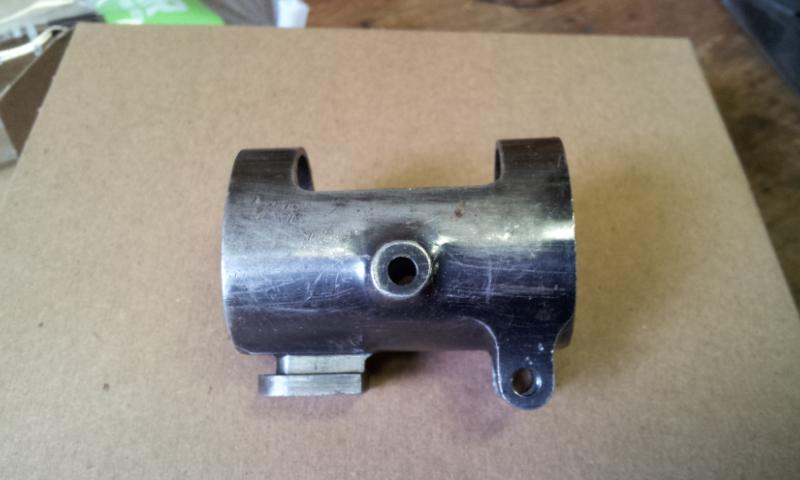
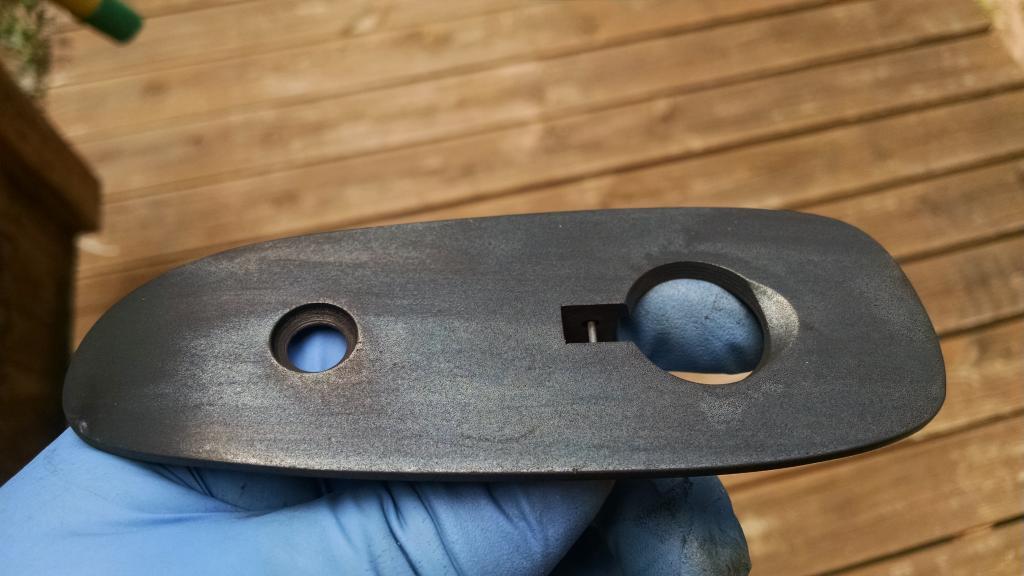
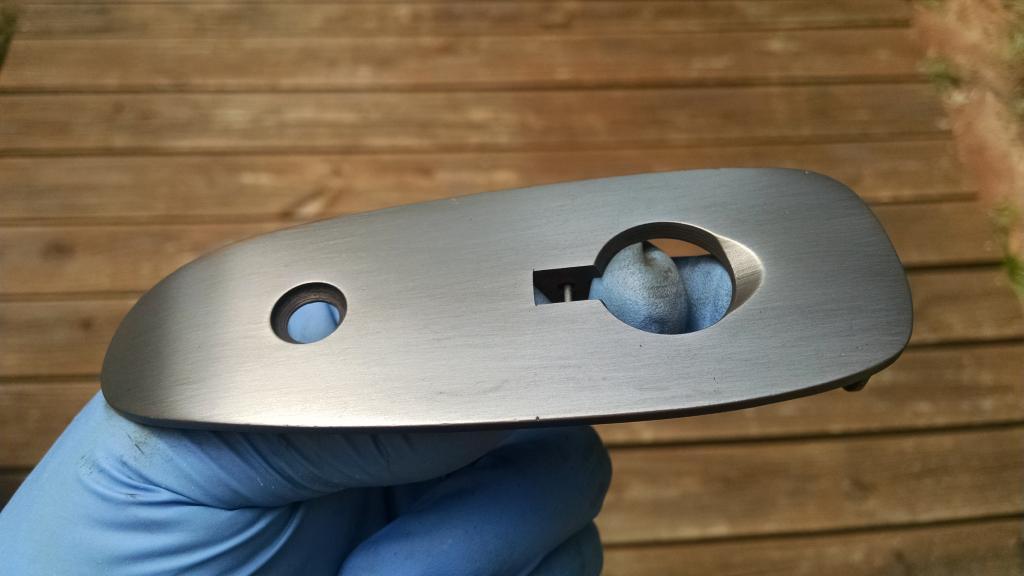
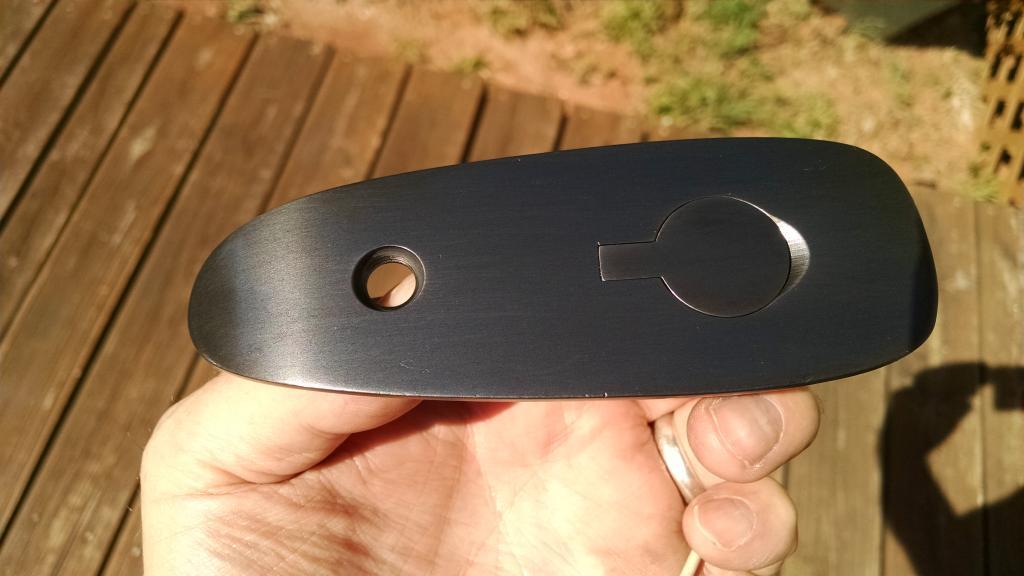
Being my Krag was Bubba'ed, I had to find a upper band. Luckily, I had one in a box of junk a friend gave me 20 years ago. This part is $95 today and hard to find due to all the restoration of Bubba'ed rifles going on. This became my "learning curve" test piece.
Edit:
After I had rust blued this band, I learned that this part was originally Nitre blued. (See other thread on Nitre bluing)
Before:
During polishing. I polished a bit more than shown in this pic.
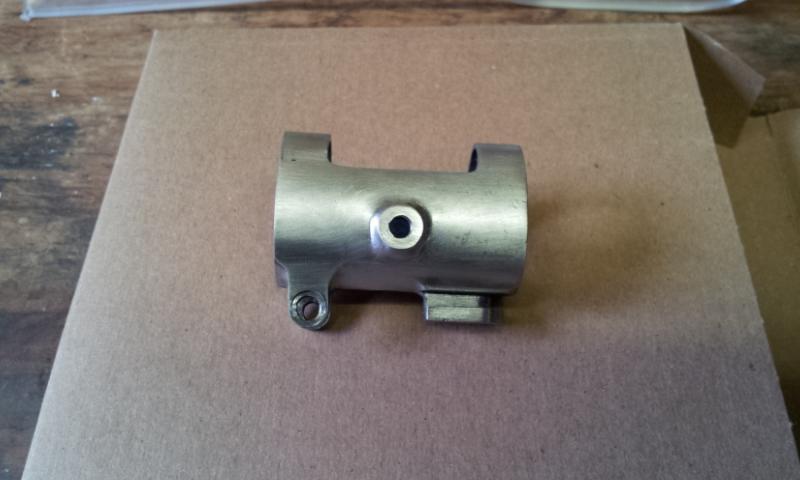
After:
(I'm C&P this from another forum I moderate so it's a collection of posts and pics made over several months time as the project progressed. If it seems a bit disjointed, that's why.)
The solution is applied and left to rust. There is enough humidity in the air this time of year for the rust to form without the aid of a humidity cabinet.
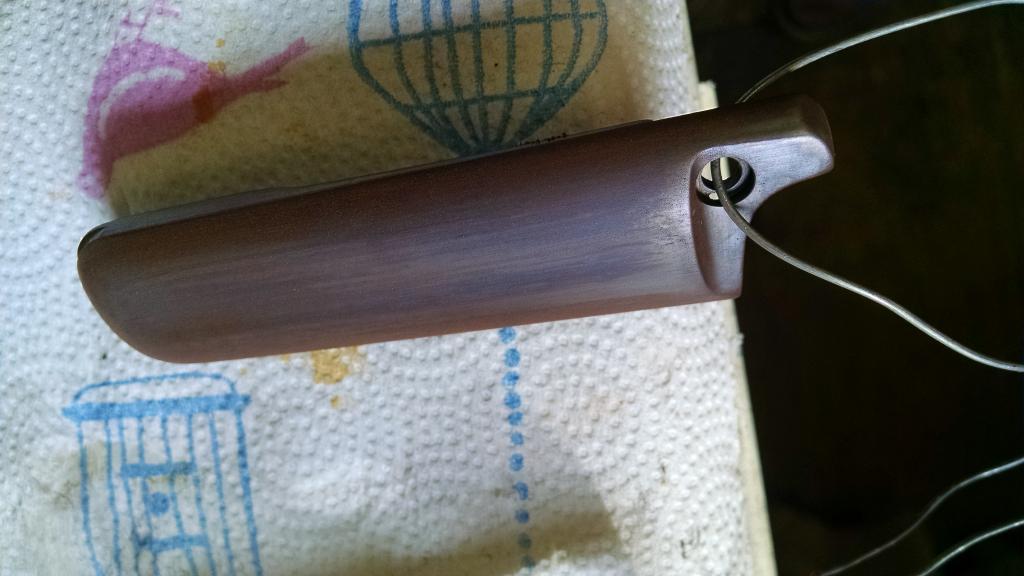
This is right after the solution has been applied. The part has already been through the process 5 times at this point. It has a streaky look because the part was still warm from the boiling water and the solution evaporates instantly.
24 hours later the red oxide (rust) has formed. The first few times you only let the part rust for about 3 hours. Once the oxide layer builds up, you can let it go longer.
The parts then go into a pot of boiling distilled water for 30 minutes. The red oxide is thus converted to black oxide. The parts are then removed from the water one by one and any remaining drops of water force dried with a heat gun so they don't leave a water stain.
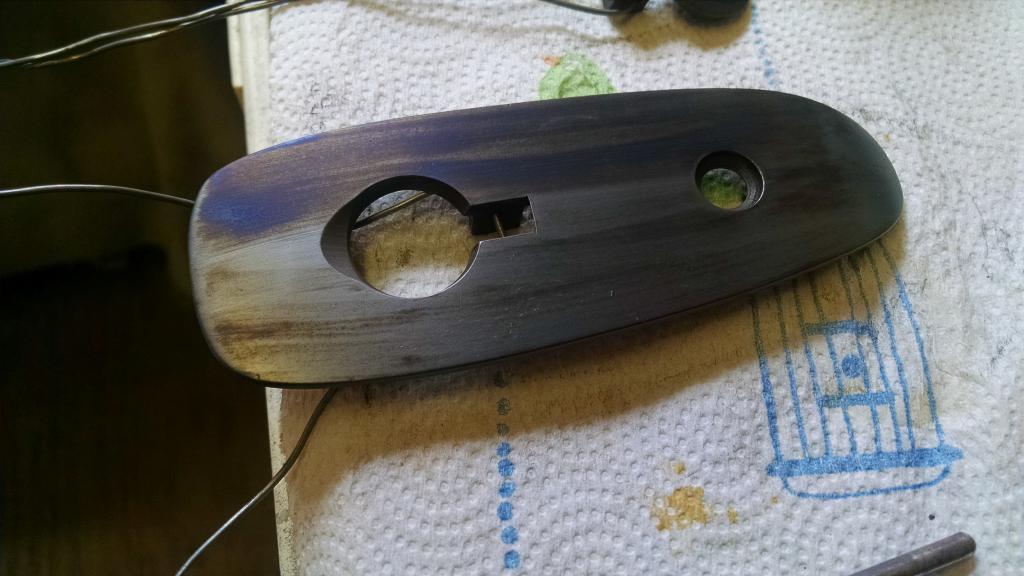
With the oxide conversion complete, the part looks like it has a layer of velvet on it.
Now you take the carding brush and brush off the velvet.
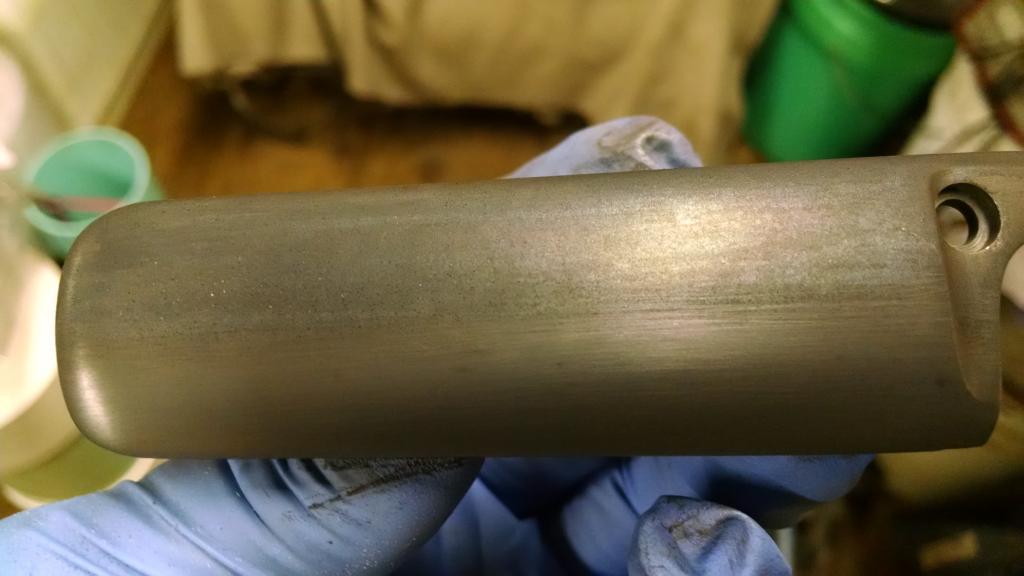
Once you get it completely carded, you're ready to start the process again and continue until you achieve the depth of blue you want. I'll go a couple of more times on the butt plate and call it good.
The part is dull because it has no oil on it. Once it's finished and oiled, it will have the customary sheen we're used to seeing. Rust bluing has more of a satin appearance compared to the glossiness of hot caustic blue.
Two more applications and it's done. In this pic, it's been oiled.
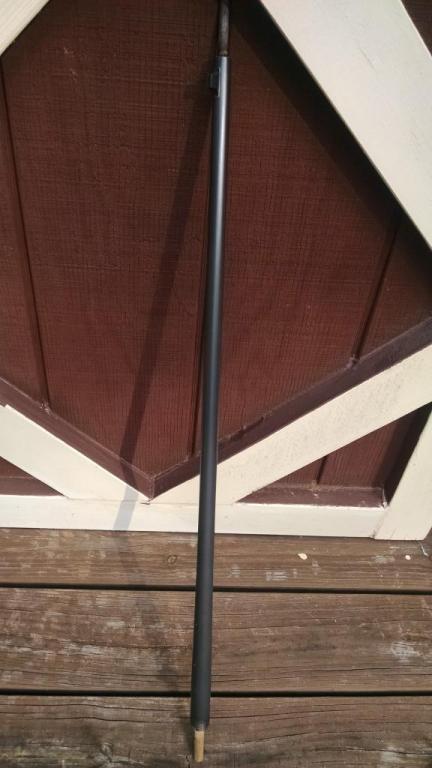
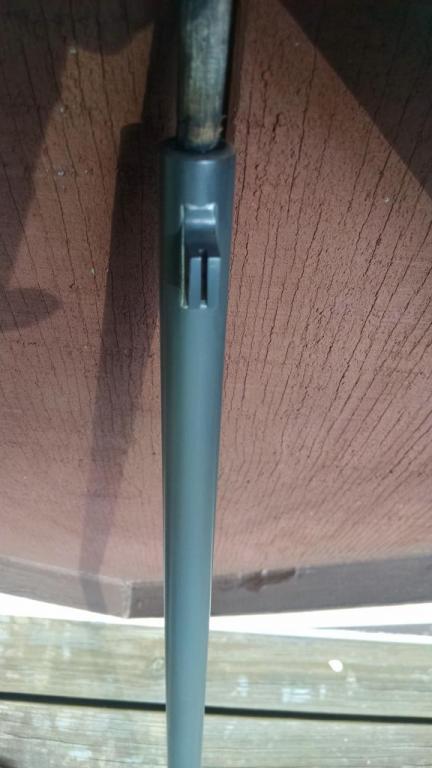
Finally on the last part, the barrel.
Boiling.

This is after 4 evolutions. Looking good.
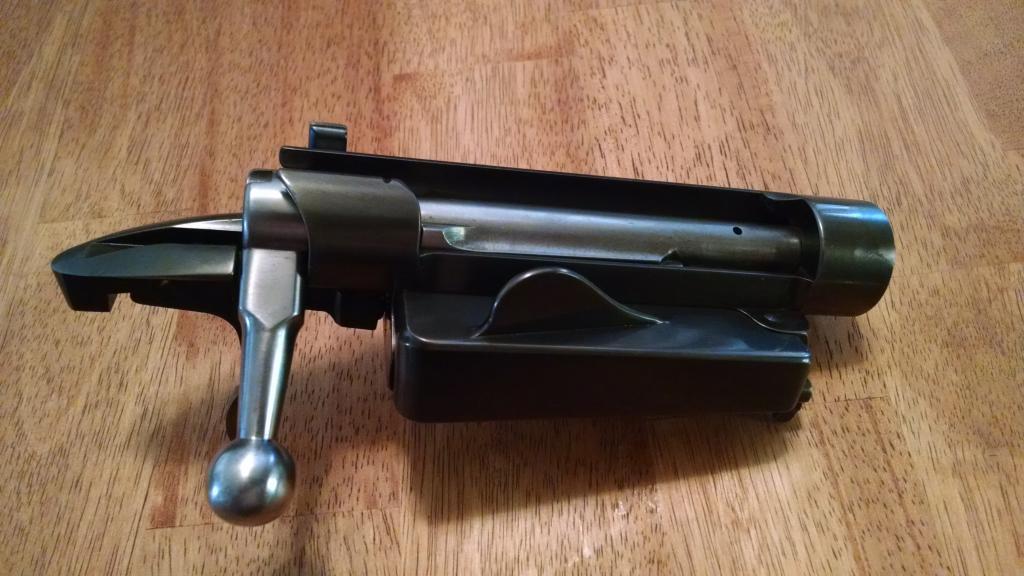
The receiver after reassembly.
Now waiting to get the smith to screw the barrel back into the receiver and put her back together. More to come!
Information
 |
Warning: This is a relatively older thread
This discussion is older than 360 days. Some information contained in it may no longer be current. |
|
-
The Following 13 Members Say Thank You to no4mk1t For This Useful Post:
aspen80,
Brian Dick,
browningautorifle,
CrossedCannons,
Eaglelord17,
jmoore,
M2phil,
oldpaul,
rayg,
Salt Flat,
UNPROFOR1994,
Vincent,
WarPig1976
-
09-25-2014 06:37 PM
# ADS
Friends and Sponsors

-
Advisory Panel


That gives me a way to go.
-
-
-
Legacy Member
Now that is a job well done! Years back I worked at a Ball bearing factory and they had a tank of salts that they would blacken some of the bearing types and I used to dip my gun parts in the tank. The only problem is they came out quite dark/black. I then ordered a bottle of the rust bluing and had a long narrow metal pan/tank made where I could blue the whole barreled actions also. With a little practice, the bluing came out great only the wife didn't like me doing it on the kitchen stove but I had to use it because I needed the double burners to fit under the long tank. Ray
-
-
Legacy Member
Thanks! I am well pleased with how it turned out myself.
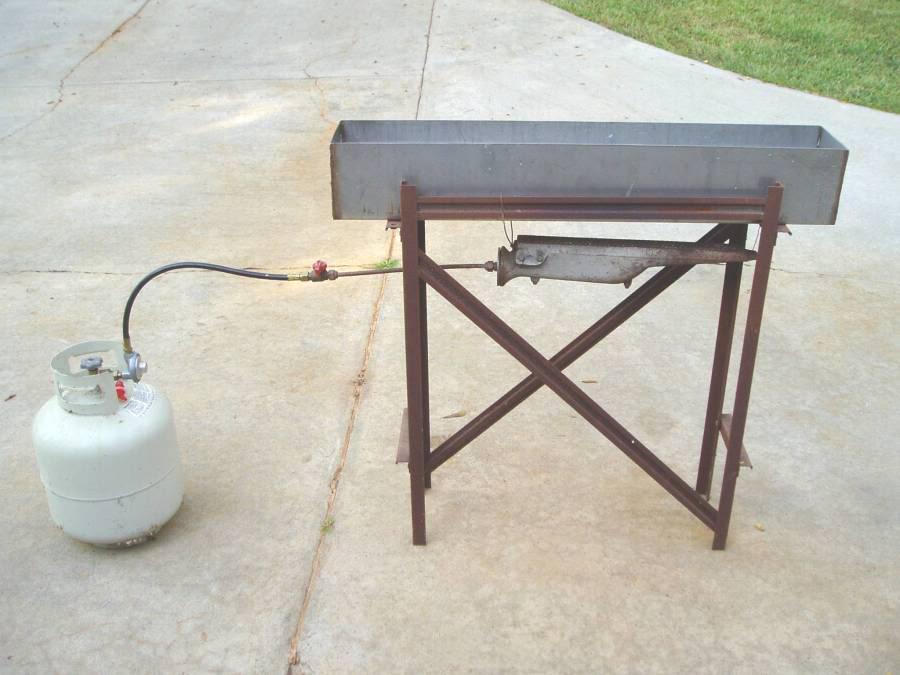
If you already have the tank, just make a stand to hold it and scrounge some sort of burner or make a pipe burner, they're easy to make.
I found this cast iron burner out of some sort of gas heater and rigged it up to do Parkerizing originally.
-
The Following 6 Members Say Thank You to no4mk1t For This Useful Post:
-
Legacy Member

This is my humidity box my eldest threw together for me. Not required for rust blueing but can't hurt. Water tray goes on the bottom and the light heats it. Hooks are for hanging parts. He even put a window in the door...
Attachment 56519
Attachment 56520
-
The Following 2 Members Say Thank You to WarPig1976 For This Useful Post:
-
Advisory Panel
-
-
Legacy Member
Thanks Brian. I'm pleased with how the rust and nitre bluing both turned out. Got the barrel screwed back in today, but ran out of time, so it still needs to be finish reamed. It's getting there.
-
-
Advisory Panel
Make sure you put up pics of the finished rifle when you finally get there. Ypou can understand why I never endeavored into bluing here. There ain't enough hours in the day as it is!
-
-
Legacy Member
All the work and time are in the polishing. The action parts that are case hardened especially. Once that is done, the actual bluing takes about an 1-1/2 hours a day until you are happy with the result. 6-8 days typically.
They'll be pics once it's done. Probably start a new thread with bits and pieces from the bluing threads and other details.
-
-
Legacy Member
For those that have heard you need a humidity cabinet to do rust bluing... If you live in an area like Arizona, then yes you probably do. For the rest of the country where humidity levels are higher, you probably can get away without one. For production at Springfield Armory, it was a necessity for mass production. For the hobby enthusiast who isn't in a hurry, you can do it without one.
-


 PM
PM


