-
Legacy Member

-
Thank You to HOOKED ON HISTORY For This Useful Post:
-
09-07-2023 06:05 PM
# ADS
Friends and Sponsors

-
Contributing Member


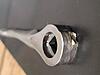
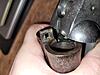
Okie dokie friends. I have a rafter in the shop from which hangs my backlog of barrels and magazine tubes all prepped and ready to blue. Took me long enough. Still need to get some things organized in the shop. But, I figured I should have these Ithaca tubes prepped and ready too. I got them all stripped down. I'm going to boil to convert all the active rust, card, and see where we are at. Before that though, I need to be extra careful with the ribbing. Boy do these tubes ring!!! perfectly still!! we do not want to go and screw that up. So I was going to drill a vent hole, underside down by the chamber so it will be hidden to prevent any steam or pressure inside the sealed vent from blowing it out. Looking it over, there appears to be a screw - take a look at the second pic from the original post. Don't click, here it is again
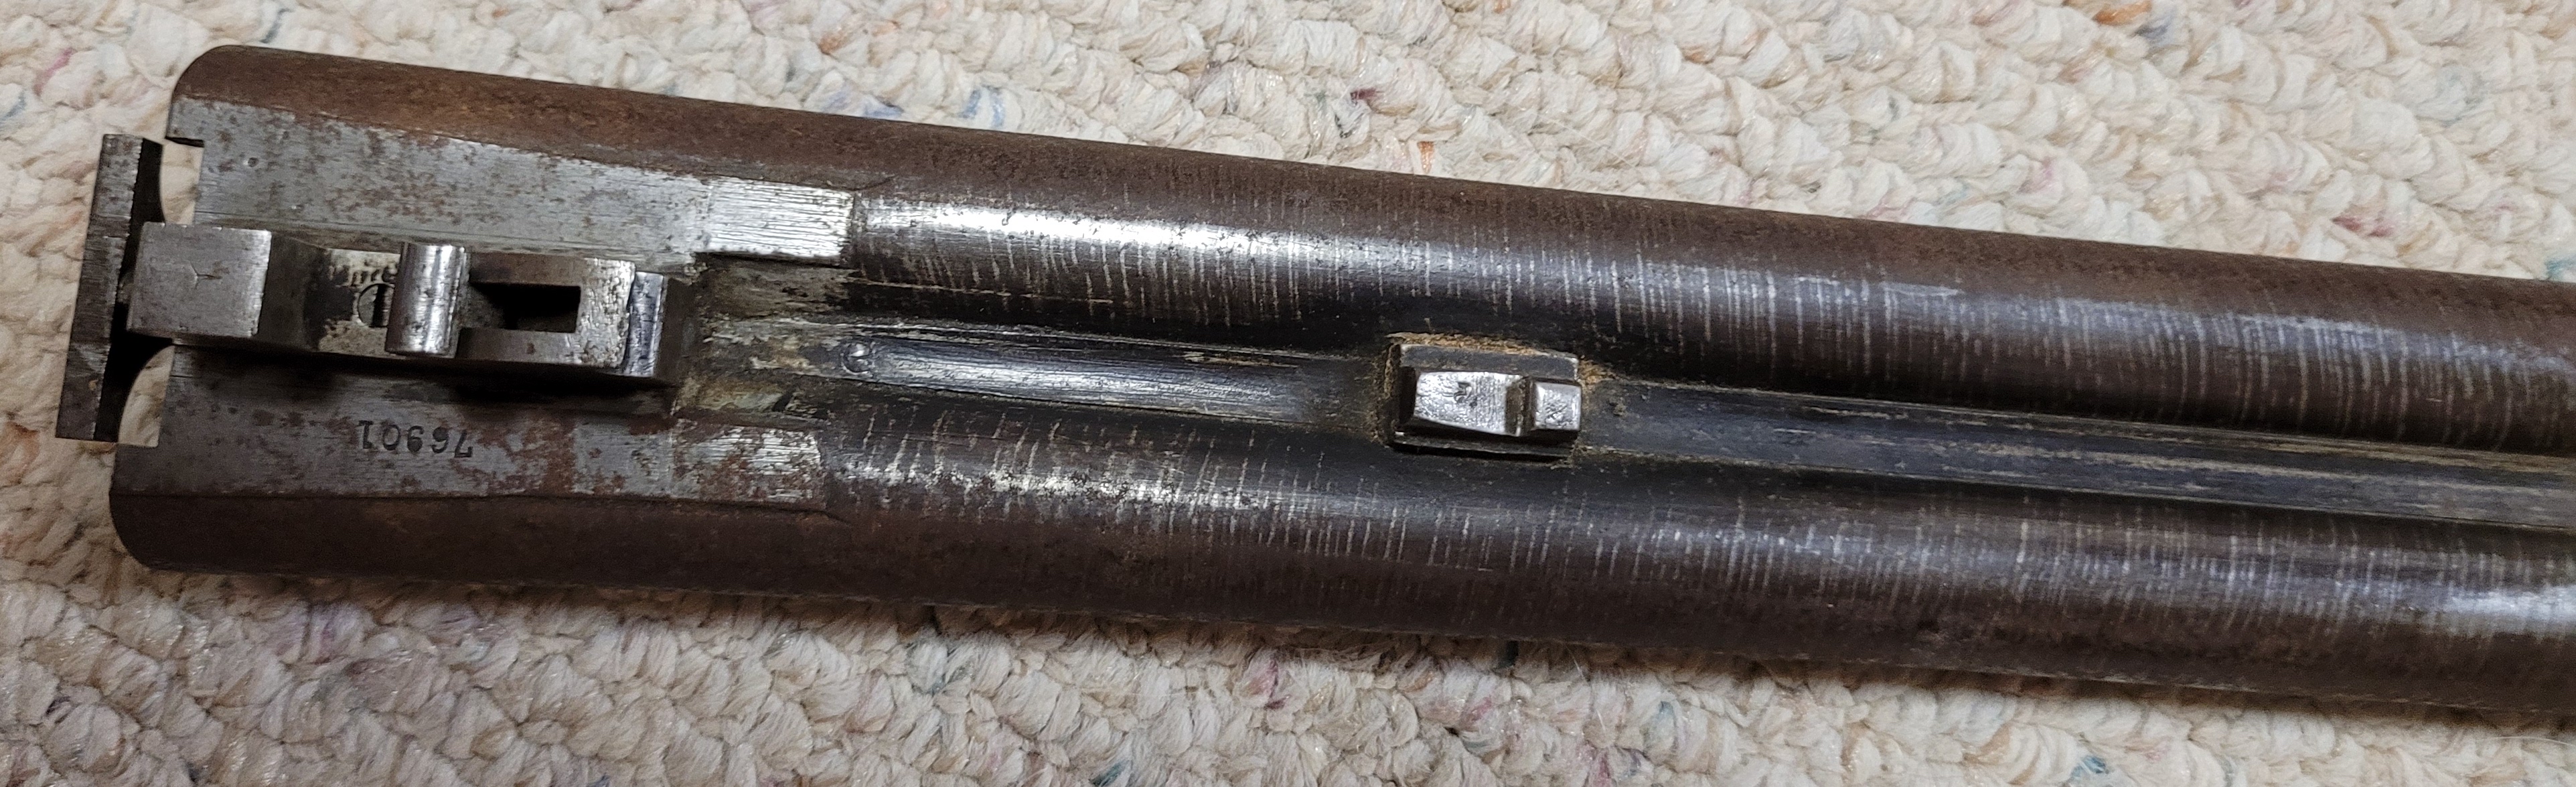
Is this a screw to pull the ribs tight at the base, or is it a plug for a vent when it was rust blued at the factory? Didn't budge first attempt (I'm never too serious in the first attempt at a screw. Basically just checking if I'll get lucky). It's soaking right now before making another go. If someone is certain it's just a plug, I'll dill it out, rethread, and replug when I'm all done. Thoughts?
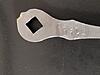
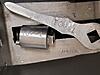
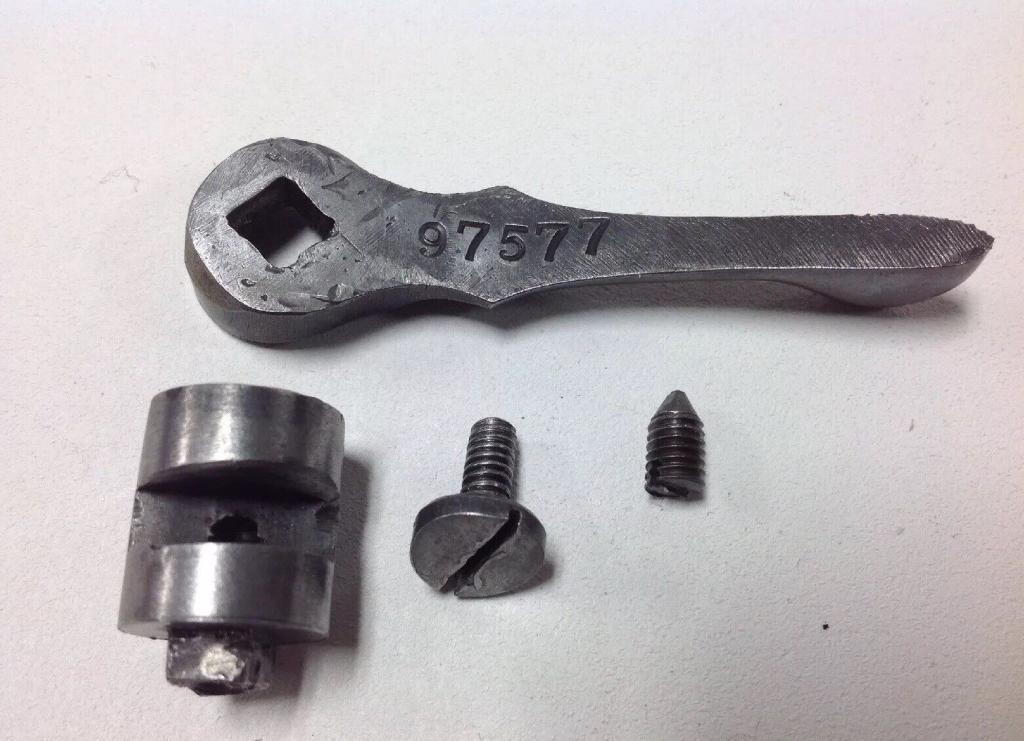
EDIT: HA! never mind. soon as I hit enter I went to try it and it came out like butter. It's a plug. Here is a close up with some more Damascus eye-candy of the original finish.
Last edited by ssgross; 02-12-2024 at 12:00 PM.
-
The Following 3 Members Say Thank You to ssgross For This Useful Post:
-
-
Contributing Member
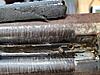
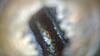
my borecam isn't tiny enough to fit, but here is a look inside. some crud around the opening and threads, but inside looks clean...looks like burnt flux in the bottom of the hole, with some oil on top from my soak. i'll pull the bead to see if it was drilled through the rib to make it easier to drain and dry when I boil it all.
Attachment 134839
Last edited by ssgross; 02-12-2024 at 12:30 PM.
-
Thank You to ssgross For This Useful Post:
-
Contributing Member
-
-
Advisory Panel

-
Thank You to browningautorifle For This Useful Post:
-
Contributing Member
after dunking in the kerosene, a blob of crud fell out of the front sight hole. It does indeed go all the way through between the ribs. My probe didn't go in very far, so I thought it sat atop the front block. This made it very easy to drain.
Now that it's all clean and all the rust neutralized, the couple dings in the right tube stand out now. They aren't serious - very minor in fact but I'll have to raise them if not just to remove the eyesore when it's all gleaming. Most of the rust left behind a gentle frosting that passes the 10ft stare test, but there are a couple spots of some pitting with jagged edges. Not deep, but its jagged edges make it pronounced. I think I'll put the barrel's hardware back on for now, it was all in the white anyway, and work on the receiver group. I have no parts diagram to go off of, so I can't even be sure if I have all the parts. First test past though. The tubes are serviceable. If the receiver comes together, I'll likely smooth out the tubes with paper before re-blueing. I normally don't try to remove all the pitting - just smooth the edges. I'll take some more pics tomorrow of how they came out.
-
-
Contributing Member
-
-
Contributing Member
Got the receiver completely disassembled. Only one tiny screw fought me. Little soak while I took apart the rest, and a good scrub of rusty gunk out of the slot and it came right out. Was much easier than I thought. Then again, there was a baggie with what looks like the sears, associated levers etc. in the box. I took pictures as I went, and put away the left and right parts separately, just in case they are slightly different as can be on other similar models.
I haven't looked in the baggie with the sears yet, but all seemed to be on the receiver except one small spring...
There is supposed to be a spring under this screw.
Well, there was one. I thought something was fishy - even before I took the main spring out (under that slotted bushing), there was loose floppy slack in the lever before the tension of the mainspring engaged. My guess is that spring is tensioned by the screw, and has something to do with adjusting when/how it locks up. If I can't find a parts diagram, etc., I suppose I can get a cheap spring kit and just wing it.
I think now my plan is to conserve the receiver and all its parts, then assemble everything to make sure I know how it works and confirm everything is there in working order. Passing that check, I may just have to do a detailed disassembly instruction, video or written, with all the parts listed, since no such thing exists on the internet in complete form (did find a guy that did some videos restoring one, but they are far from thorough).
-
-
Contributing Member
Toplever Help Please
Here is the top lever, minus all it's rust.
You can clearly see a spot where something was broken off.
Also notice the slight bronze color, and there are some rather sharp and large burrs in the area.
The font on the serial number underneath appears to match the that on the top lever cam, but larger, yet the serial on the receiver, while also smaller, has serifs.
At first I thought the top lever's second digit was off. Looking at it under magnification I think it indeed is a 6 as it should be, with some file or grind marks interfering.
Sure bubba could have swapped one on, ground off, and re-numbered. My sleuthing turned up lots of non-lewis toplevers. they all have a hook right where something was broken off on mine. To my knowledge, the Lewis model came right after the Crass. I found a crass top lever with a hook. Then, I found an eBay listing of a reported Lewis toplever...no hook!
ITHACA-LEWIS Hammer Less 12 Ga. 1 1/2 Grade - Top Lever Rotary Cam Assy. #125- | eBay
Here is one of the pics from the listing...
Serif's on the serial. You can clearly see a smooth bump where the rough portion of mine would be.
In my mind, the hook on the top lever locks in the eyelet at the rear of the top rib and holds the action closed. unless there is some other locking mechanism on the rear hook on the barrels? Mine also appear to have been heated, perhaps bubba tried to weld the hook back on? or was it heated to remove?

The more I study it, it looks like it locks up at the the bottom. perhaps Ithaca re-used some parts on hand in the Lewis, but this would mean receivers (notch cut for the barrel eyelet), top rib (with it's eyelet), and toplevers. The eBay listing does not appear to be damaged like mine, and it doesn't have a hook. Sure it could have been smoothed over to make a buck.
Anyone out there know any better?
-
-
Contributing Member
After a lot of searching, I've seen claimed Lewis SxS's with hooks on the top lever and some without.
Then, when reassembling the mainspring I figured out how the lockup adjustment works and I'm convinced no hook on the top lever is the design and any leftover evidence of one is from using parts on hand.
So, the way this thing locks up...No one on the internet seems to know, except this guy
"https://www.youtube.com/watch?v=e7dWf4_CCxY"
I tried NOT to embed the video here, because he has it all wrong - installation too (is in another video), but our forum automatically parses the link no matter how I enter it, so you'll have to copy/paste to learn what NOT to do.
Having no other resources, I used his method to remove...and to install. Then I went to adjust the block underneath and did a double take as the lightbulb above my head flickered. Can it really be this easy?
Let me take some pics taking it down again, and putting it back together, and I'll do a post or thread of just that for posterity. Now...to figure out how the rest of the guts go back in!!!
-


 PM
PM


 ).
).