-
Legacy Member

-
Thank You to Rustship For This Useful Post:
-
01-29-2012 04:58 PM
# ADS
Friends and Sponsors

-
Looking good ... 
Regards,
Doug
-
Thank You to Badger For This Useful Post:
-
-
Senior Moderator
(Milsurp Forums)


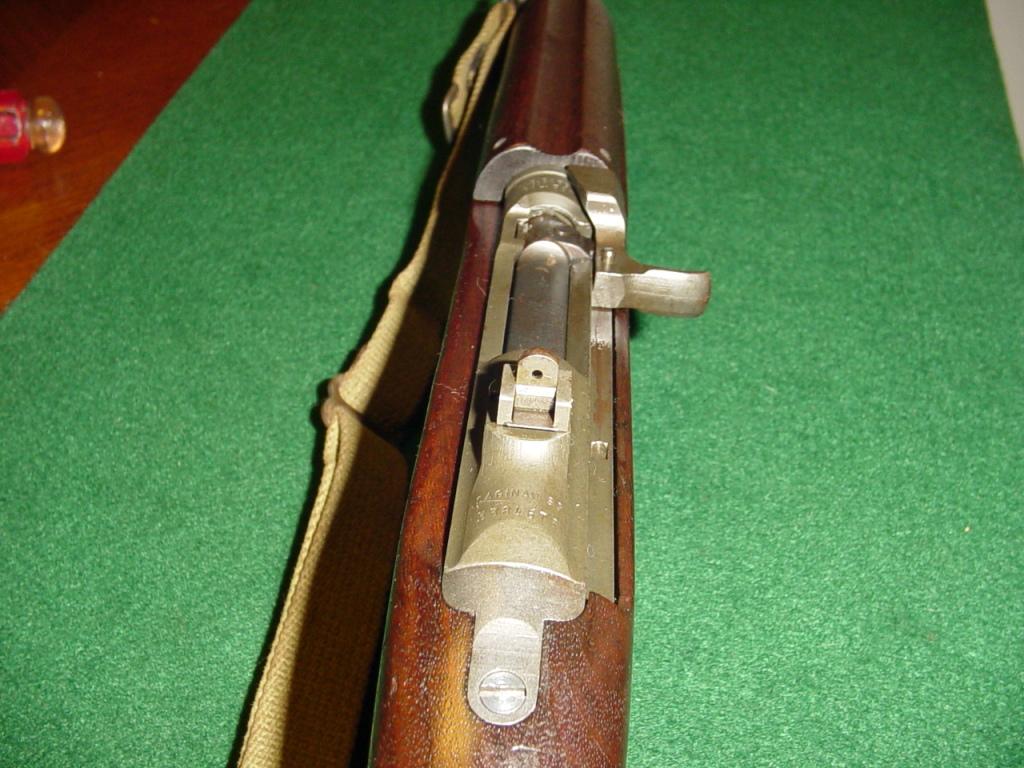
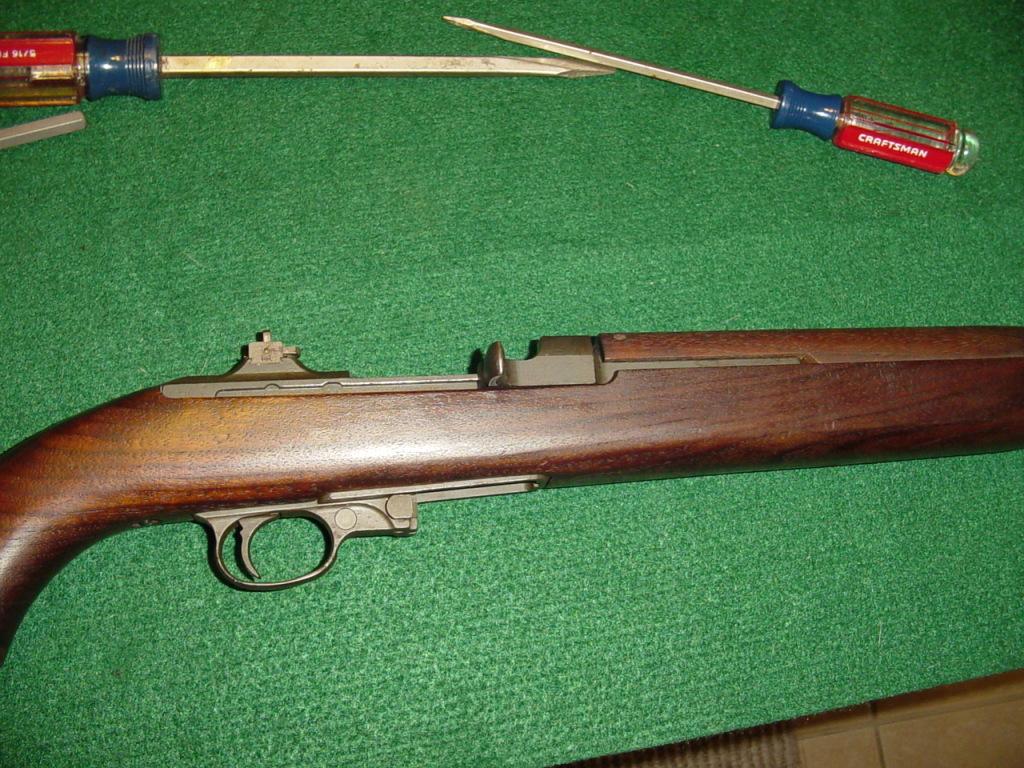
Very nice Craftsman screwdrivers! 
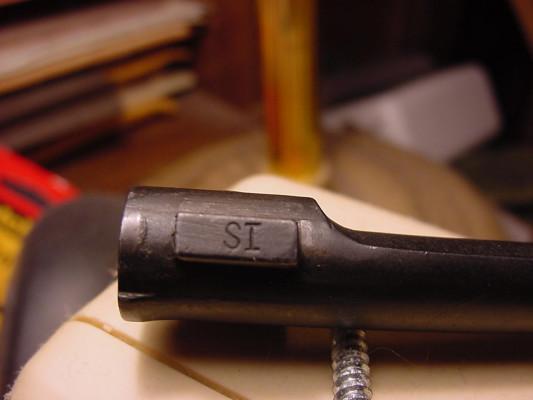
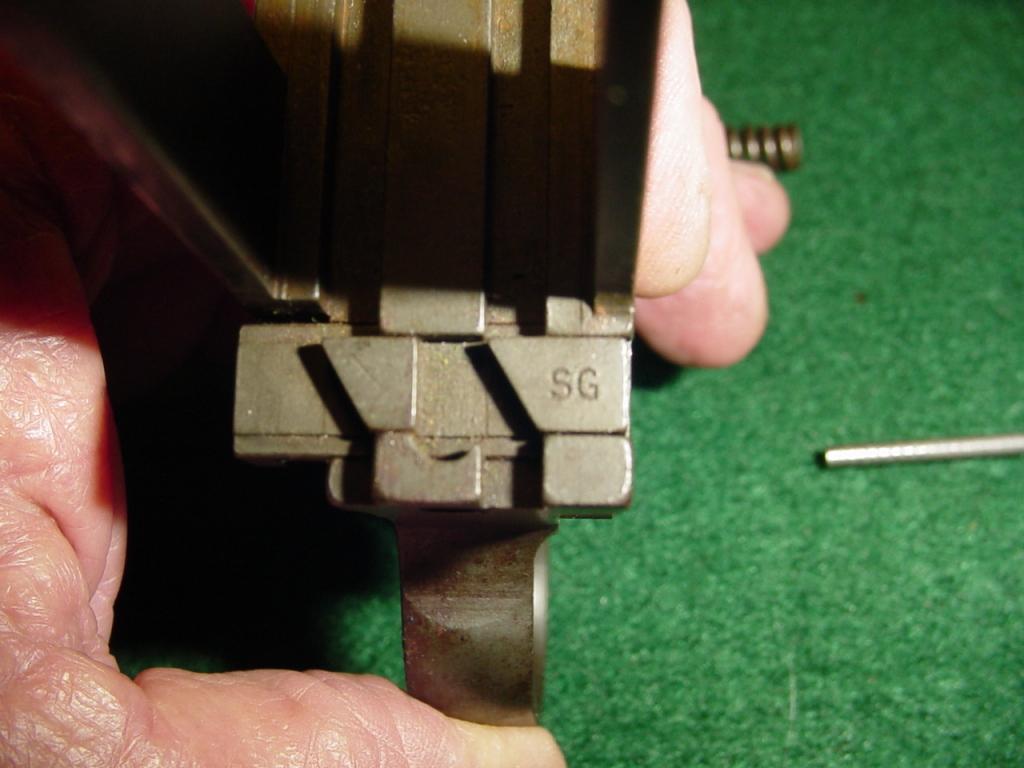
Better looking Saginaw!
Bill Hollinger
"We're surrounded, that simplifies our problem!"
-
Thank You to Bill Hollinger For This Useful Post:
-
FREE MEMBER
NO Posting or PM's Allowed

Your just showing off..... You could have just used a picture of a sunset or oak tree... but NOOOOOOO!!! You got to post pictures of your 3.3 Saginaw flip sighted carbine!!! Does your wife know that you are posting (gun) porn pictures on line?????
-
Legacy Member

El Testo
Wow, it worked first time in years. Good work Badger.
Last edited by Bubba-7; 01-29-2012 at 09:12 PM.
-
-
Perfect milspec, they are the old style handles. 

Originally Posted by
Bill Hollinger

Very nice Craftsman screwdrivers!
Better looking Saginaw!
-
The Following 2 Members Say Thank You to JimF4M1s (Deceased) For This Useful Post:
-
Legacy Member
One more time.
-
-
Legacy Member
WOW, Roger that is realy revealing!!.....Frank
-
-
WOW, Roger! YOU DID IT! (And some good pics too!)
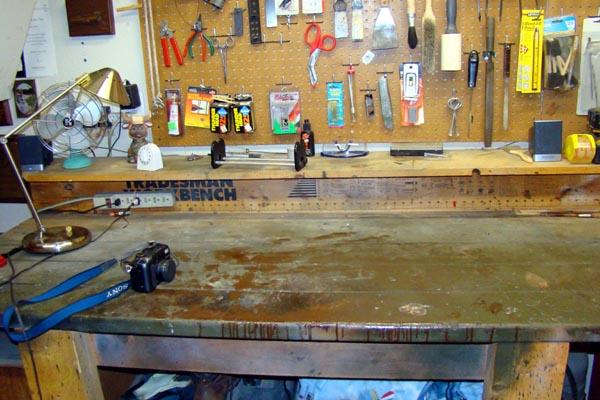
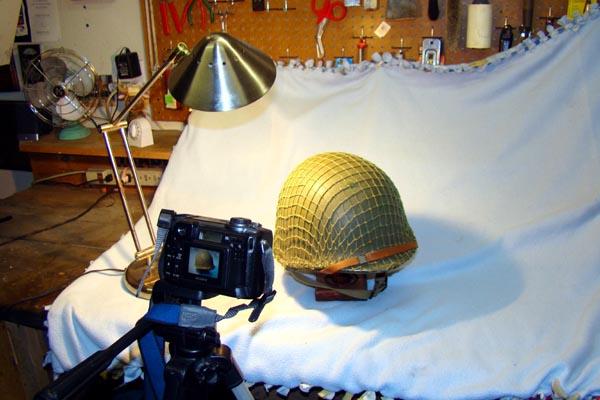
Several people have asked about my photo set-up, camera, etc, so I took a little time and just tried to put this together so it shows how simple it can be to present good photos with even an inexpensive digital camera. (I'm using a ten year old Sony S-85 I got from ebay for $17)
I have my photo taking place set up where I can almost always get a good, focused and balanced pic every time in my garage any time, and I can set it up in a couple of minutes. Often, outside indirect lighting works well, but it's far from convenient.
1) Always use a tripod
2) A light source that you can move around that has a rheostat (Old Desk Lamp)
3) Use the two second delay function so you aren't touching anything when the camera focus' and takes the image - Even if you are using a tripod, you can still cause a slight blur when up very close if you touch anything when the "Shutter" opens.
This is really a cheap set-up, but I have taken some of the best photo essays using this simple method.
My son's old blanket from when he was a toddler - Use a medium-darkness, solid, neutral color
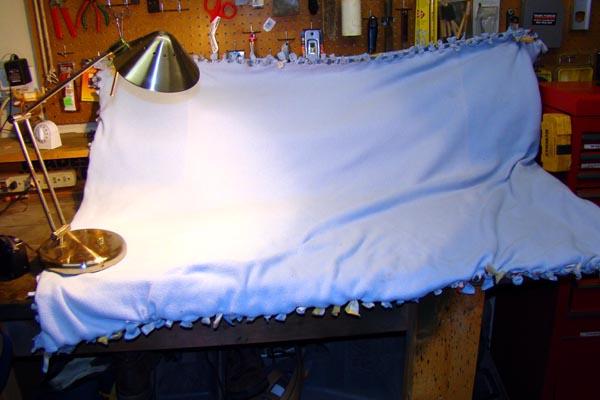
(Space-age attachment tools)
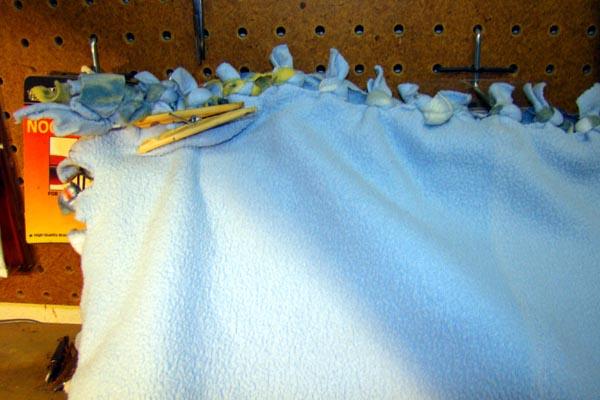
Being able to move the light around makes it easy to see how the image will look. The rheostat is great for adjusting the best amount of light to get a good color, but not so much it reflects to give washed out areas. You can find a lamp with a rheostat and articulating arm and it makes it so easy it's like cheating - Just adjust it so it looks good in the viewfinder, and there are few surprises.

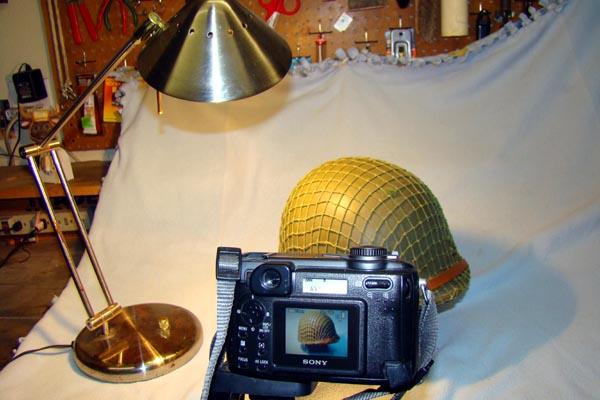
I just use the 'Auto' setting on the camera - The only adjustment I use is 'Macro' (Flower symbol) when up very close, and never use the flash
I took these photos of my 1903A3 only using this method (with about a $40 for total rig)
You can buy a simple tripod for $20 and a desk lamp (or two) for about that much or less.
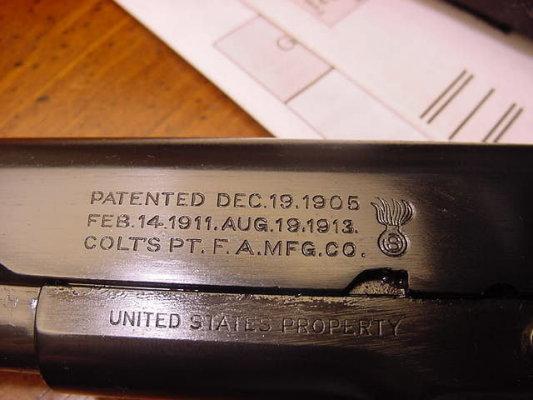
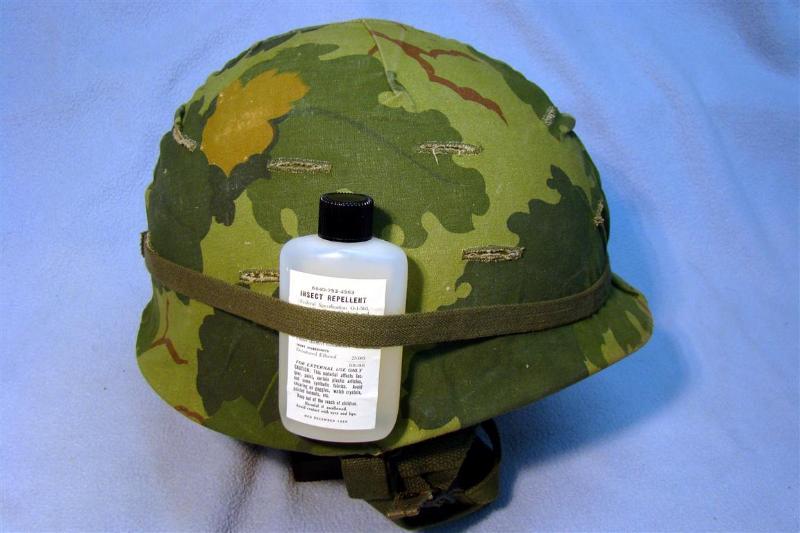
Remington 1903A3 (displaying original configuration and finish)
I hope this helps
-
The Following 4 Members Say Thank You to Harlan (Deceased) For This Useful Post:
-
Roger,
How about a picture of the whole pistol?
Originally Posted by
Bubba-7
OK Harlan, what did you take the picture of your camera with?
Originally Posted by
Harlan
-


 PM
PM


