


Repairing a Split Stock on a Lithgow SMLE
*** Hotlink to original article (click here) ***
Last week we were shooting some C&R weapons.
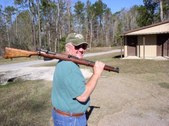
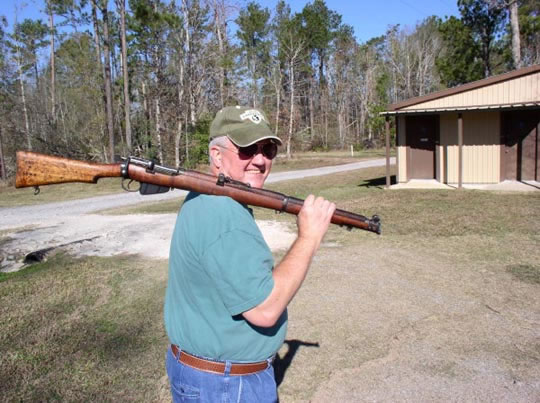
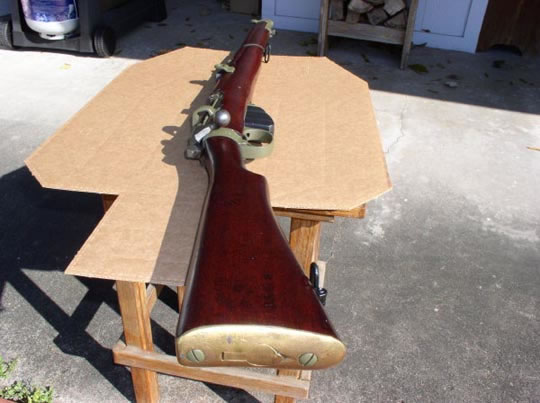
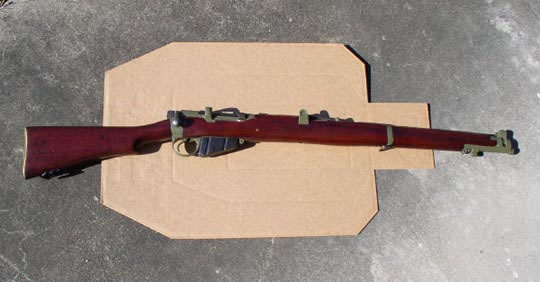
I was shooting my old Lithgow SMLE. Here's a picture of it from a couple of years ago. As you can see, the wood didn't match too well, but the metal was sound and it shot well. I fired a few magazines full and laid it on the bench.
Tman said, "Look at that. Your stock has split."
And, sure enough, it had.
It had never even shown a warning, but a crack about 1/4 inch wide now ran from the rear of the fore stock to up past the trigger guard, about 9 inches long. It was a mess.
I really hated to see the crack as this had been a very nice example of a Lithgow SMLE and now it was unshootable.
We looked at what it would cost to buy a replacement stock, but in the meantime, I looked at the possibility of repairing the stock.
We decided that we didn't have anything to lose and went to work.
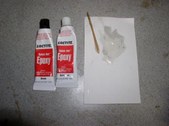
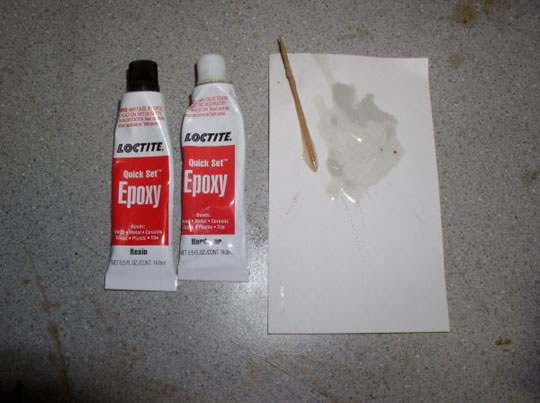
I started by mixing up a two-part epoxy that I have used before with excellent results.
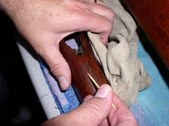
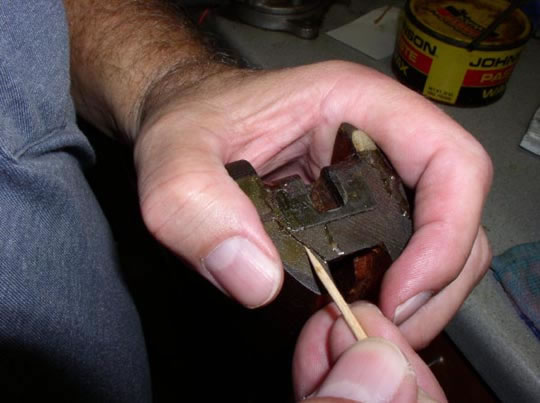
I then used a toothpick to work it into the crack, which I held open with a screwdriver.

And here. I then closed it up and used woodworking clamps to clamp it tight.
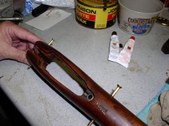
I let it set overnight. The next morning, it looked pretty good. It would have to be sanded, but that didn't bother me.
We decided to also put a little insurance on the job, by adding a couple of Ishapore Indian brass screws through the stock.
This is not a problem with these rifles, as mine already had several in the stock from past reworks at the factory that the Brits called FTR or Factory Thorough Repairs.
We went to a hardware store and bought a couple of course threaded brass screws.
I used the drill press to drill a couple of holes through the areas of the stock that had split.
You don't want the screw holes to be too tight, as that would only encourage more splitting problems.
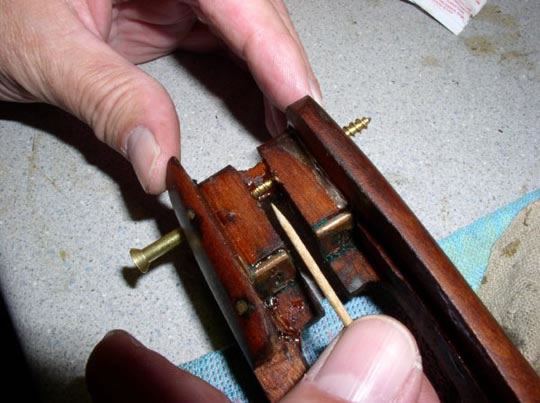
I then filled the holes with the epoxy and covered the threads of the screws with the epoxy and screwed them into place.

We placed two screws in the most critical places.
We let these dry and then sawed them off close to the stock with a hacksaw.
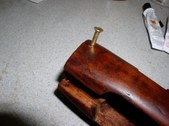
Here's the cuts.
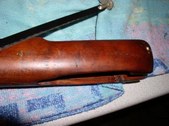
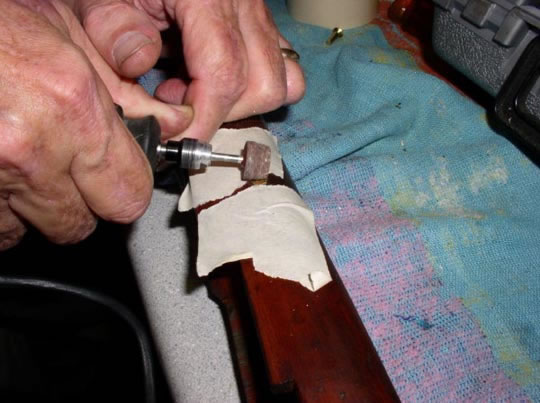
Tman then used a Dremel tool to grind them flush with the stock. This makes a very tough repair. I do not expect it to split again in these areas.

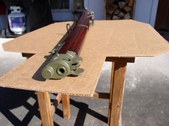
We also noted that the recoil lug was not seated properly and decided to bed the action. We used two-part JB Weld to fill the area and Johnson's Floor Wax on the action as a release agent.
It came out fine.
And I bet it improves the accuracy of this fine rifle.
Since we needed to do some sanding, I got Tman to work his magic with some Rit dye and he refinished the wood for me.

The metal parts of the rifle had been painted during the FTR and were painted an olive drab color.
The Brits and Australians felt that a painted finish on a battle rifle was more durable than bluing and often painted rifles.
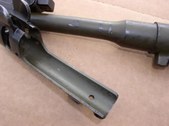
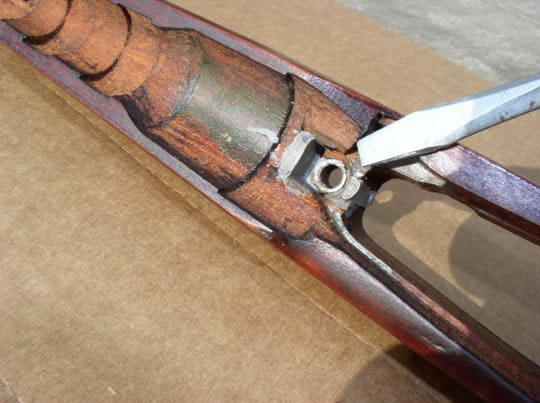
Here's some of the original paint that was covered by the wood.
I decided to repaint it to factory condition again.
I used DuraCoat and sprayed all metal parts to original color.
I even polished the brass butt plate.
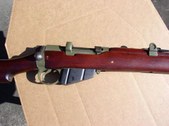
Here's the finished product.
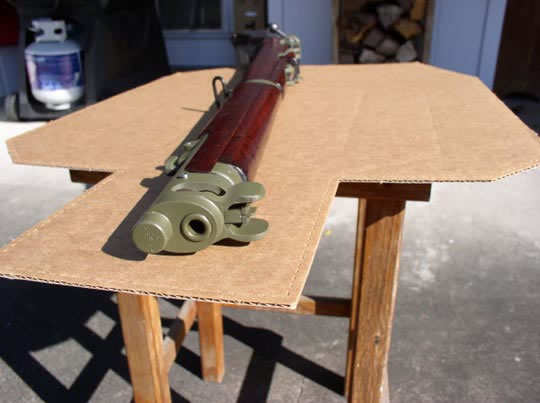
Paint on the bore end.
Receiver.
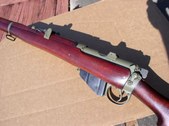
Other side.
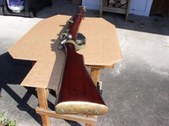
And the finished rifle.

I'm going to let it cure for a couple of weeks before I shoot it to be sure the paint is completely dry.
Conclusions:
Maybe I can get another 100 years out of it.
Or at least my Grandson will.
*** Hotlink to original article (click here) ***
Last week we were shooting some C&R weapons.
I was shooting my old Lithgow SMLE. Here's a picture of it from a couple of years ago. As you can see, the wood didn't match too well, but the metal was sound and it shot well. I fired a few magazines full and laid it on the bench.
Tman said, "Look at that. Your stock has split."
And, sure enough, it had.
It had never even shown a warning, but a crack about 1/4 inch wide now ran from the rear of the fore stock to up past the trigger guard, about 9 inches long. It was a mess.
I really hated to see the crack as this had been a very nice example of a Lithgow SMLE and now it was unshootable.
We looked at what it would cost to buy a replacement stock, but in the meantime, I looked at the possibility of repairing the stock.
We decided that we didn't have anything to lose and went to work.
I started by mixing up a two-part epoxy that I have used before with excellent results.
I then used a toothpick to work it into the crack, which I held open with a screwdriver.
And here. I then closed it up and used woodworking clamps to clamp it tight.
I let it set overnight. The next morning, it looked pretty good. It would have to be sanded, but that didn't bother me.
We decided to also put a little insurance on the job, by adding a couple of Ishapore Indian brass screws through the stock.
This is not a problem with these rifles, as mine already had several in the stock from past reworks at the factory that the Brits called FTR or Factory Thorough Repairs.

We went to a hardware store and bought a couple of course threaded brass screws.
I used the drill press to drill a couple of holes through the areas of the stock that had split.
You don't want the screw holes to be too tight, as that would only encourage more splitting problems.
I then filled the holes with the epoxy and covered the threads of the screws with the epoxy and screwed them into place.
We placed two screws in the most critical places.

We let these dry and then sawed them off close to the stock with a hacksaw.

Here's the cuts.

Tman then used a Dremel tool to grind them flush with the stock. This makes a very tough repair. I do not expect it to split again in these areas.
We also noted that the recoil lug was not seated properly and decided to bed the action. We used two-part JB Weld to fill the area and Johnson's Floor Wax on the action as a release agent.
It came out fine.
And I bet it improves the accuracy of this fine rifle.
Since we needed to do some sanding, I got Tman to work his magic with some Rit dye and he refinished the wood for me.
The metal parts of the rifle had been painted during the FTR and were painted an olive drab color.
The Brits and Australians felt that a painted finish on a battle rifle was more durable than bluing and often painted rifles.
Here's some of the original paint that was covered by the wood.
I decided to repaint it to factory condition again.
I used DuraCoat and sprayed all metal parts to original color.
I even polished the brass butt plate.

Here's the finished product.
Paint on the bore end.
Receiver.
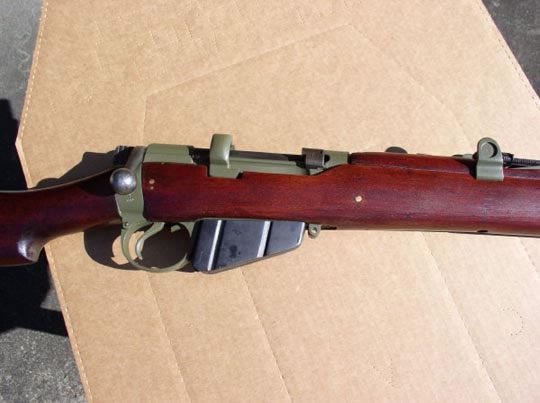
Other side.

And the finished rifle.
I'm going to let it cure for a couple of weeks before I shoot it to be sure the paint is completely dry.
Conclusions:
Maybe I can get another 100 years out of it.
Or at least my Grandson will.

 Reply
Reply
 Countries
 Categories