-
FREE MEMBER
NO Posting or PM's Allowed

finally repaired those draws, but...
Well, I finally repaired the draws on that obliterated Free Stater and as jmoore suggested I have a few pics to show and tell of any mistakes along the way; I'll get to that last. First off,a big thanks to Mr. Laidler and his tutorials and everyone else's info and encouragement.
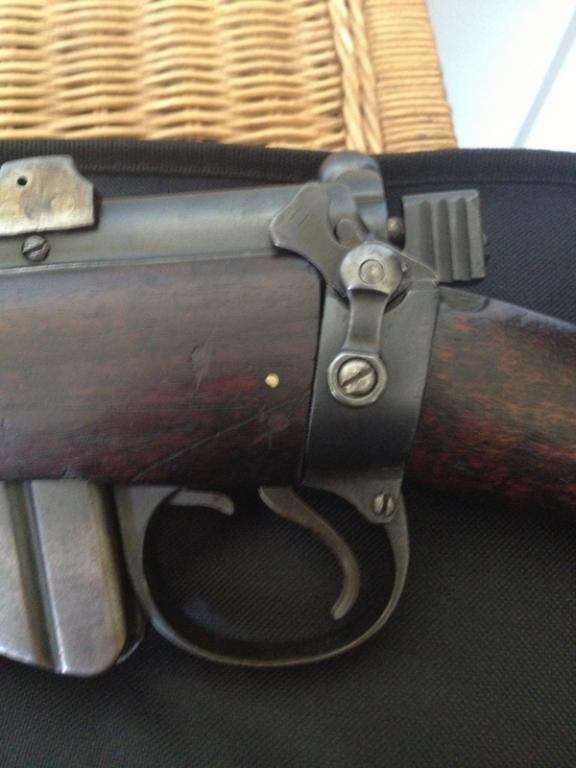
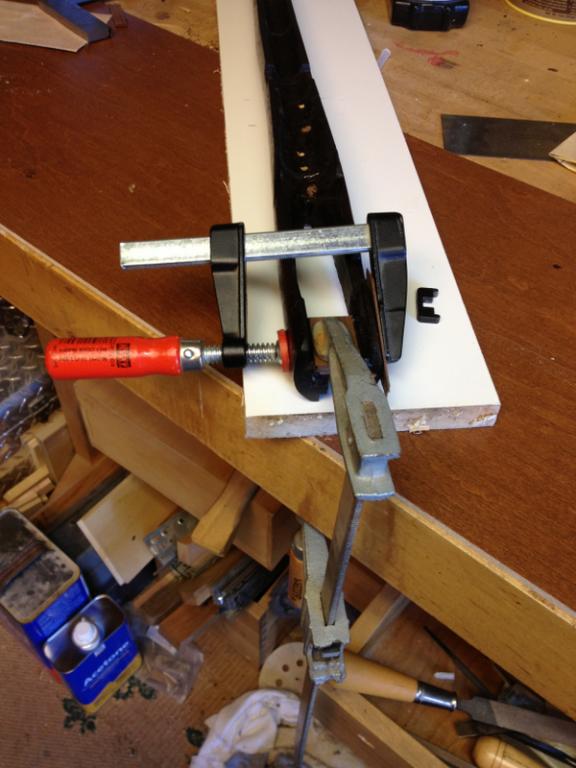
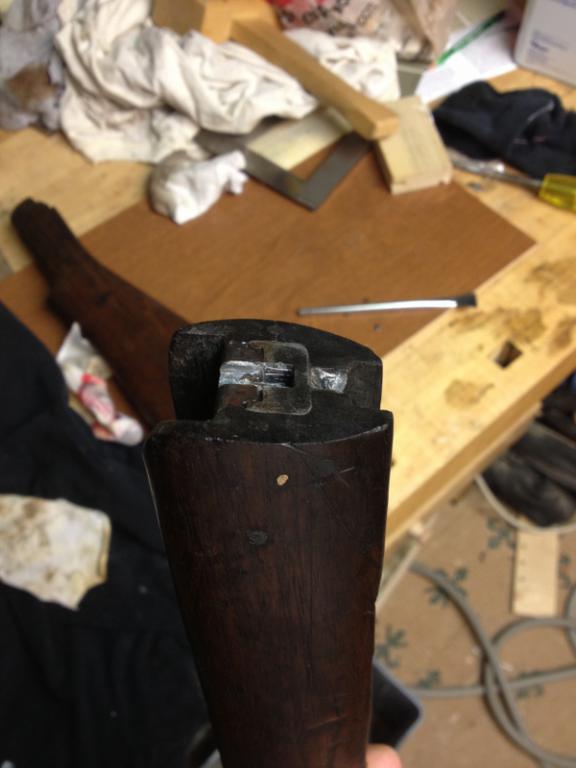
The draws on said forend were gone as well as any of the connective wood behind the trigger, and the threadwire was exposed. I was able to gently clamp it at the rear and break the threadwires bond a just enough to get a drill chuck on it and back it out for reuse. Then I went ahead and repaired that massive crack in front of trigger guard. I put a few dowells in it from the inside directly into crack that would serve as a syringe to inject the glue throughout the crack as I filled them up with glue and drove the dowels in. I then added a couple of cross dowels for added measure, unfortunately the crack was off center so plugging the endgrain was not permitted. Oh well, its not a show piece and it already has some well done repairs all over it.
After fixing the crack I moved to the draws. I paired them completely away (not much pairing to tell the truth mostly squaring things up) and had a nice ghosting (evident outline) of where the previous draws came up to and found the angle of them squared to bottom seating area. I then milled up a full lenght block of walnut cut it to angle of socket and draws leaving it a shy 1/16 long in the draw area so I could sneak up on it for a tight fit with a sharp chisel.
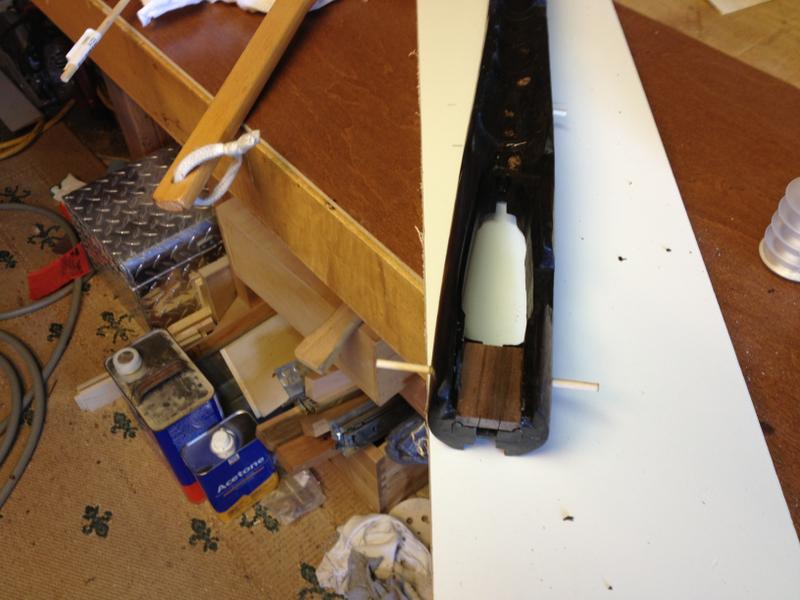
I glued it in place, clamped over night, then added some cross dowels for good measure. Next i cut away mid section for trigger and milled out back area for keeper plate. unfortunately I did not take the painstaking hours to try and mill up a block that would include the bottom tapered connective tissue that extends to trigger plate(probably would have broken off anyway). So for bottom area i drilled and inseted a small cross dowel, a bit below where threadwire will go, which gave me something to adhere some epoxy and fiberglass mesh (gasp! I know, sorry) I had to do the same reenforcement up top as the small connective area was already showing much weakness, so i reenforced it as well (gasp!)
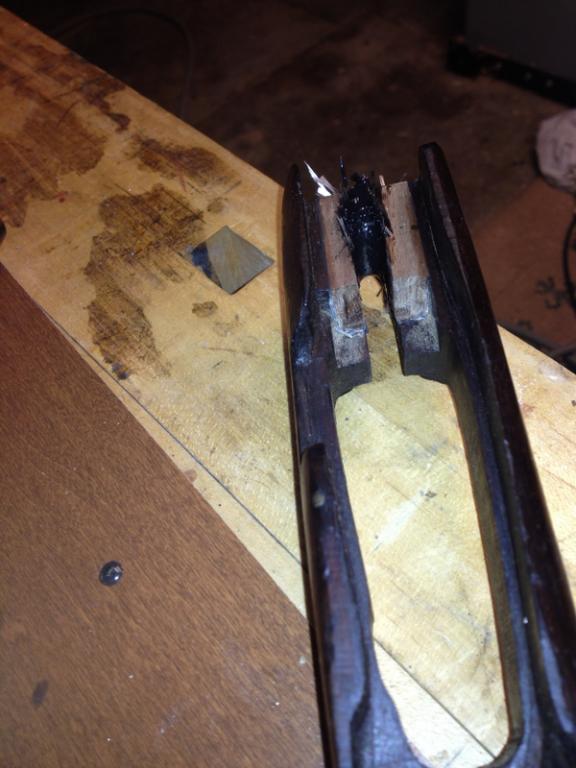
Ok so I dressed up that nasty stuff with a file and and moved on to fitting the receiver. As planned my draws were to far foreward so i snuck up on them a bunch of time with a chisel untill the there was a good force fit that needed a mallet and padded block to remove.
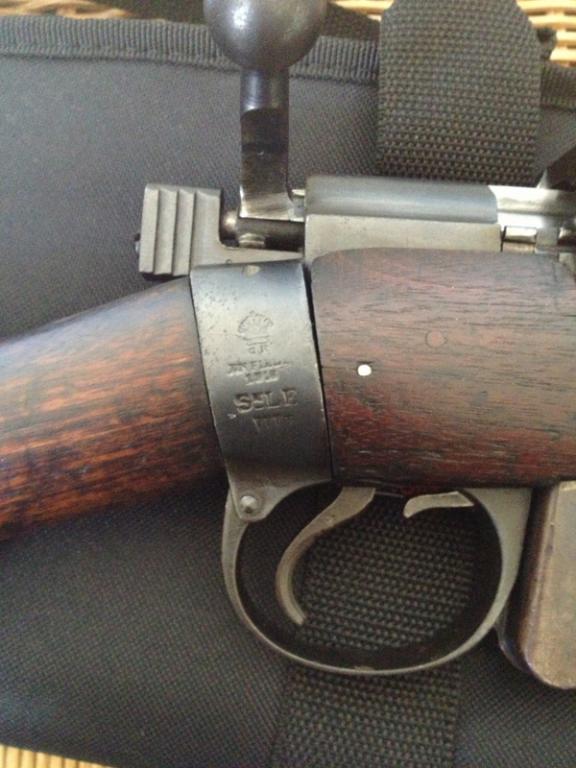
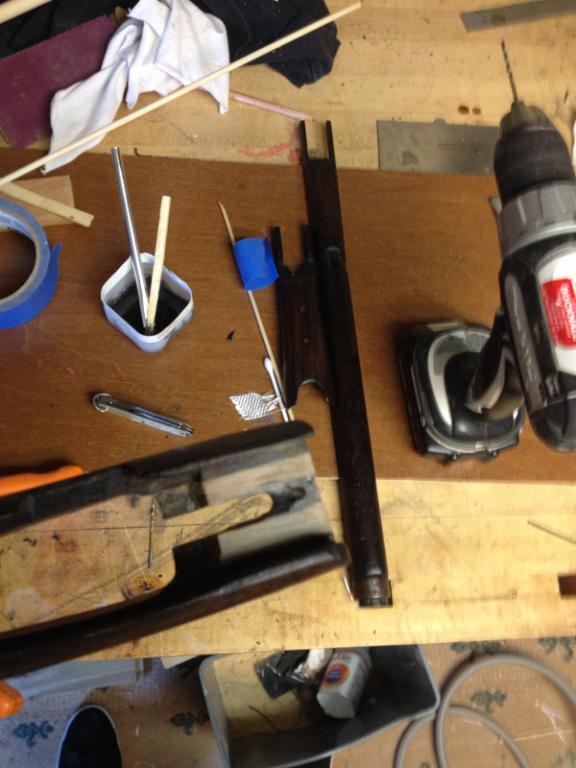
Lastly, the threadwire. I drilled out the original hole slightly undersized, took the end of threadwire that would enter first and pinched the end of it with a pair of pliers which allowed it to extend in length a wee bit. Then i filled the hole with glue, coated the threads in it as well, chucked it in the drill and slowly drove it in as far as my drill chuck would allow. I made the remaining turns with my carpenters nail pliers which got it nearly home, with the pinched side protruding just enough to be filed flat looking as if it had never been removed.
Happy, happy, BLO and done. Here are some pics ( wish i took more) and i will get into the mistake after.
cheers
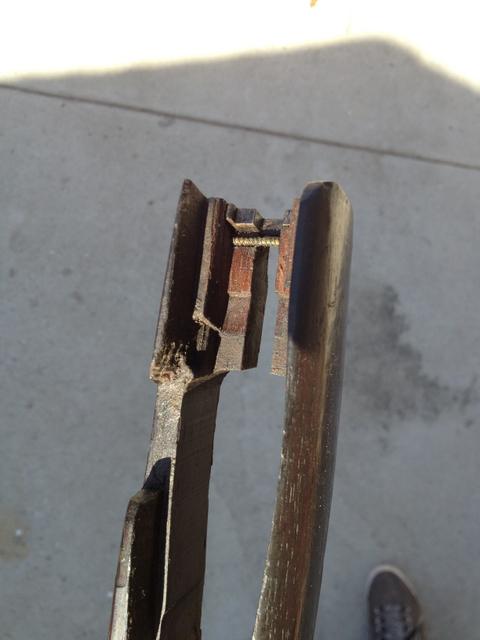
paired away
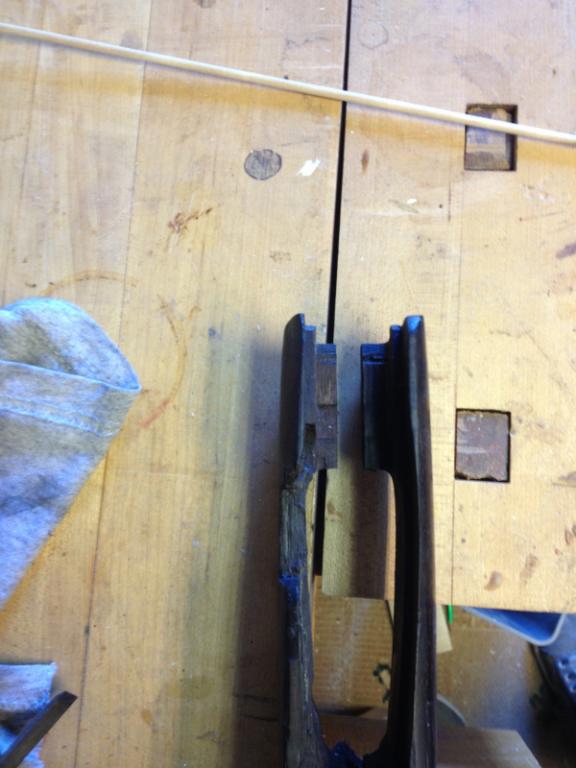
you can just barely make out the dowels i used in the crack above magwell
gasp
Information
 |
Warning: This is a relatively older thread
This discussion is older than 360 days. Some information contained in it may no longer be current. |
|
-
03-14-2013 04:10 PM
# ADS
Friends and Sponsors

-
FREE MEMBER
NO Posting or PM's Allowed
-
-
Legacy Member

Father Ted: Good work getting her back in service. Have you tried shooting after your repair to the forend to check its accuracy? Regarding your second post, I wouldn't say you made a mistake- the forend simply doesn't fit well (as many don't). Many also shoot perfectly fine with wedge shaped gaps like yours. I had a somewhat worse and uneven gap on my Siamese contract No. 1 and decided to attempt to fill it. I cut a wedge of walnut, glued it on with wood glue and filed/ sanded it to a good uniform fit. Can't insert a 0.002 feeler anywhere around forend. I found it quite simple to sand it down to provide a good fit even though the gap varied from nearly zero at one small area to 0.032 at the top on one side. Probably good insurance to do this on yours given the visible wedge shaped patch on the lower left side of yours.
Ridolpho
-


 Register To Reply