


Note: After you click on images to ENLARGE them, you may find they automatically size smaller in your browser's window making them hard to read. The auto sizing is your browser's way of keeping images entirely within the screen size you have set. If this happens, you will see a small box in the bottom right hand corner of the pic with four arrows point outwards. Click this box and the pic will EXPAND and open up to its normal size, so you should now be able to read any text and make out small details.
"GETTING RID OF YOUR ‘Ishy’ Screw"
By Peter Laidler
Firstly, I have to admit that while we didn’t see many Ishy screws on British Service No4 and 5 rifles, they did exist and you might already know, that this was a British Army innovation to save fore-ends that would have previously been condemned because a split had developed up, from the magazine housing and past the front handguard screw and collar. Later in the like of the rifles, if a split was apparent we’d just drill a small hole at the end of the split then open the split up, press wood glue into the split and squeeze the split together with a wood cramp. Then when you’d got a few together, you’d drill a hole across the fore-end, under the knox form. In exactly the place that the canny Indian Armourers placed their screw. Then clean out the split-stop hole and do the same. Make good after a few days and that was the end of the problem forever.
This way, the whole process used wood and after a few months was invisible. But with a steel wood-screw, it remained sticking out like a bulldogs, er…….., yes, er….sticking out like a sore thumb. Ah, those are the words I was looking for!
If you want to get rid of your Ishy screw, here’s what I’ve done to a practice DP rifle fore-end to illustrate the point. Firstly, remove the great unsightly screw and keep it to frame later. Clean out the hole from the screwed (the RIGHT) side with a 3mm or so drill. Don’t worry about the screw head just yet. Now ease the two sides of the fore-end open to see whether you have a crack there. If so, now is the time to spread it open with a block of wood inserted into the front trigger guard screw collar hole….., JUST sufficient to squeeze in a large helping of wood glue and allow it to close up again.
Now, with a suitable length of hardwood, make a long, say 2.5” or so tapered hardwood plug as per the drawing. Glue inside the 3mm or so hole and the plug, then drive it in from the right side until it’s in there as tight as a ducks bottom (and that’s water tight…..) and the other end is showing or emerging from the screw head hole. Once again, as per the photo. You can now cramp the fore-end together side to side but PLEASE, use protected cramps to protect the wood. Now leave it to dry for a day or two, safe in the knowledge that the previously split fore-end will remain secure for ever.
If the mood takes you, a day or so later, you can make off the right hand side of the fore-end. Now we’ve got to set about the left hand side where the unsightly screw head has carved an even unsightlier tapered hole. Now I want you to drill out this hole with a simple wood working or metal drill so that you’ve gone into the wood about ¼” to 3/8” or so, taking into account the diameter of the screw hole and the fact that you’re boring into a radius of the fore-end. Now get a bit of suitable coloured matching wood and either file it or spin it in the lathe so that the grain is not end to end, but across the grain. This way, the grain of the wood plug will match the grain direction of the fore-end. Just a tad oversize will do nicely………….
The strength of the patch is in the cross plug, The cross grain plug we’re using to plug the screw head is cosmetic. Now glue the large plug and drive it into the hole ensuring that it’s a tight fit and the grain exactly matches that of the direction of the fore-end. There, just how simple is that? All you have to do is make good and if you’ve done your homework, you won’t even need to colour-match it. Shown for good measure is a Thompson Gun that’s had the same treatment. Can you JUST see the join?
Now, those pictures………………
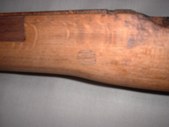
The top, rear of a No4 fore-end with a set of worn out draws, in need of patching.
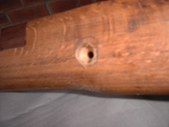
(Click PIC to Enlarge)
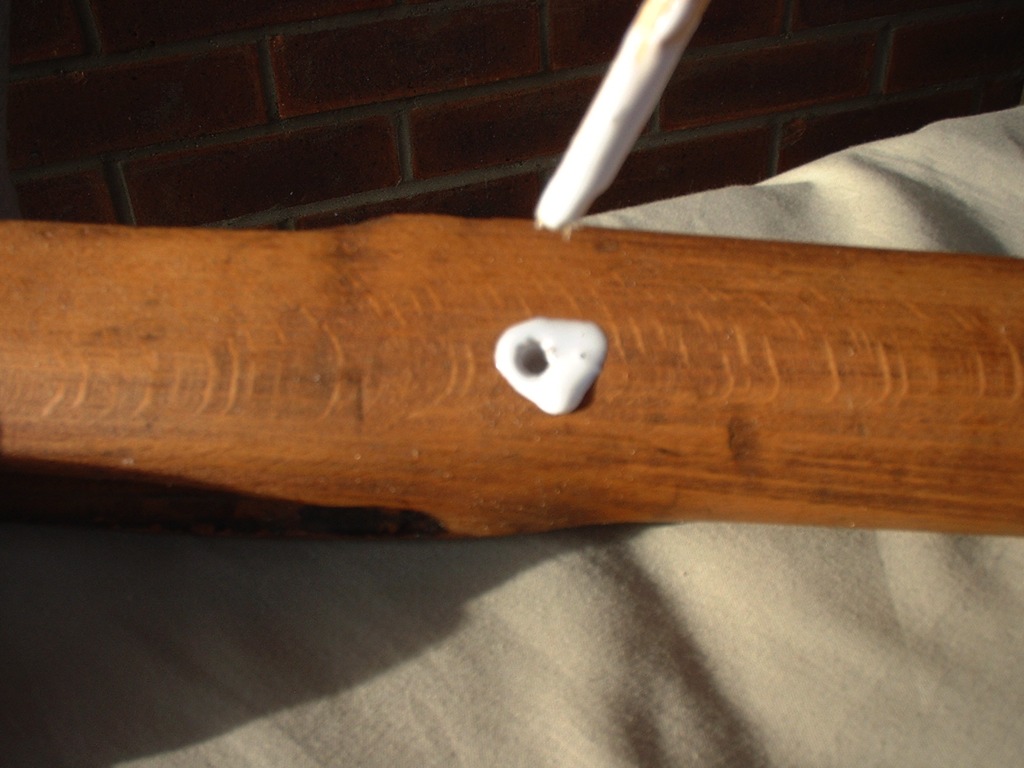
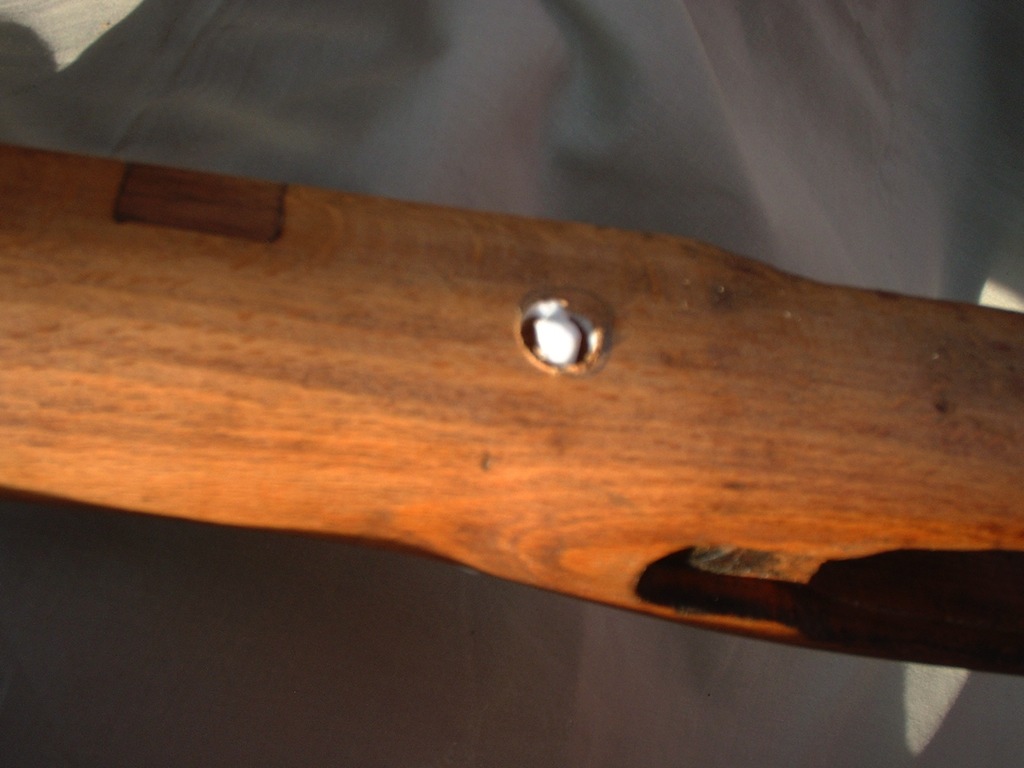
Now the left side, the screw head hole has been drilled and countersunk for a depth of, say, 3/8” or so.

(Click PIC to Enlarge)
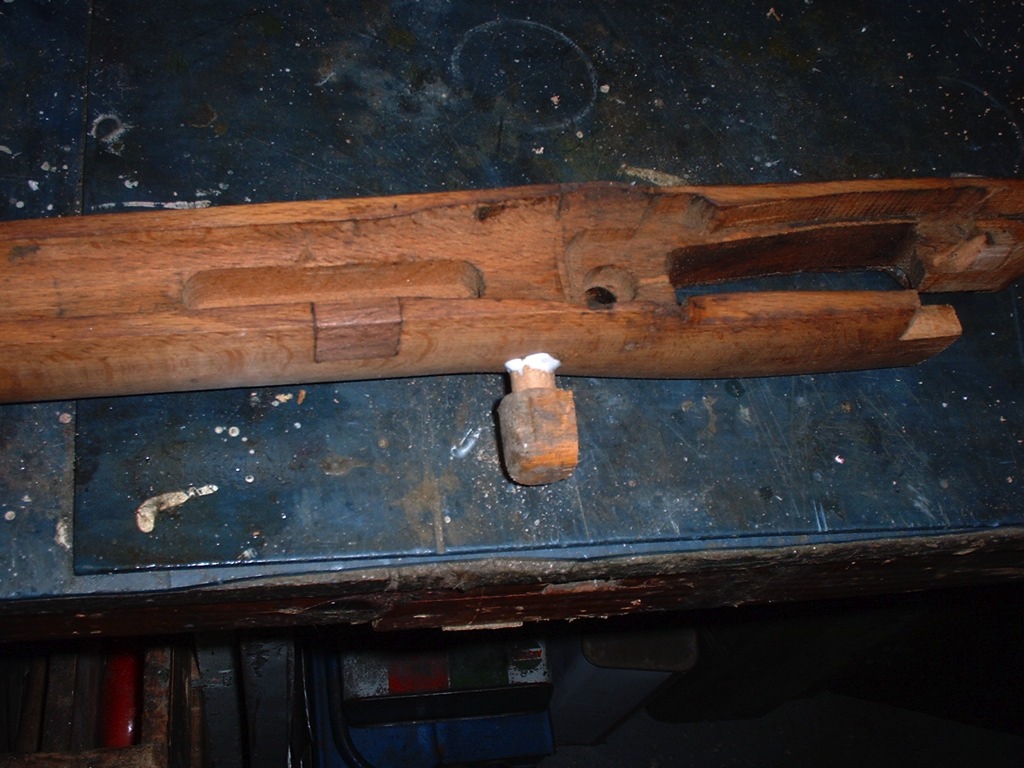
The hole glued right through with the hardwood slightly tapered plug glued, ready to be knocked in.

(Click PIC to Enlarge)
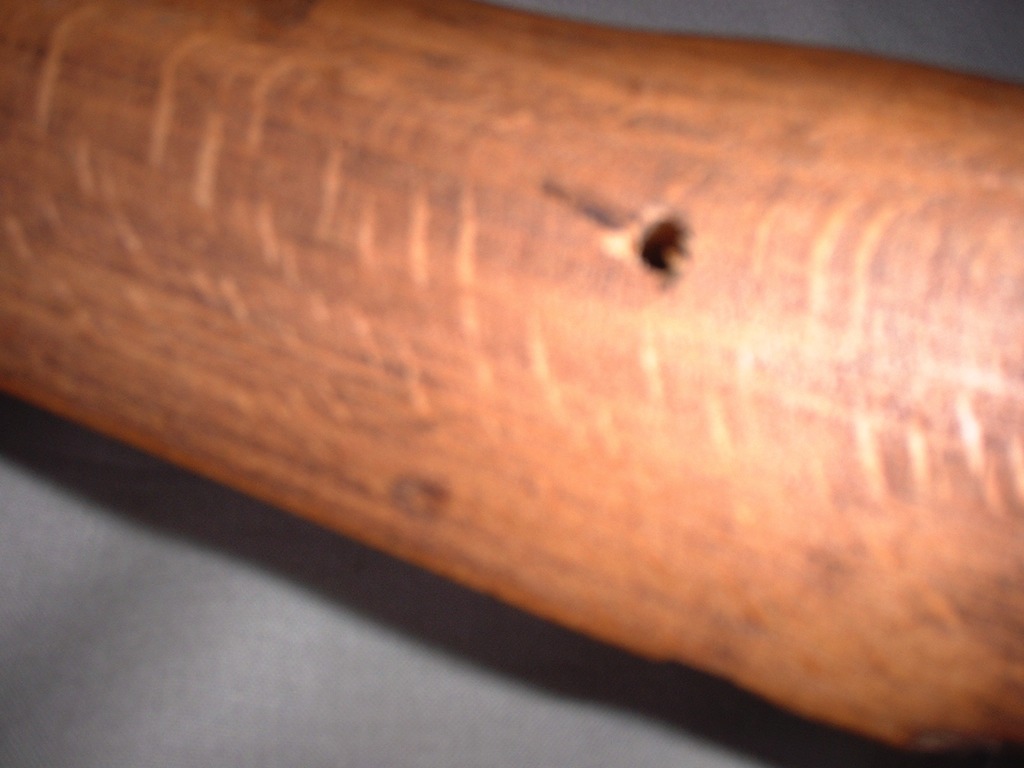
There it is, knocked right in and…………
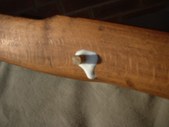
(Click PIC to Enlarge)
Out of the other side. This is the strength of the plug.
(Click PIC to Enlarge)
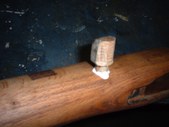
This shows the large diameter plug with an end grain going in the direction of the wood grain of the fore-end. Use a similar grain and colour of the fore-end. Make it slightly tapered and knock it in!

(Click PIC to Enlarge)
There it is from the top.

(Click PIC to Enlarge)
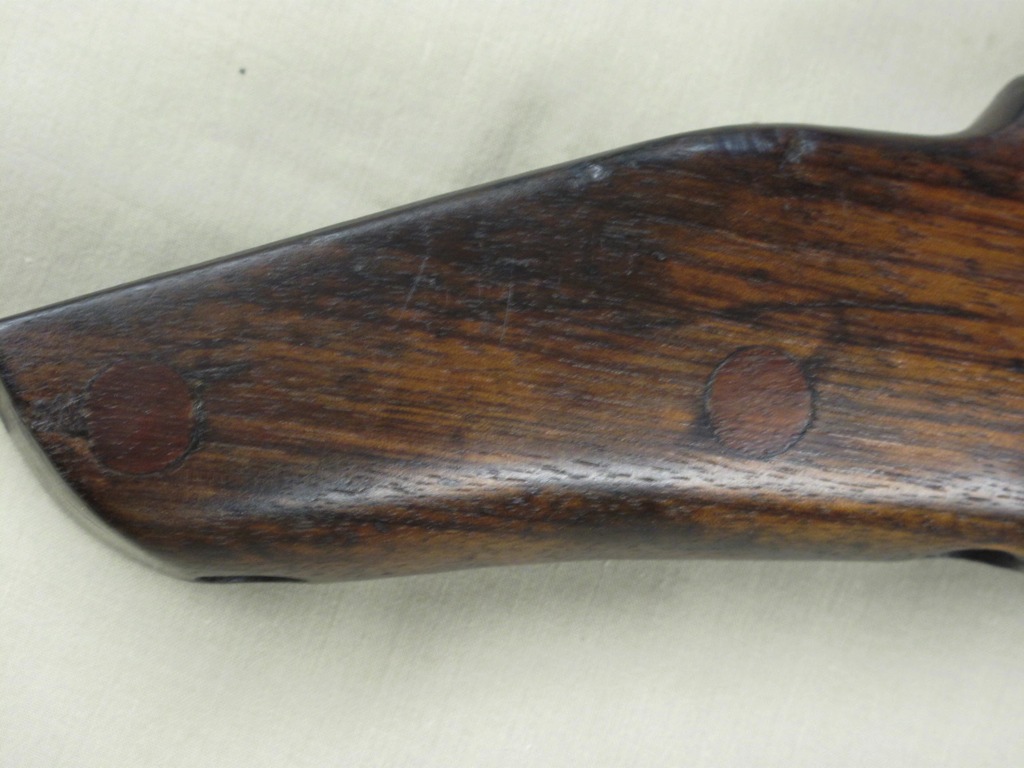
The finished plug, made off and ….
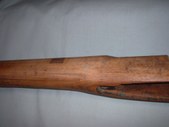
(Click PIC to Enlarge)
Taken from a few inches away. You can hardly see it. After a few weeks, once it’s got a bit of linseed oil, polish and elbow grease, it’ll be invisible. I suppose I should have used a dark wood to show the process more clearly. It’s a shame that it’s a scrap fore-end isn’t it?
(Click PIC to Enlarge)
Also shown are a couple of similar patches inserted into an ex OSS Thompson machine gun butt, captured in Bosnia and roughly repaired in the past with wood screws and later patched.
 (Click PIC to Enlarge)
Copyright ©2006 - 2009 by Peter Laidler and MILSURPS.COM

(Click PIC to Enlarge)
Now the left side, the screw head hole has been drilled and countersunk for a depth of, say, 3/8” or so.
(Click PIC to Enlarge)
The hole glued right through with the hardwood slightly tapered plug glued, ready to be knocked in.
(Click PIC to Enlarge)
There it is, knocked right in and…………

(Click PIC to Enlarge)
Out of the other side. This is the strength of the plug.

(Click PIC to Enlarge)
This shows the large diameter plug with an end grain going in the direction of the wood grain of the fore-end. Use a similar grain and colour of the fore-end. Make it slightly tapered and knock it in!
(Click PIC to Enlarge)
There it is from the top.
(Click PIC to Enlarge)
The finished plug, made off and ….

(Click PIC to Enlarge)
Taken from a few inches away. You can hardly see it. After a few weeks, once it’s got a bit of linseed oil, polish and elbow grease, it’ll be invisible. I suppose I should have used a dark wood to show the process more clearly. It’s a shame that it’s a scrap fore-end isn’t it?

(Click PIC to Enlarge)
Also shown are a couple of similar patches inserted into an ex OSS Thompson machine gun butt, captured in Bosnia and roughly repaired in the past with wood screws and later patched.
 (Click PIC to Enlarge)
Copyright ©2006 - 2009 by Peter Laidler and MILSURPS.COM
Collector's Comments and Feedback:
1. Capt. Peter Laidler is the senior Armourer in the UK Military, now retired, but based as a Technical Officer at the UK Military Small Arms School. In addition to being a trained and highly experienced military "Armourer", he has authored two excellent books about the No.4(T) sniper rifles and their No.32 scopes. They are titled "An Armourer's Perspective: .303 No.4(T) Sniper Rifle", which he co-authored with Ian Skennerton and his own dedicated work, "Telescope Sighting No.32".
If you're really interested in some in-depth learning about the No.4(T) sniper rifles and the No.32 series of scopes, their history, evolution, repair and adjustments for shooting, I'd highly recommend those two books, which are pictured below. ....... (Feedback by "Badger")
 (Click PIC to Enlarge)
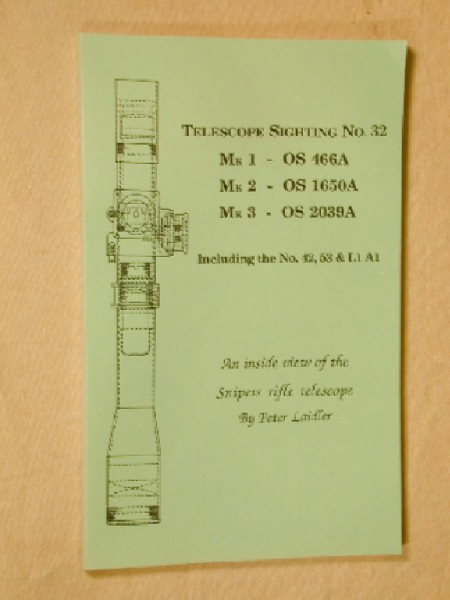
Note: The opinions expressed herein or statements made in this article are solely those of the author, and do not necessarily reflect the views of the Military Surplus Collectors Forums, or the ownership and moderation group of this site. MILSURPS.COM accepts no legal liability or responsibility for any claims made or opinions expressed herein. Also, please note that neither the author nor MILSURPS.COM recommends that any member of these forums, or a reader of this article, try this type of experimentation without the proper knowledge, equipment and training.
 Countries
 Categories