-
Legacy Member

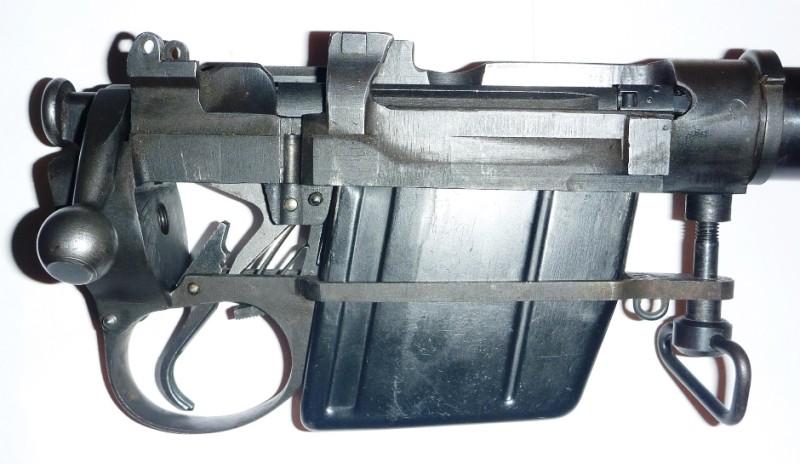
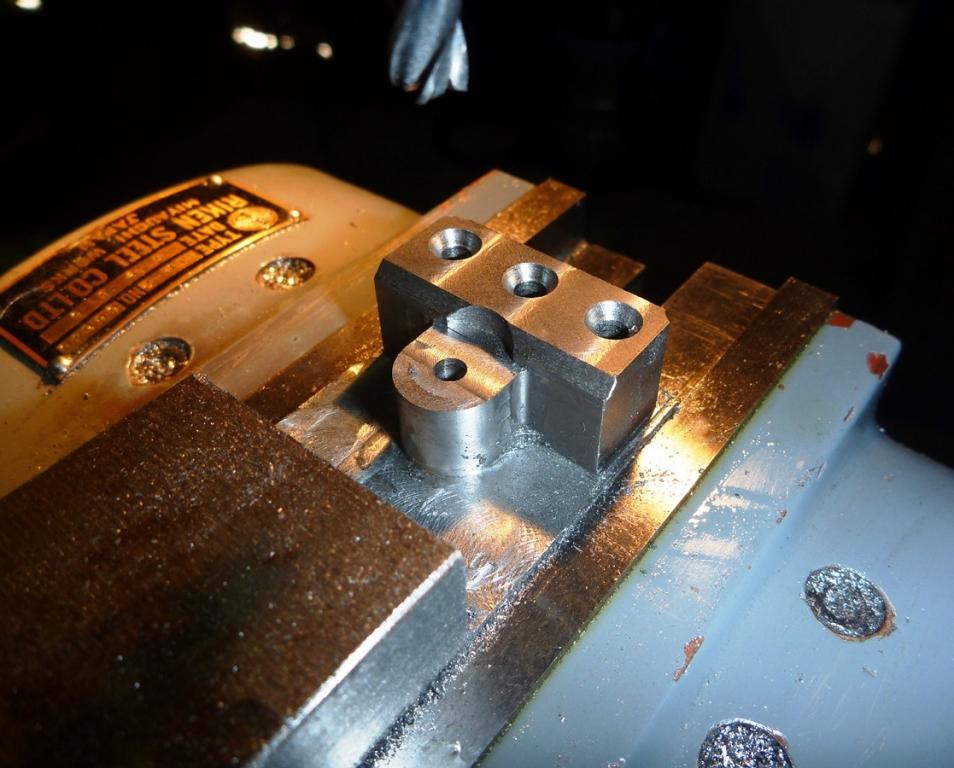
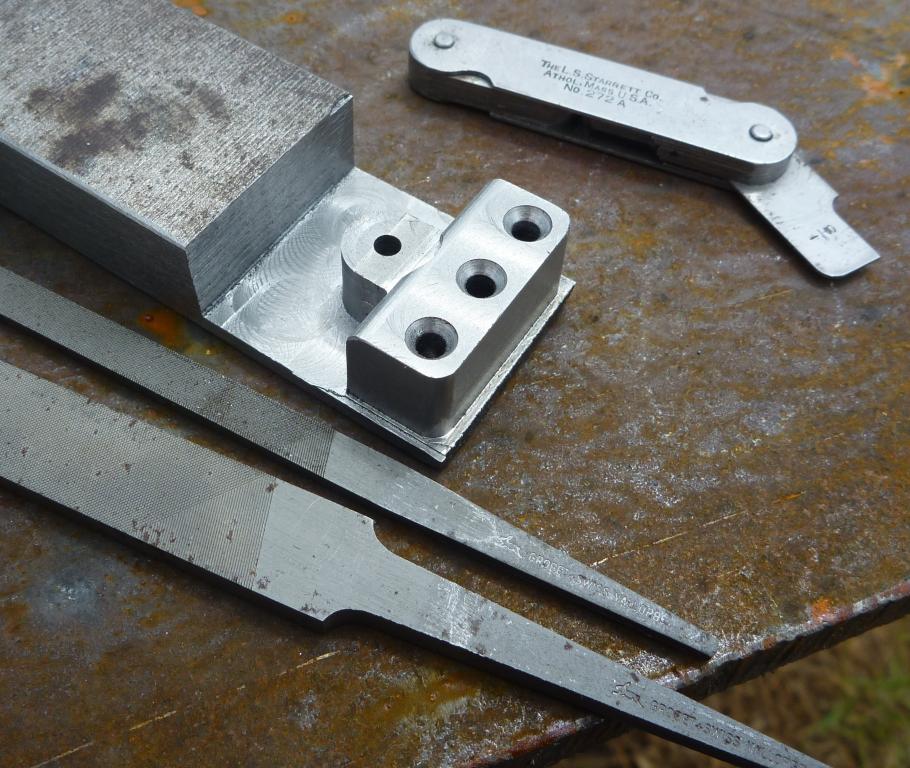
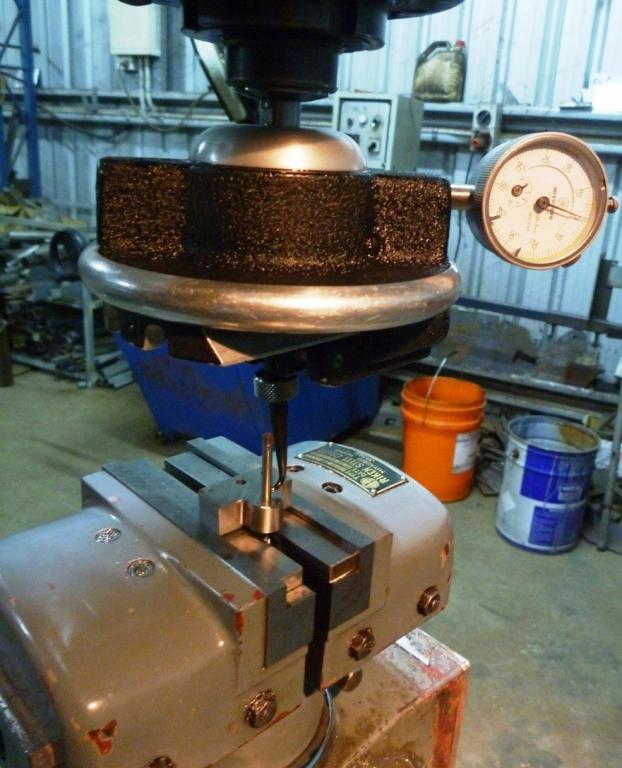
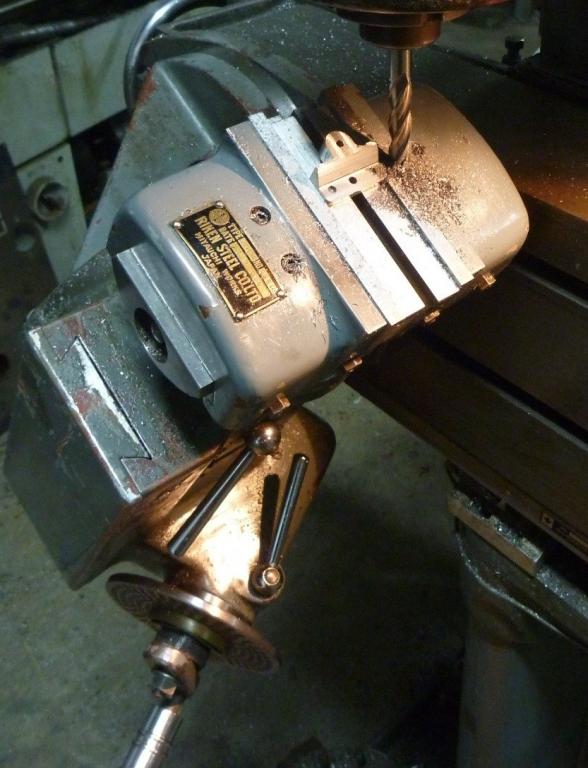
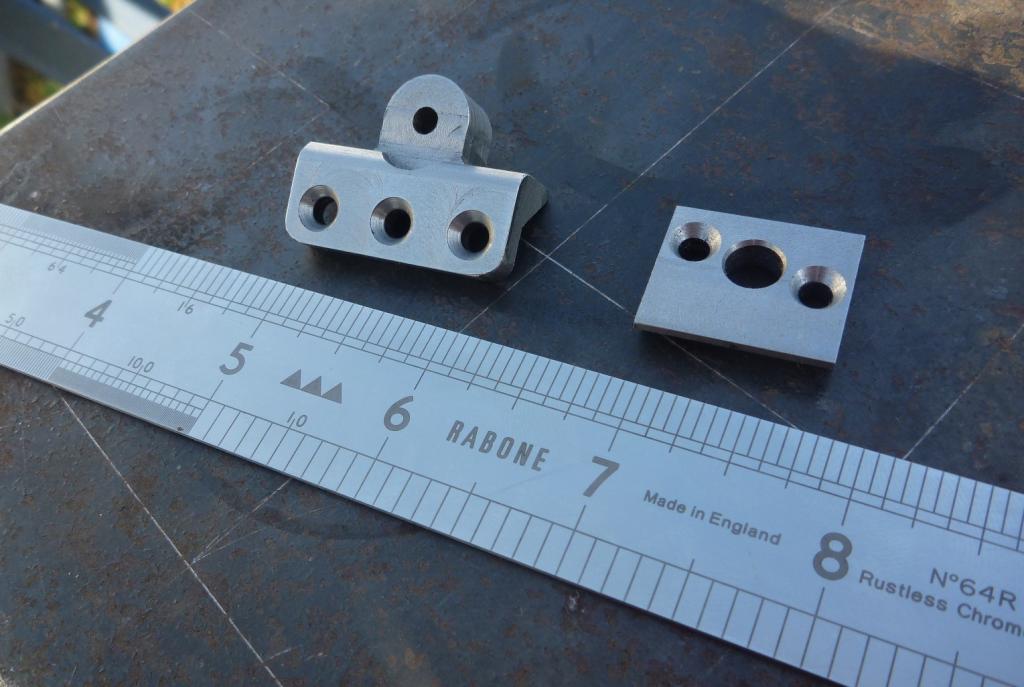
Fitting & machining of bracket pads blanks on a No#4
Last edited by BrianLara400*; 02-20-2015 at 08:31 AM.
-
The Following 13 Members Say Thank You to BrianLara400* For This Useful Post:
Badger,
brent65,
Brian Dick,
CINDERS,
Dieudonne' Saive.,
enfield303t,
jmoore,
S12A,
Seaspriter,
villiers,
Vincent,
vintage hunter,
xa-coupe
-
02-20-2015 08:23 AM
# ADS
Friends and Sponsors

-
FREE MEMBER
NO Posting or PM's Allowed

Wish I could do that ....
-
-
Legacy Member


Originally Posted by
villiers

Wish I could do that ....
Me too but I'm quite satisfied with the one I was forced to settle with instead.
Last edited by vintage hunter; 02-20-2015 at 12:27 PM.
-
-
Legacy Member

You might try KEO KEO Cutters - Welcome They can probably make one.
BTW, Their headquarters is in Athol, Massachusetts, not far from Starrett where your fillet/radius gage was made.
Last edited by Vincent; 02-20-2015 at 04:11 PM.
-
Thank You to Vincent For This Useful Post:
-
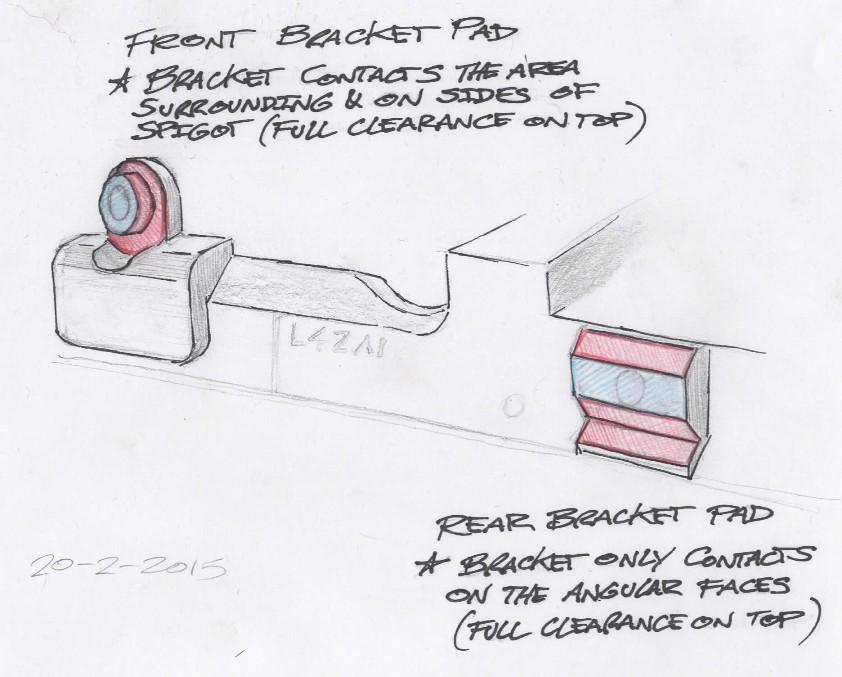
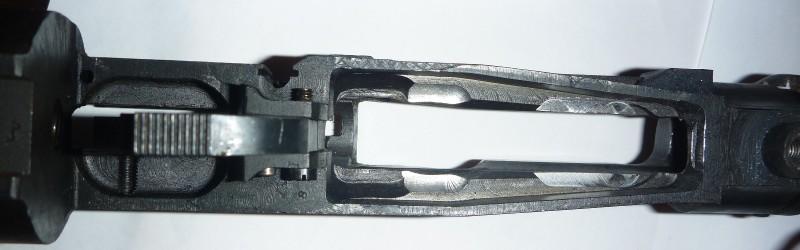
Seems like you really have made a mountain out of a molehill there Brian! Mind you with all those facilities....... We often used to encounter sheared-off spigots from the front pads of L42 rifles caused by the additional rotational forces of the 7.62mm rounds against the moments of the bracket. Just insert an accurately made sleeve into the front pad as illustrated in the little H&H book and this will cure your need for the shell mill cutter. The perfect fit of the pad spigot into the corresponding opening in the bracket is critical for one of the woprkshop inspection stages.
Make sure that you read up on the article about making up a decent repro No4T too
-
The Following 2 Members Say Thank You to Peter Laidler For This Useful Post:
-
I applaud your efforts to do the job as close as possible to the H&H method! Probably going to have to fabricate a shell milling cutter. Could do one yourself if you have tool steel and heat treat, but it's a fiddle-y job.
Thinking that modifying a spot facing/counter boring tool may be the easiest way out, but you may have to have the ID EDM'd to size. OD isn't a bother.
-
Thank You to jmoore For This Useful Post:
-
Legacy Member
Seems like you really have made a mountain out of a molehill there Brian! Mind you with all those facilities.......
Yeah undoubtedly I have, though if nothing else that venerable little H&H book impressed upon me the importance of not fluffing up the collimation process .
.
If in part that involves rolling up my sleaves to ensure I'm building with the best possible componentry so be it
The turning of the spigot as a seperate insert, certainly alleviates the need for a shell mill and I'd suggest offers a higher level of control over the O.D. rather than just plunging and accepting the resulting spigot (whether that still be within tolerance or not). The concerning thing about a shell mill may be the potential for it to wander whilst plunging, given it would be fairly heavily engaged on one side. - will ponder that one a little longer.
Peter do you happen to recall how well the repaired spigots faired when returned back into service i.e did they fail with a higher incidence after they'd been repaired the once?
Also you mention in the book that some front pads would occasionally work loose over time as recoil took its toll (as these don't have the additional assistance of the 1/4"bsf thumbscrew passing directly through into the action body as per the rear pad).
As I've got the opportunity to do things from scratch, would you consider the dowelled bush method of securing the front body pad a worth while thing to try?
JMoore, I've got some silver steel of the right size and a tempering oven etc so making a shell mill isn't out of the question - and your right the outside diameter isn't critical +/-.
Just have to make sure to make sure it behaves and the ID cuts a resulting spigot within that tight .369-.370" tolerance band @ .120" deep.
Also spotted a few dimensional errors with the freshened up drawings in the Knowledge Library , so will submit a few corrections once I've finished working through it all.
Thanks for all the comments, will keep people updated on the progress!
Last edited by BrianLara400*; 02-24-2015 at 06:51 AM.
-
Thank You to BrianLara400* For This Useful Post:
-
I don't recall any of the repaired front pad spigots ever failing and we did quite a few over the years. No doubt some are still out there performing well in their civilian lease of life. While pinning the front pad was never tried, fitting collars certainly was. But to be honest, if you've got 3 solid screw shanks, albeit 4BA, tightened down while v.hot and then shrinking down to finally clamp-up and with tinned mating surfaces, why over egg the cake?
-
Thank You to Peter Laidler For This Useful Post:
-
I dowelled a front pad on an L42a1, using existing stake craters for minimal visual impact. Hardened 0.062" pins. Only because I have a big old AN/PVS-1 to go on top. Has worked well, but certainly not a controlled study!
-
-
Re the front bracket spigot. To save all the shell-mill palava and making an insert, you could just mill the spigot radially by rotating the pad about the axis of the bracket screw hole
-
The Following 2 Members Say Thank You to Peter Laidler For This Useful Post:


 Information


 PM
PM


