-
Legacy Member

Sentryduty's No.4 Mk I Repair and Restoration
Getting the topic started with some pictures. Text to follow!
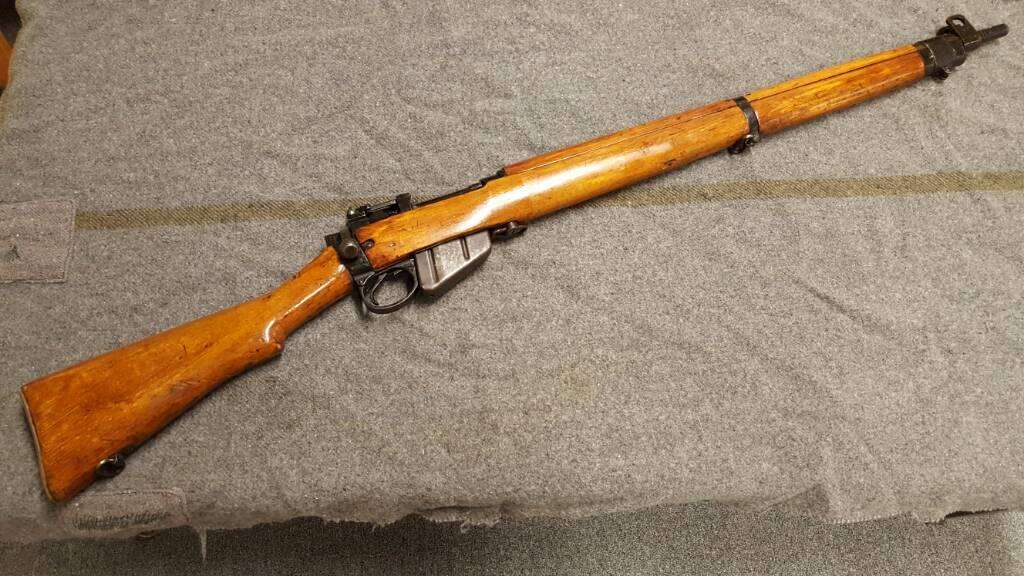
This is a project rifle of mine, it is a heavily varnished No4 Mk1 that while mostly complete, has seen the bad side of neglect since it was assembled in 1943. The rifle has been drilled and tapped for an unknown scope base and was obtained without a rear sight, ejector screw, and a few stock concerns. The bolt is a mismatch, the magazine spring is broken, but the bore is very good to almost excellent.
It does headspace properly and shoot, so I intend to practice repair and restoration techniques and see where I end up. It all goes well, I would like to consider an optic mount since the receiver is already slightly hacked up.
#1
#2
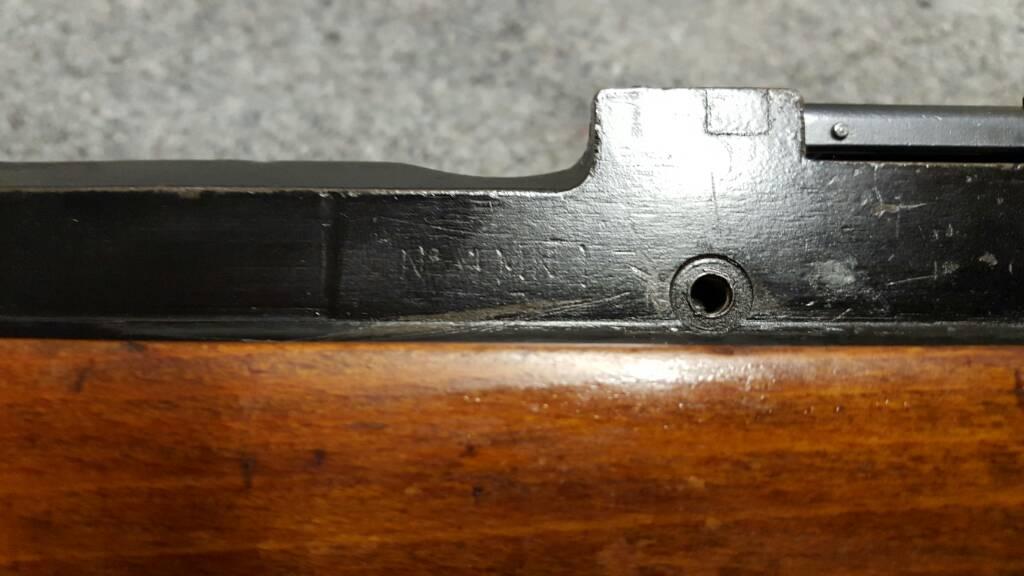
#3 The socket information appears to read M47 1943 and serial AD ?937 under all the paint.

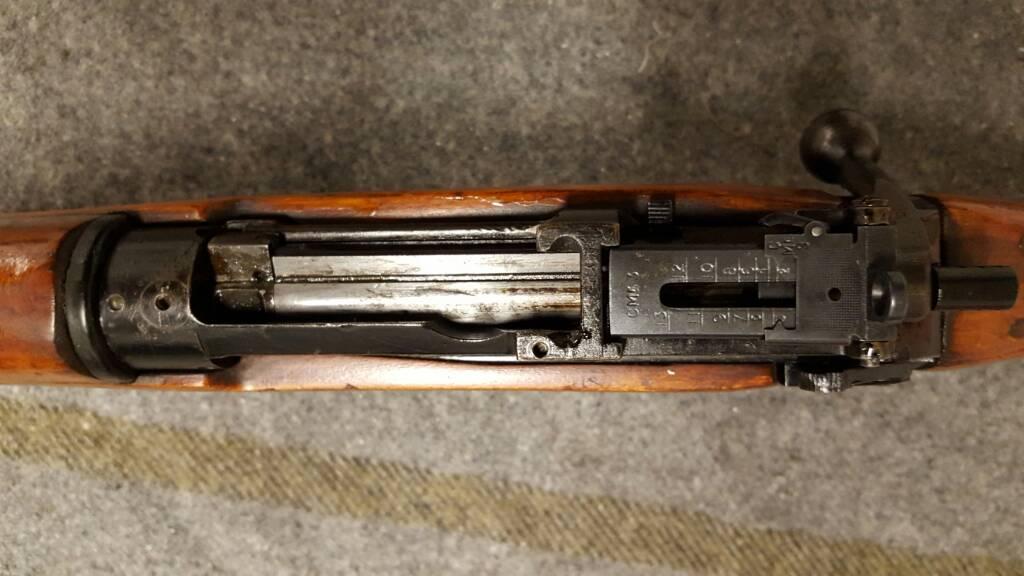
#4 No 4 Mk I marking and missing ejector screw detail.
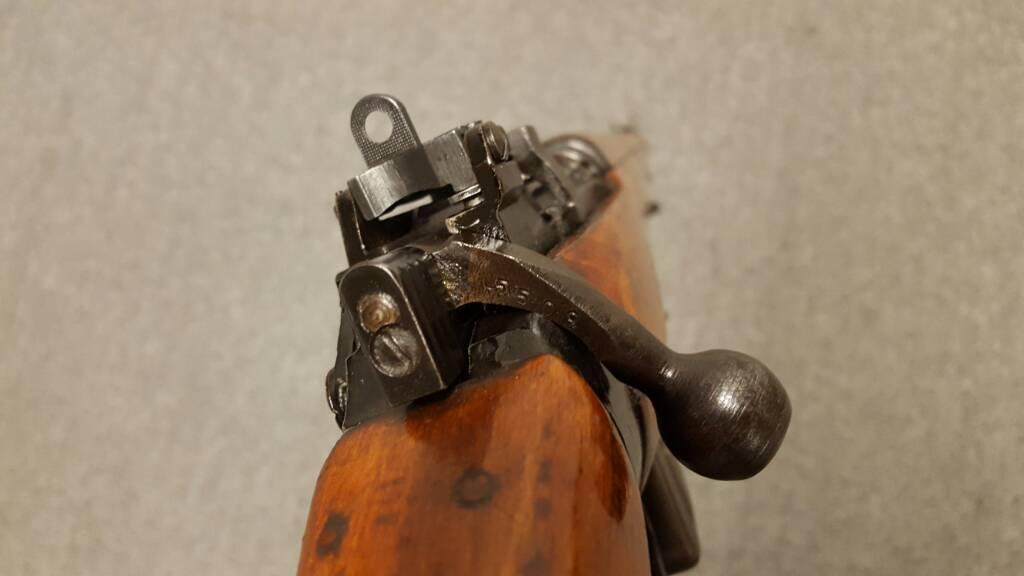
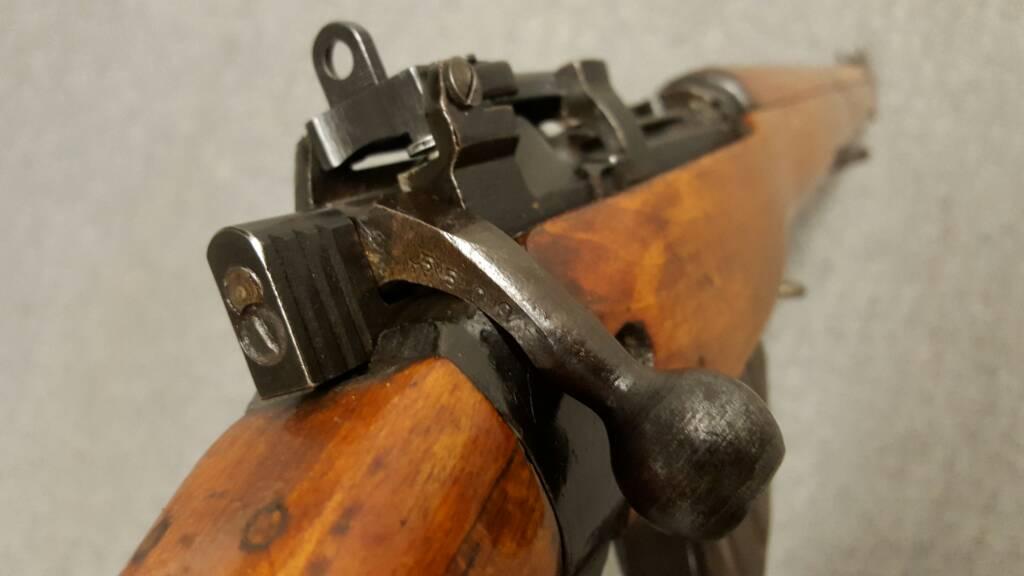
#5 Rear sight is a Canadian one from my parts bin, and detail of the bold handle.
#6
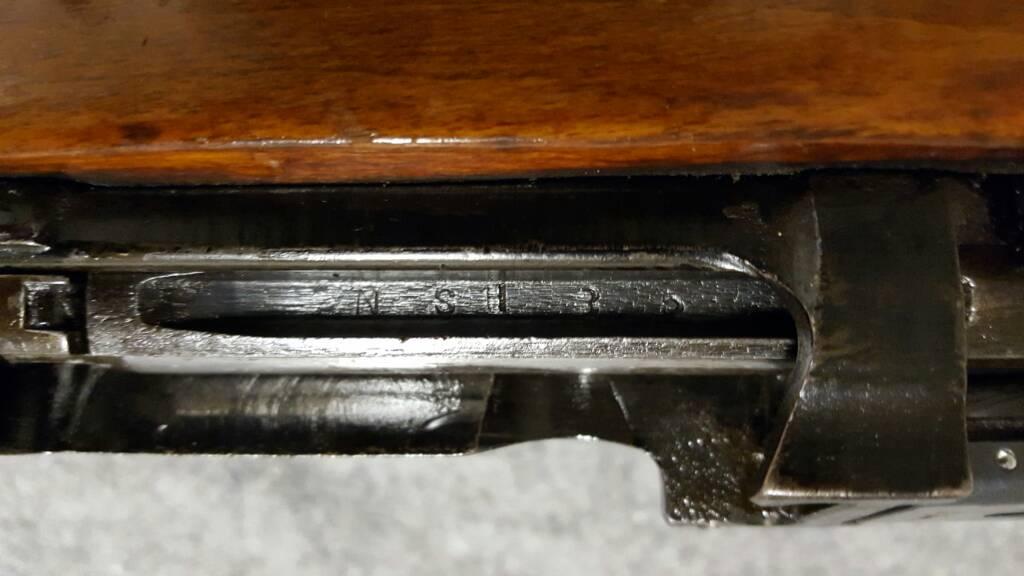
#7 Bolt body is marked N S H and an understruck 3 or 8, anyone know what this indicates?
#8
#9
#10 Notice the split in the wood, hopefully this is something that can be repaired, as this stock does match the serial of the action.
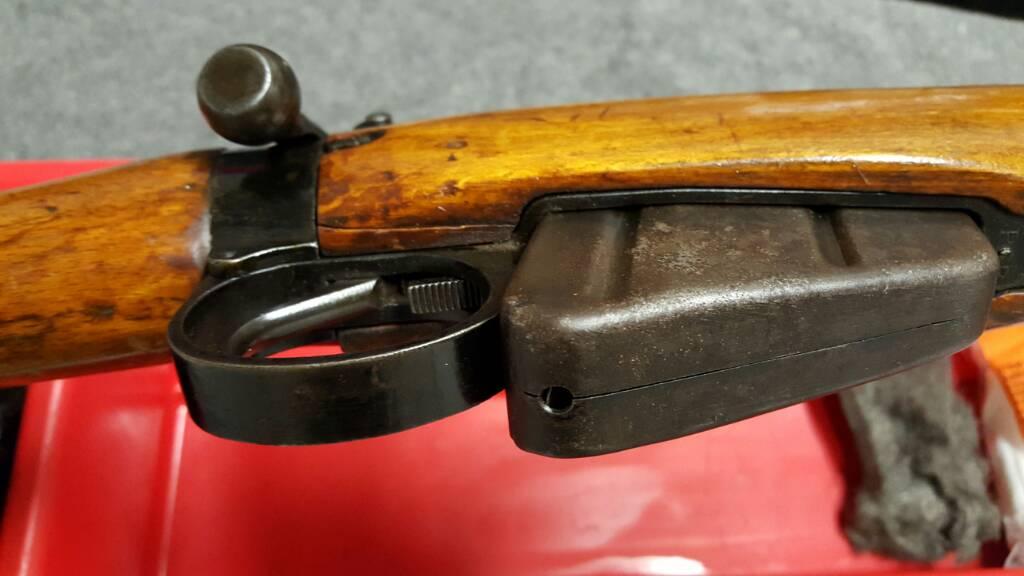
#11 The action cover loop has been broken off at some point to clear the "sniper" sling swivel which has been donated to Seaspirter's Long Branch build. Brian Dick has a regular guard screw replacement on the way to fill this hole.
More to follow, and this will be a long-term project, so watch this space.
Sent from my SM-G920W8 using Tapatalk
Information
 |
Warning: This is a relatively older thread
This discussion is older than 360 days. Some information contained in it may no longer be current. |
|
Last edited by Sentryduty; 02-12-2016 at 05:46 PM.
- Darren
1 PL West Nova Scotia Regiment 2000-2003
1 BN Princess Patricia's Canadian Light Infantry 2003-2013
-
The Following 4 Members Say Thank You to Sentryduty For This Useful Post:
-
02-12-2016 11:08 AM
# ADS
Friends and Sponsors

-
Advisory Panel


You can fill those holes you know. They'll be blind after. Or, a TO-1 scope mount and an older Weaver would look about right. You can make a cheek piece out of walnut square stock.
-
-
-
Legacy Member

#10 Notice the split in the wood, hopefully this is something that can be repaired, as this stock does match the serial of the action.
I think that’s pretty common. Someone didn’t know what they were doing when they removed the forearm. Ask me how I know… I just glued it back on because I have no woodworking skills. Real armouers no doubt have a proper fix.
-
-
FREE MEMBER
NO Posting or PM's Allowed
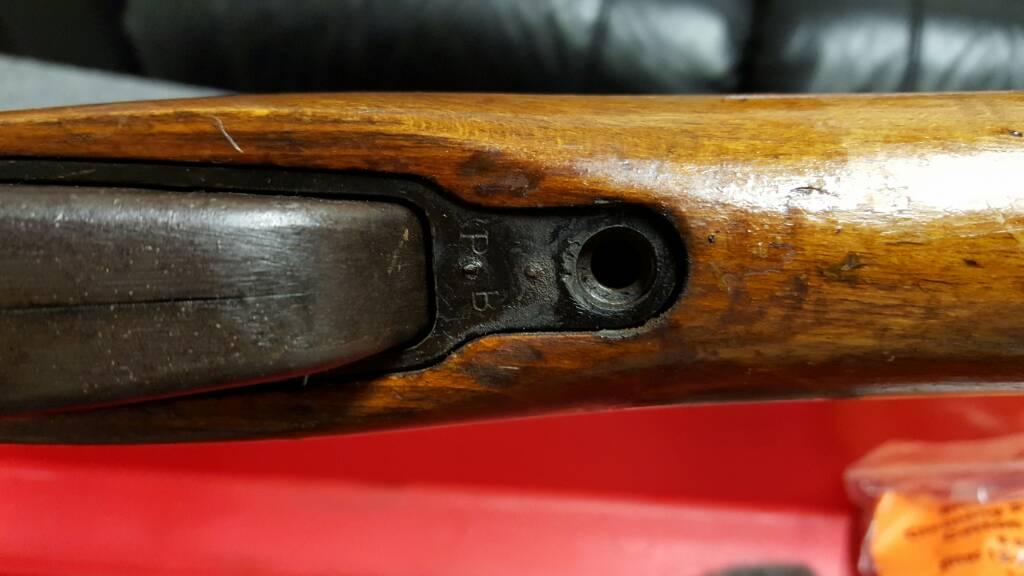
Have you had the fore end or butt stock off yet, the filled in holes on the wrist have me intrigued.
-
The filled-in holes in the wrist of the butt show me that a REAL Armourer has patched it in the past. Patch undercut or dovetailed, glued and then pegged with oak dowels. The cracked fore-end at the rear of the trigger guard was a common break point that is another easy patch and peg fix.
The holes could be welded over BUT.......... If you do, you will never remove the barrel again as the weld WILL adhere to the barrel set inside the breech ring. The only way is to remove the barrel, slightly countersink the holes, clamp a copper plate underneath and then mig over.
A good project for the winter
-
Thank You to Peter Laidler For This Useful Post:
-
FREE MEMBER
NO Posting or PM's Allowed
What does the ENGLAND on the receiver mean? I have a No4 and that is the only marking on it.
-
Legacy Member

The US requires country of origin be stamped on goods imported into this country, so you see the England stamp used before the 1968 GCA.
-
Thank You to gsimmons For This Useful Post:
-
Legacy Member
You can fill those holes you know. They'll be blind after. Or, a TO-1 scope mount and an older Weaver would look about right. You can make a cheek piece out of walnut square stock.
I had been thinking about the "way forward" with this rifle and given the uselessness of modern repro No.32 scopes, I have been thinking on a vintage weaver an early K series or maybe a Lyman Alaskan. I could use a TO-1 mount I suppose, never thought of that option.
About filling those tapped holes...
The holes could be welded over BUT.......... If you do, you will never remove the barrel again as the weld WILL adhere to the barrel set inside the breech ring. The only way is to remove the barrel, slightly countersink the holes, clamp a copper plate underneath and then mig over.
I had been looking at methods to fill the holes, and had not considered using a MIG welder. I do have a good one, but am not at all sure where on the scale I should be for heat for this sort of project any ideas?. I would remove the barrel as directed and weld to fill the voids.
The other option is the soften a matching screw, thread into the hole, saw off near flush, peen, and blend with files and sand paper. But there are appearance drawbacks to that method as well.
I do appreciate everyone's answers, and I am not jumping into this work right away so there will be plenty of time to discuss, plan, and practice.
Fitting an optic is still an on the fence item for this build, but the foremost hole would have to have a screw extracted from it, there is a bit of a broken piece lodged in there.
My first order is to tackle the low hanging fruit, complete disassemble, and stock repair, then refinishing.
Last edited by Sentryduty; 02-16-2016 at 02:07 PM.
- Darren
1 PL West Nova Scotia Regiment 2000-2003
1 BN Princess Patricia's Canadian Light Infantry 2003-2013
-
Thank You to Sentryduty For This Useful Post:
-
Advisory Panel

Originally Posted by
Sentryduty

About filling those tapped holes...
Can either be done with wire feed which will make them gone and if you intend to refinish it works well enough, or you can screw in a screw of correct pitch and cut it flush and trim down to fit. Then tap it flush with a drift and hammer and touch with cold blue. It will be virtually blind.
-
The Following 2 Members Say Thank You to browningautorifle For This Useful Post:
-
Contributing Member

I watched Harry Potterfields from Midway USA vid on that way of filling holes and it worked very well.
Last edited by CINDERS; 02-17-2016 at 05:20 AM.
-
Thank You to CINDERS For This Useful Post:


 PM
PM


