-
Legacy Member

Shaping and refinishing new birch CMP wood
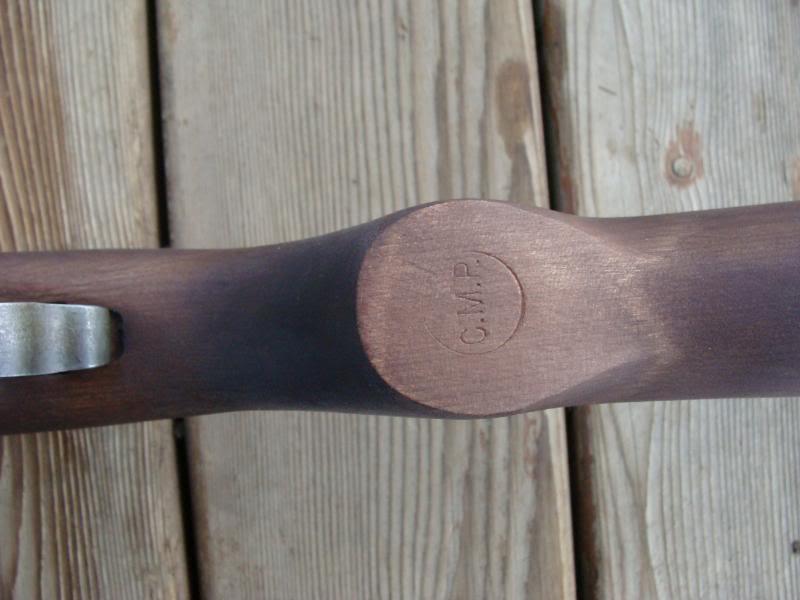
My CMP Service Grade Winchester came with a new CMP-stamped birch stock and birch handguards. I didn't mind because I have always liked the golden blonde color of birch. Unfortunately, the wood had been stained with a drab chocolate brown stain to make it look more like walnut:
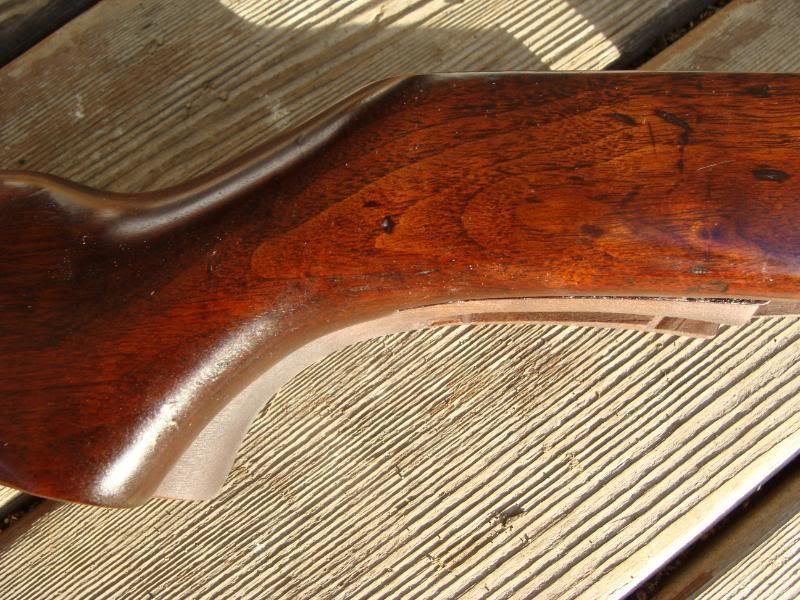
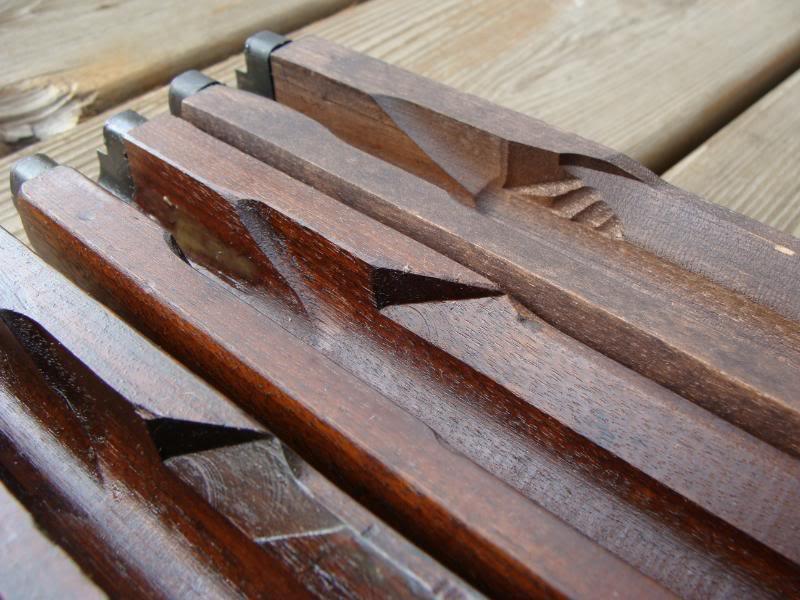
Also, the shape of the stock was a little off. The stock is a Boyds stock that has been shaped to a close-to-USGI contour. But the front of the stock is still too fat on the bottom (CMP stock on the left)
and the shape of the pistol grip is off. When placed beneath a SA/GAW stock the difference can be seen:
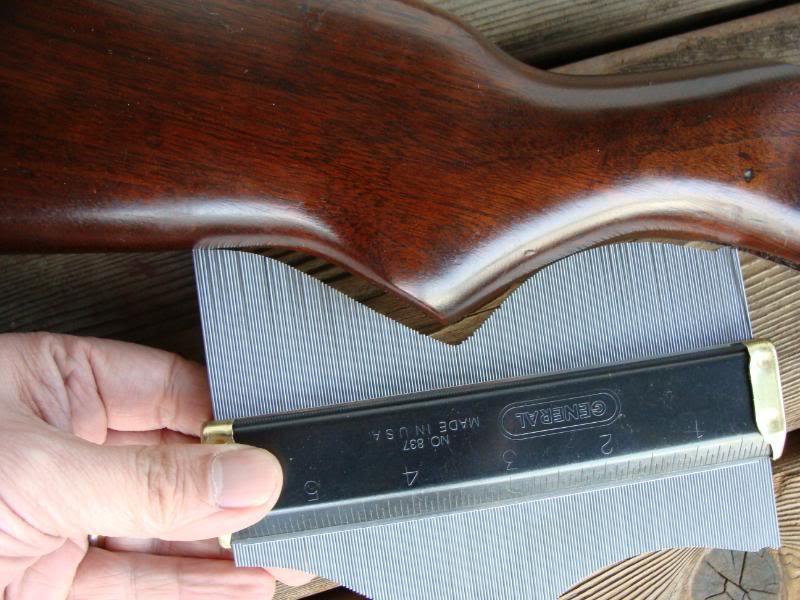
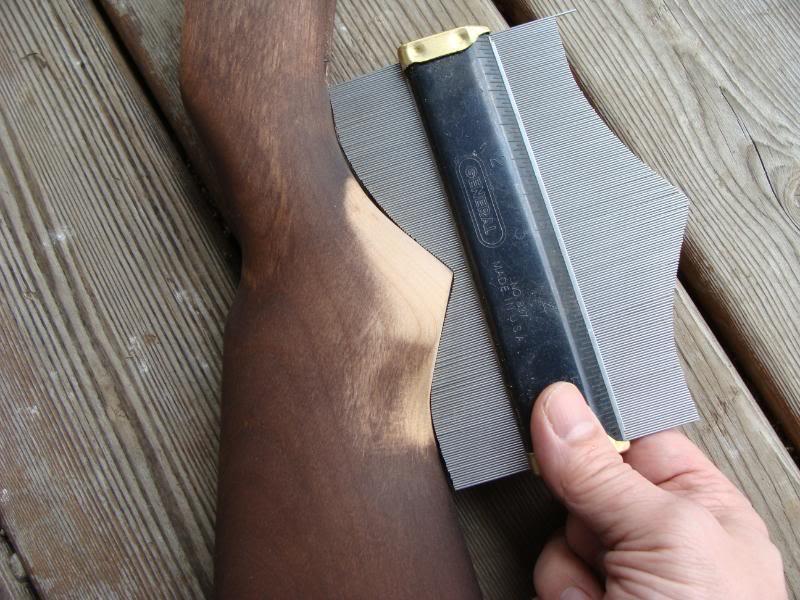
Using a contour gauge from Ace Hardware Ace - Tools: Layout & Measuring Tools: Gauges: General® Contour Gauge (837) I took the contour of the birch CMP stock pistol grip
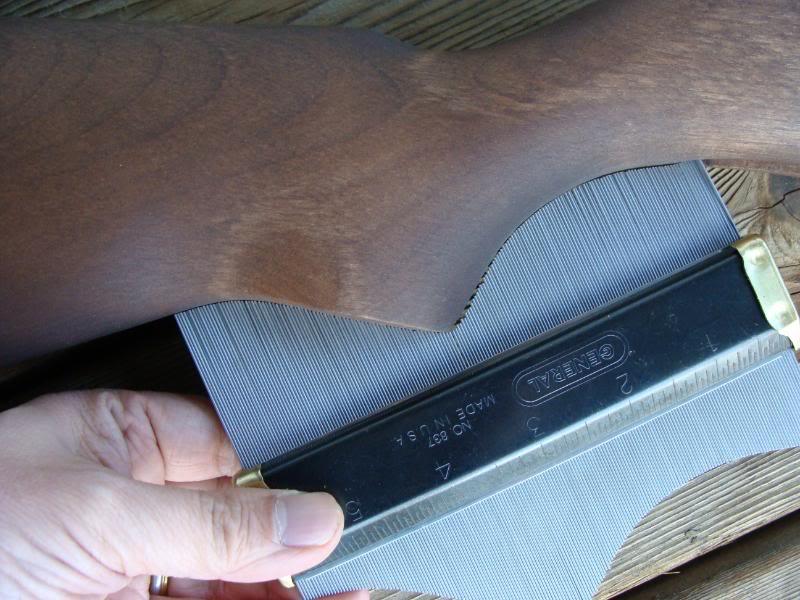
and then compared it to a SA/GAW stock. Notice that the CMP stock is thicker on the bottom and the front of the pistol grip.
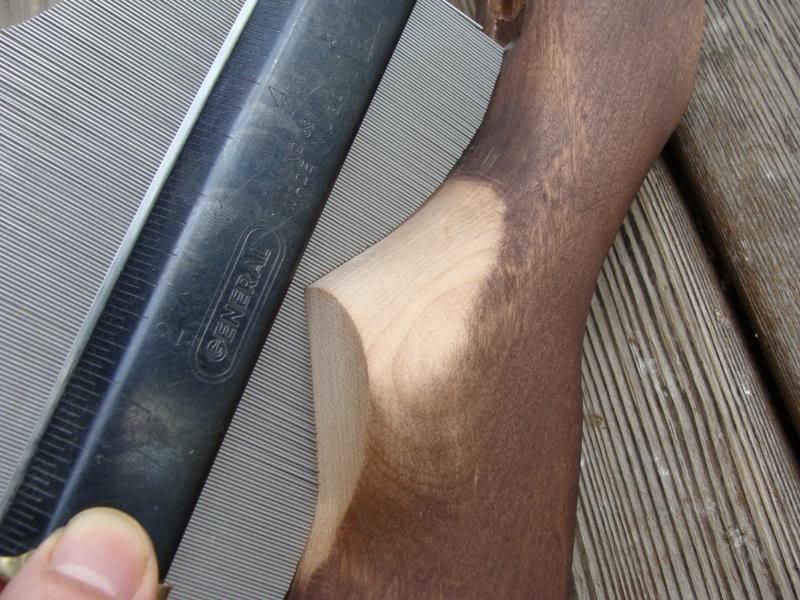
Then I took the contour of the SA/GAW stock
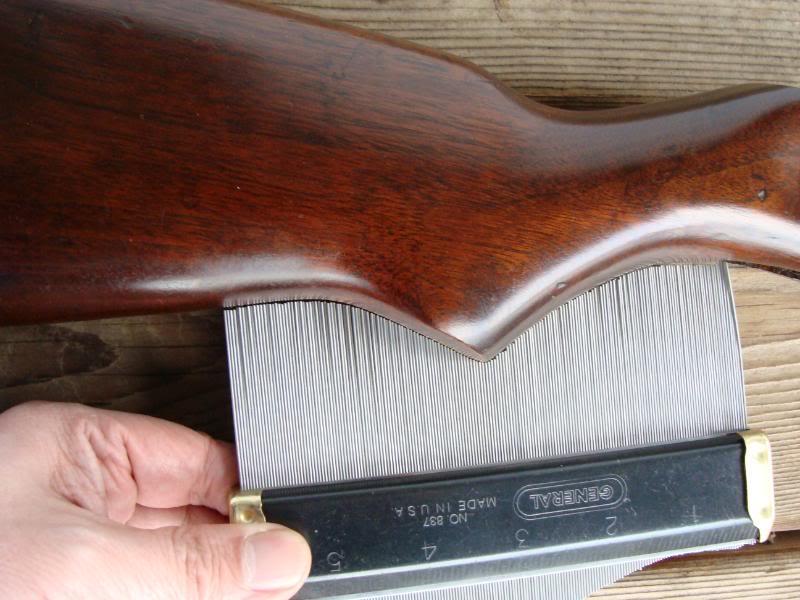
and compared it to the CMP stock. Again, the bottom front edge of the CMP stock sticks out too far.
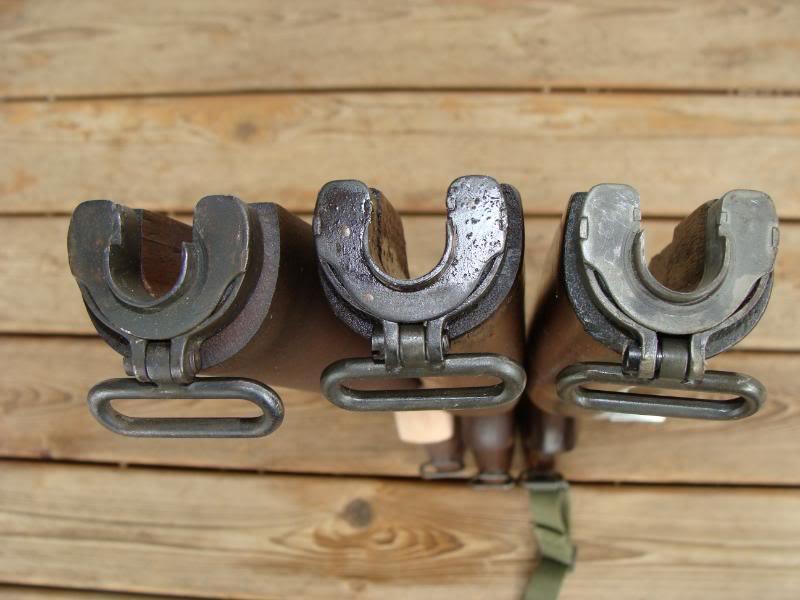
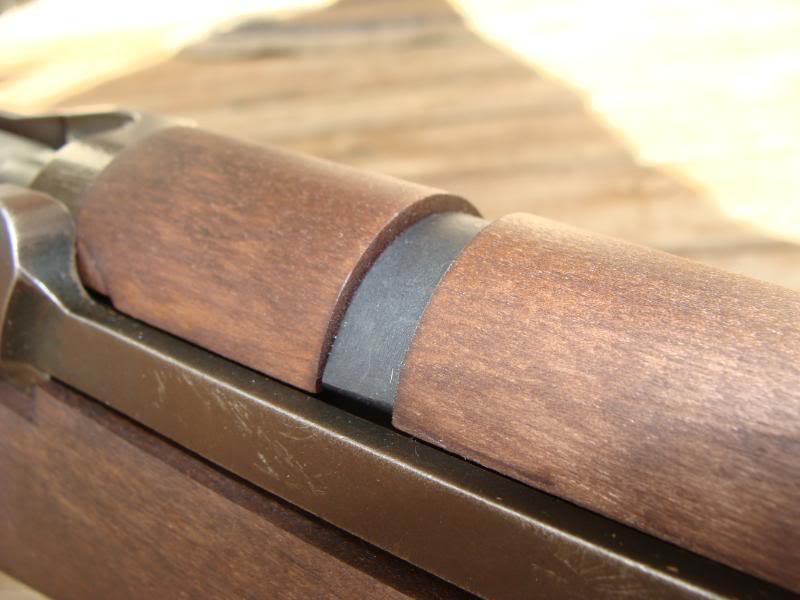
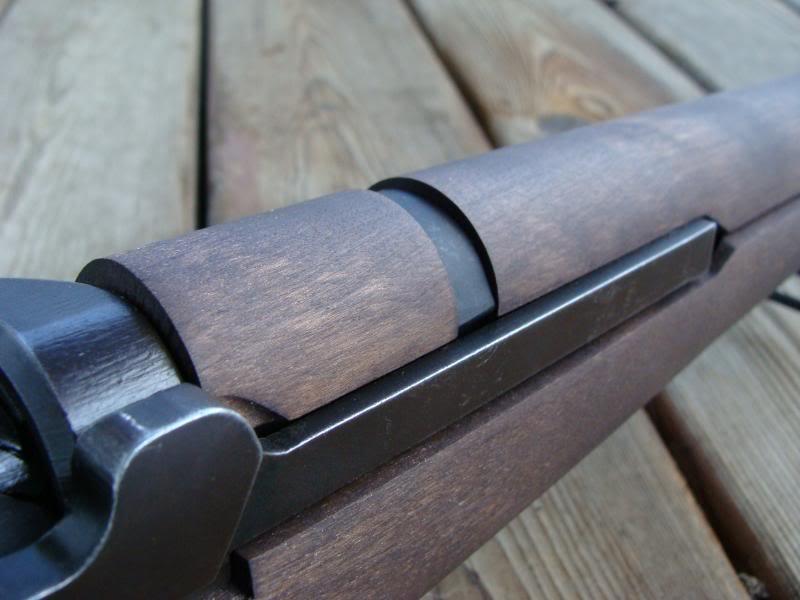
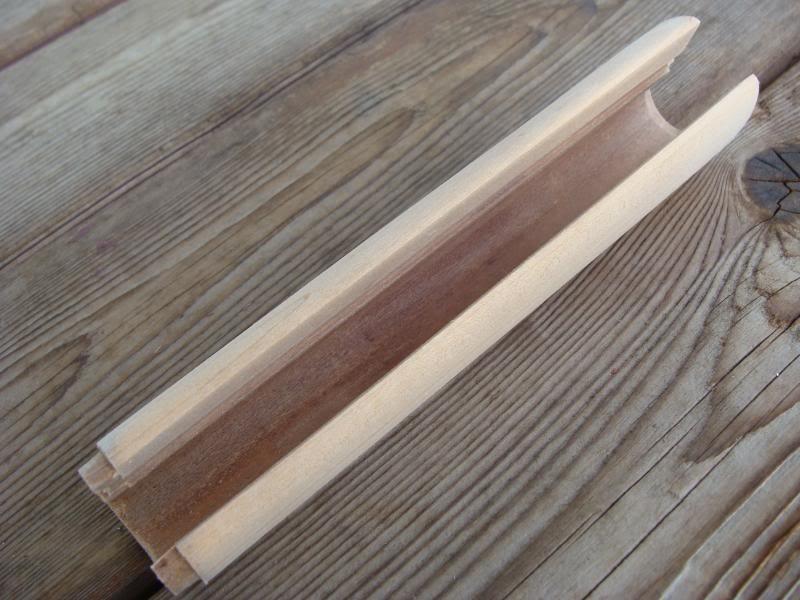
While the front handguard is correctly shaped, the rear handguard is too thick:
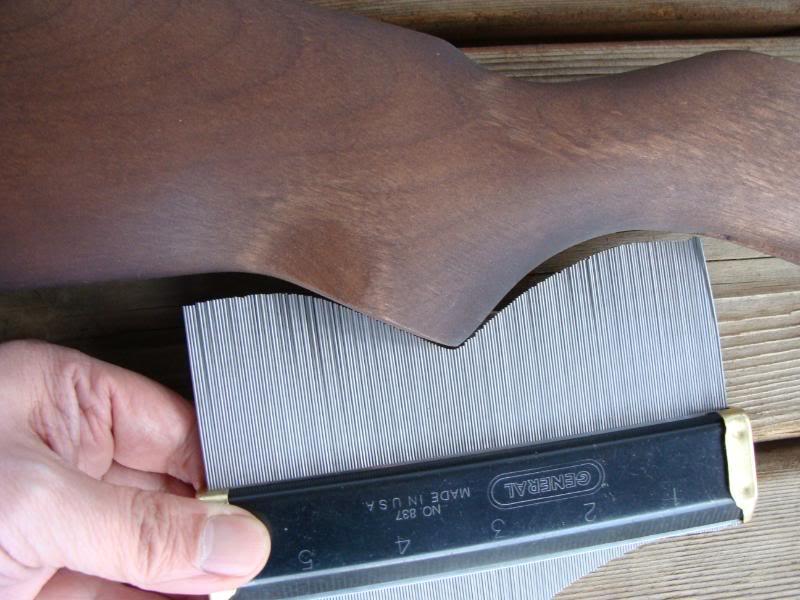
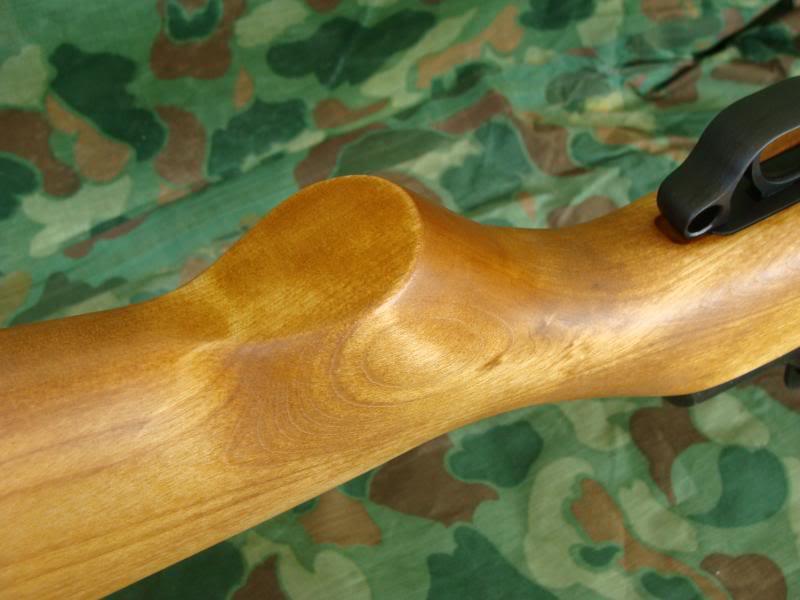
Shaping the pistol grip consisted of sanding the front and the bottom of the pistol grip while frequently checking the contour with the contour gauge set to the USGI contour until the shape was correct:
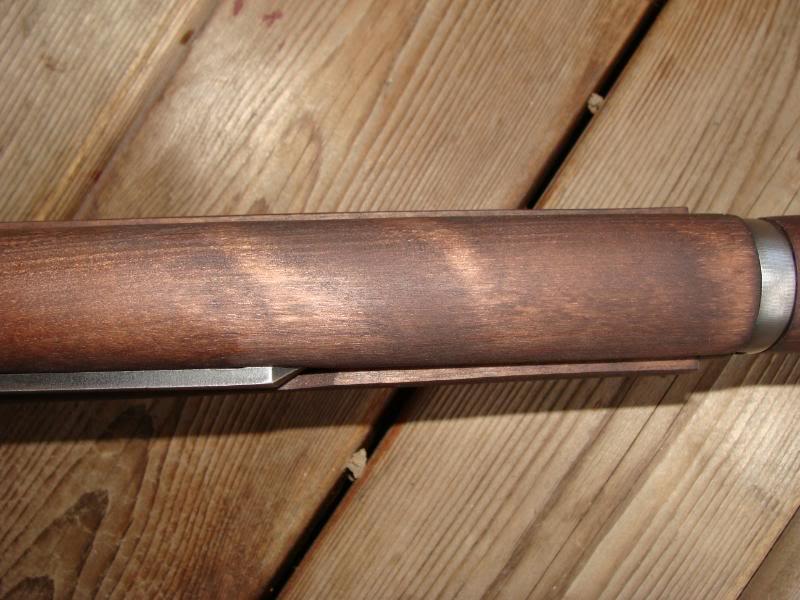
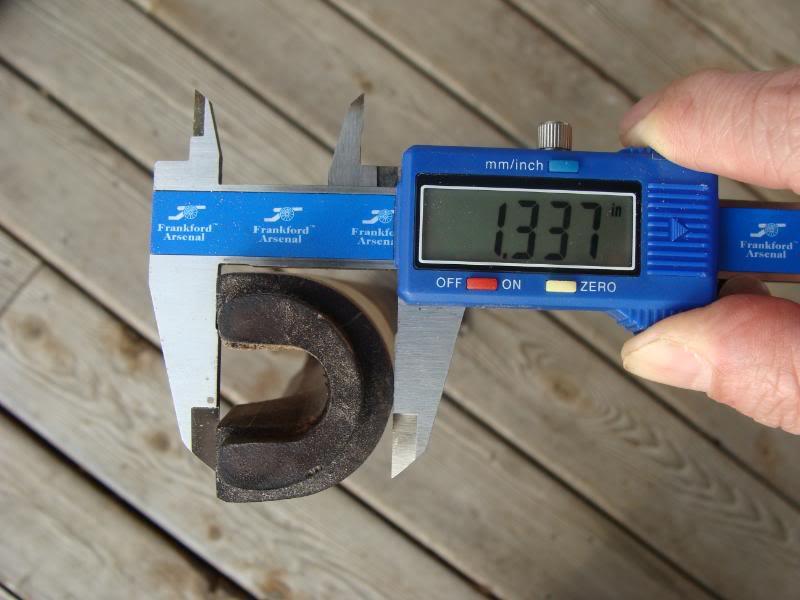
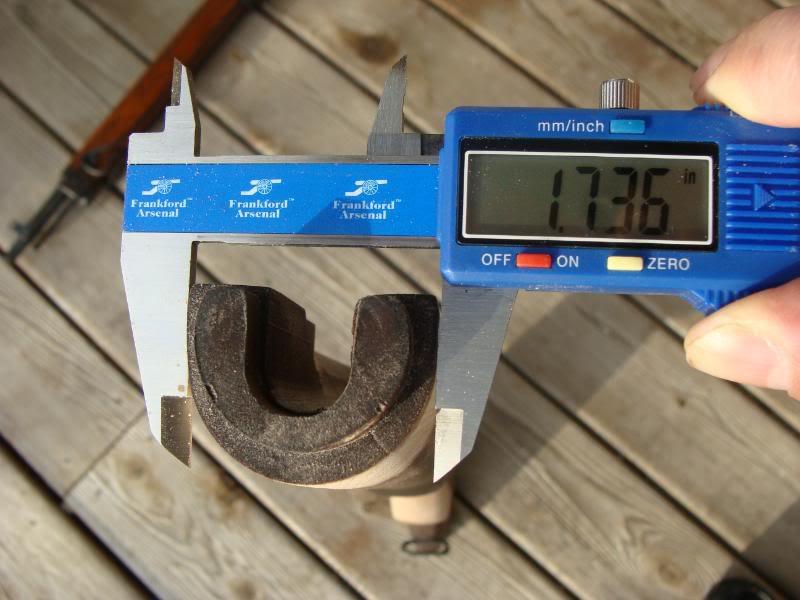
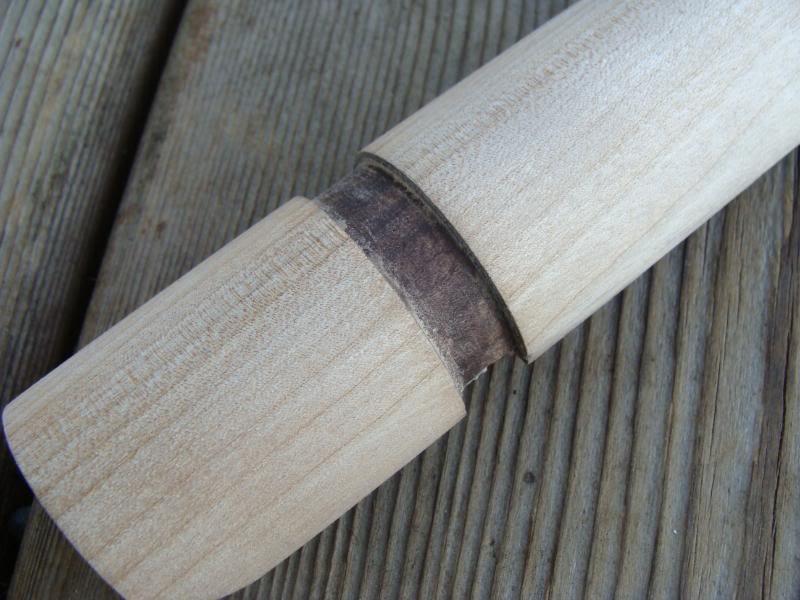
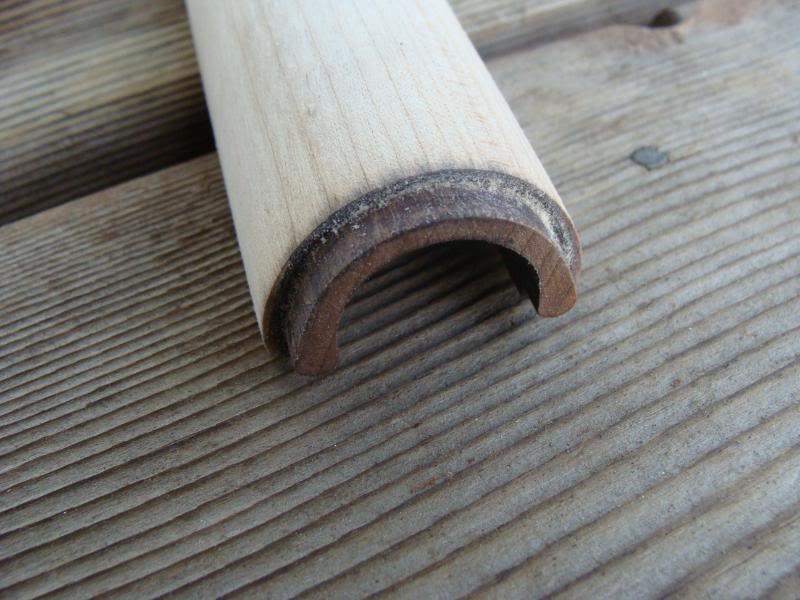
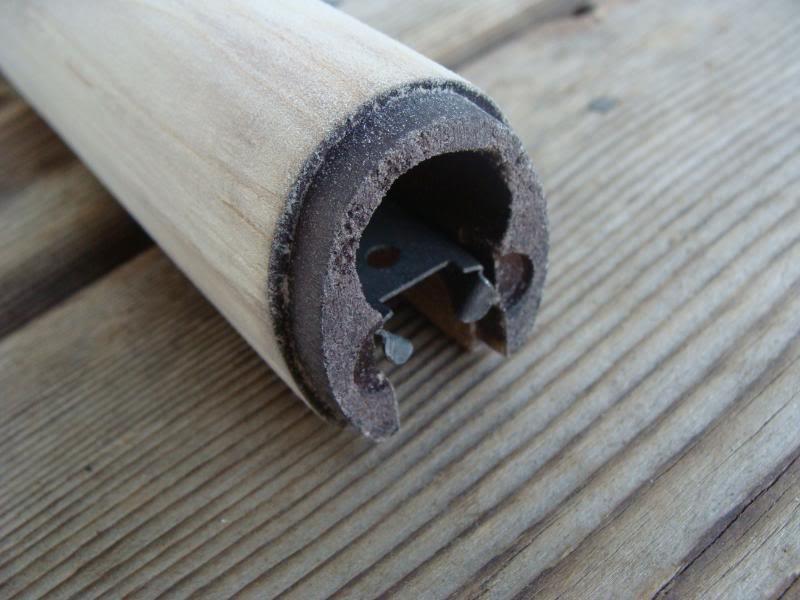
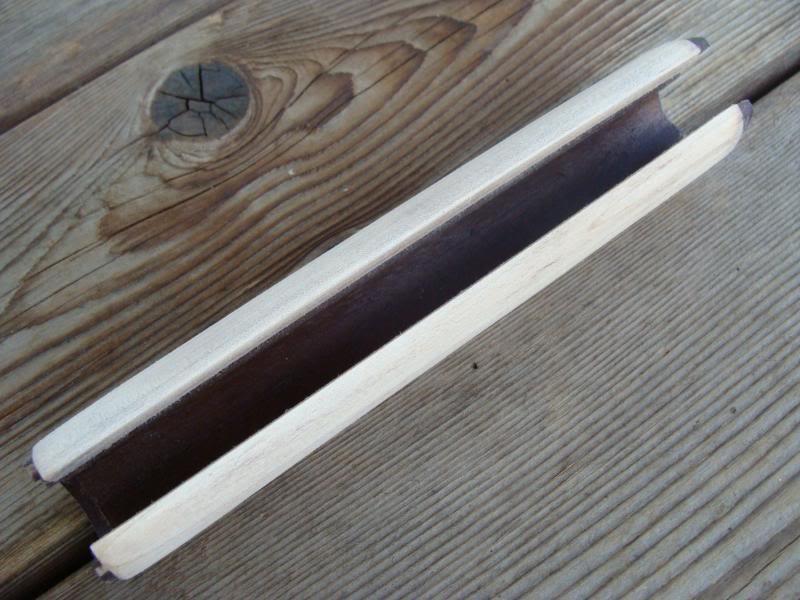
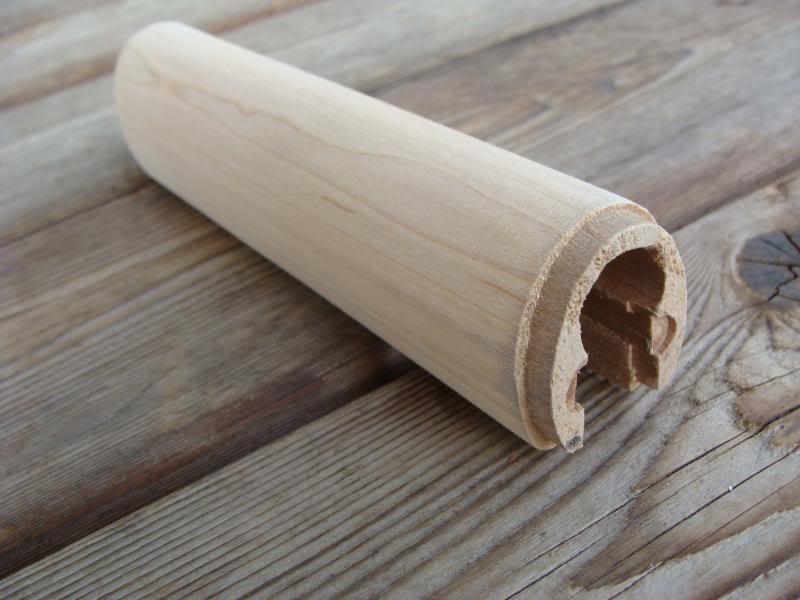
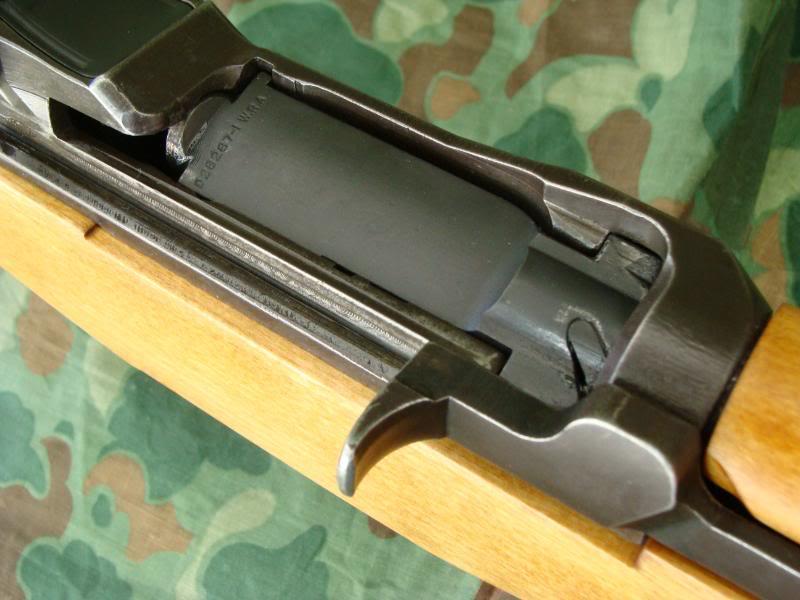
For the front of the stock, I used a digital dial caliper to measure the height and width of the front of a USGI stock (from a Correct Grade HRA) and compared the measurements to the height and width of the CMP stock (the CMP stock has no ferrule in the photos)
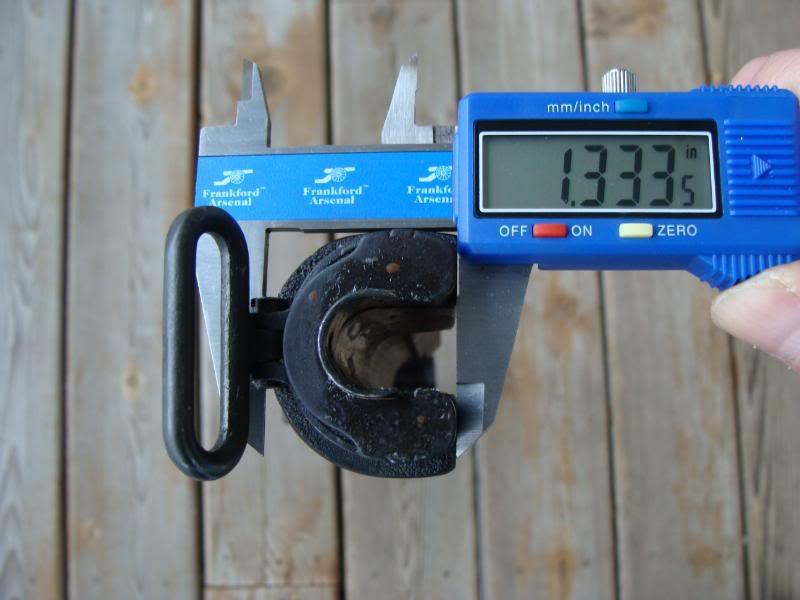
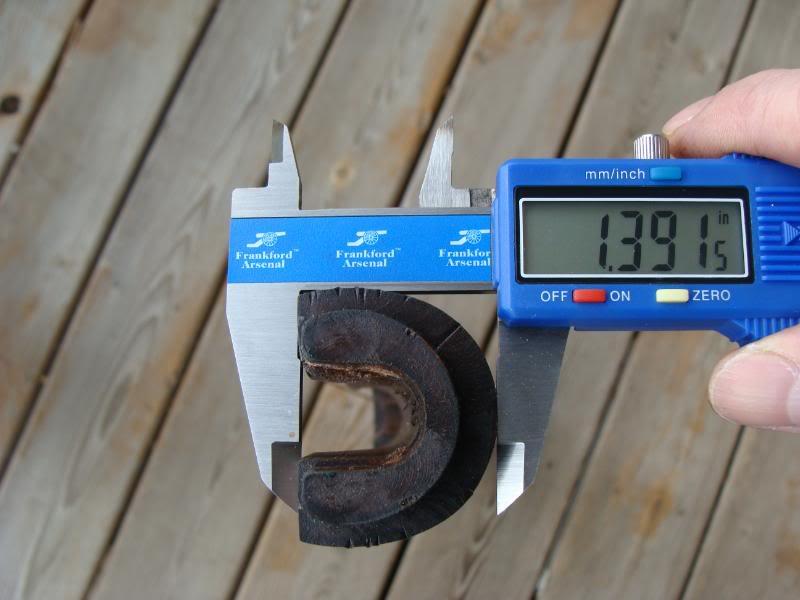
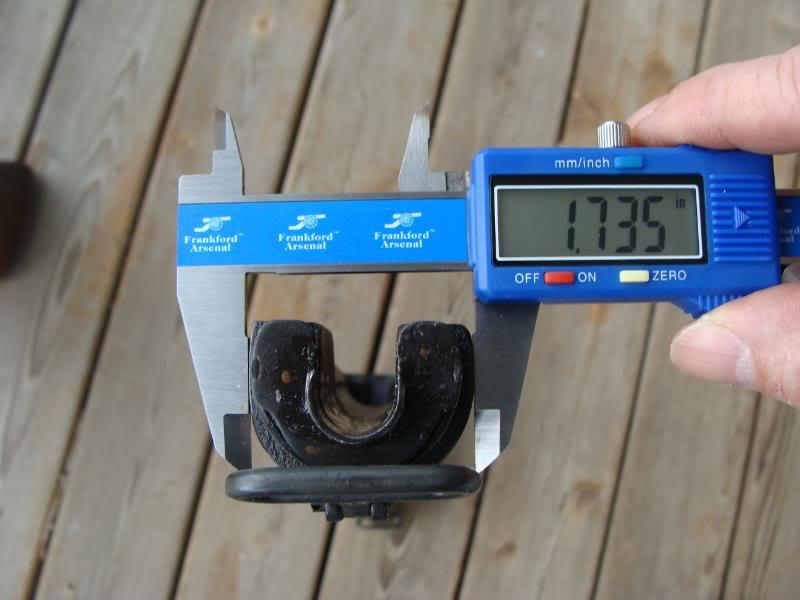

I sanded the front of the stock until the dimensions were close to USGI and tapered the sanded area into the rest of the stock
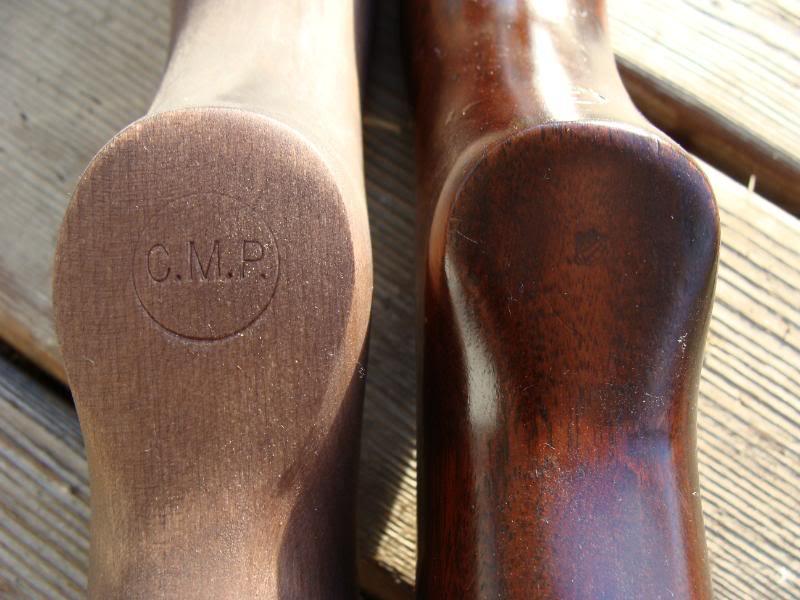
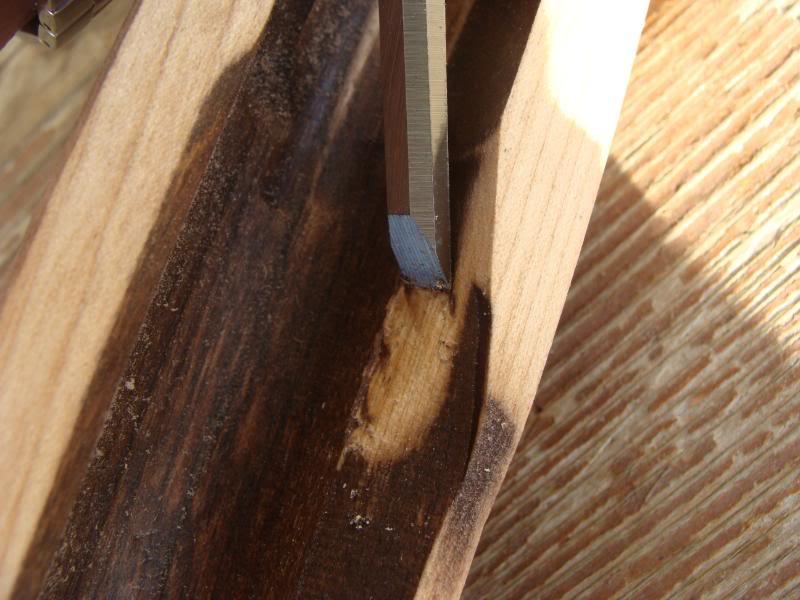
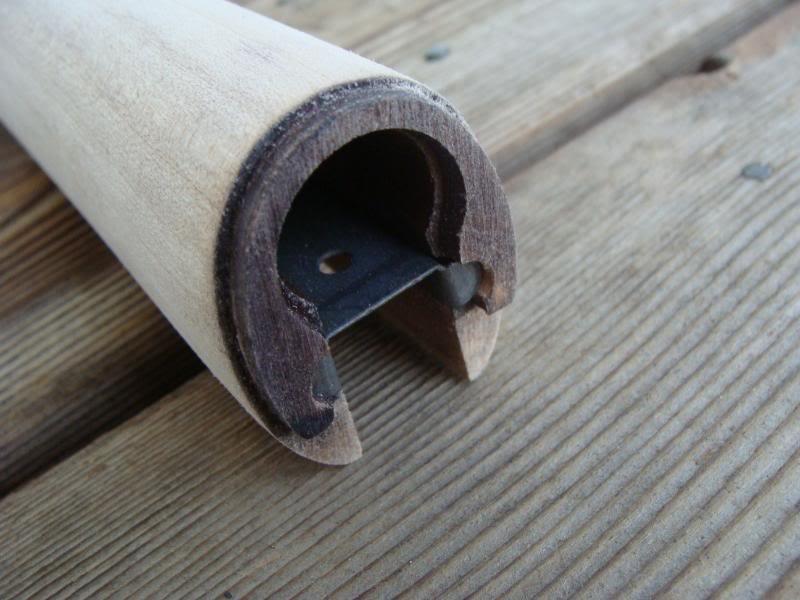
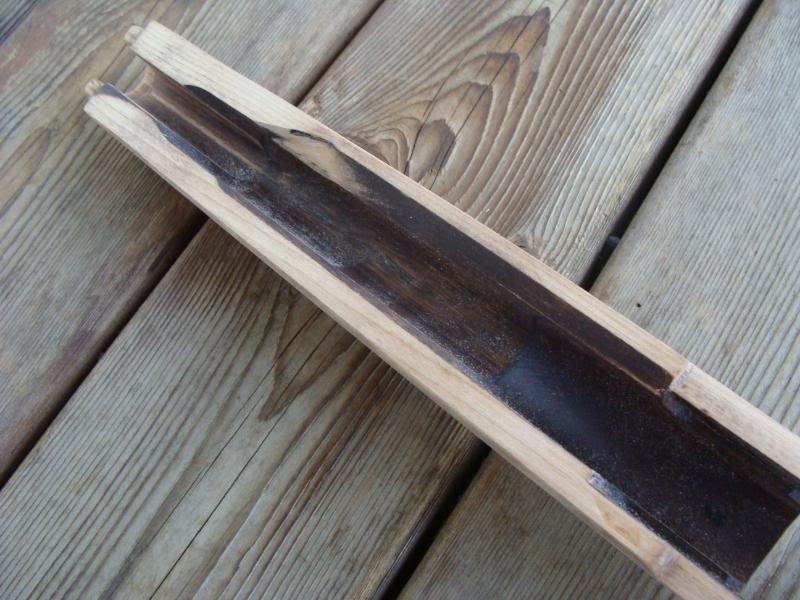
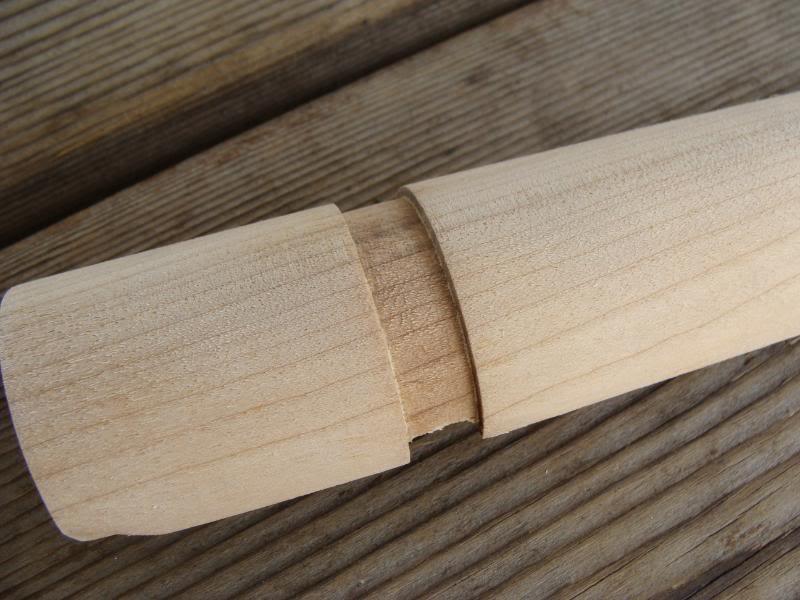
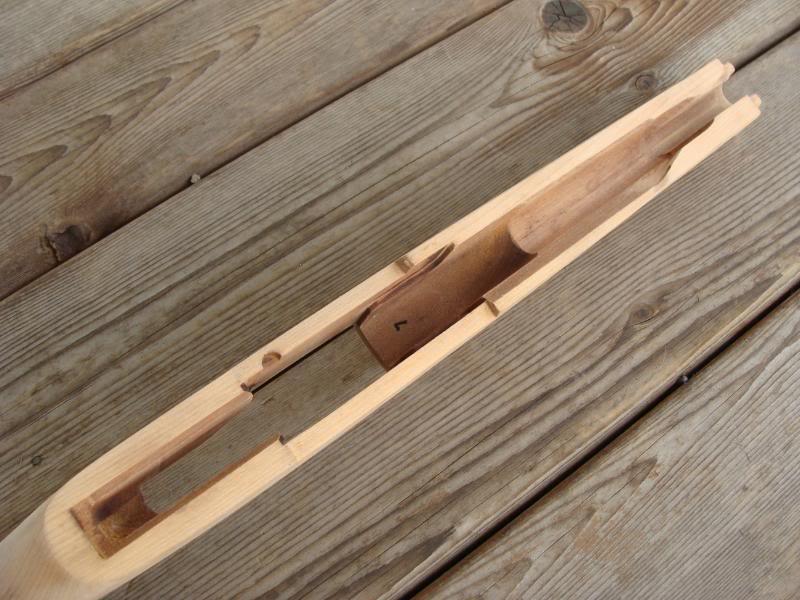
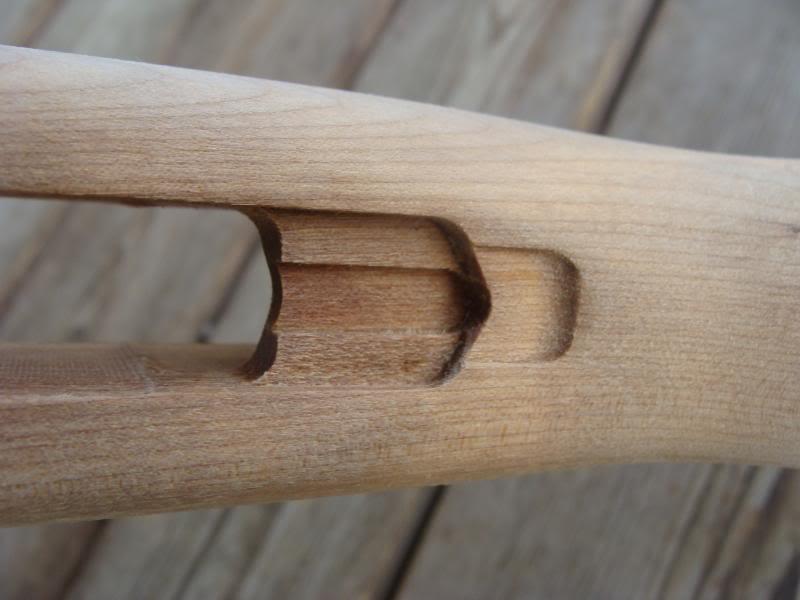
One other problem with the stock is an area on the inside right side of the stock that looked crude and unfinished compared to the USGI stocks (CMP stock on the right):
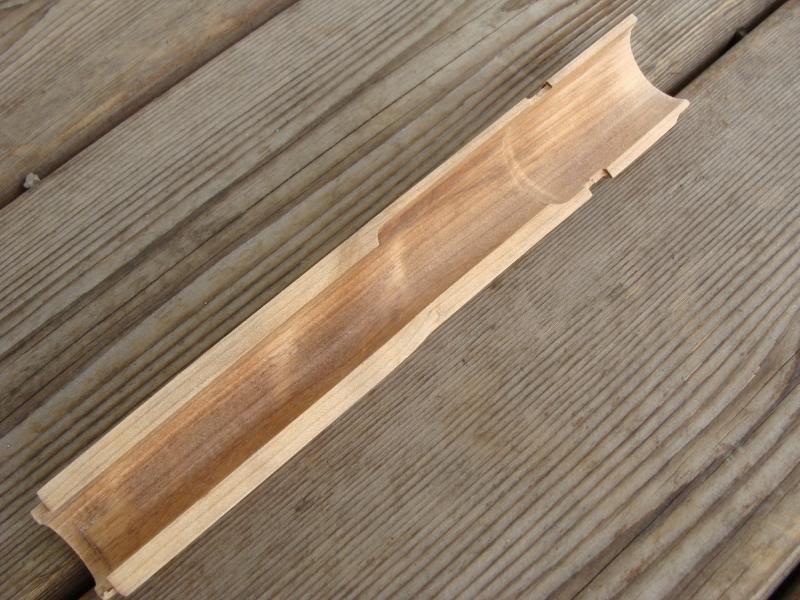
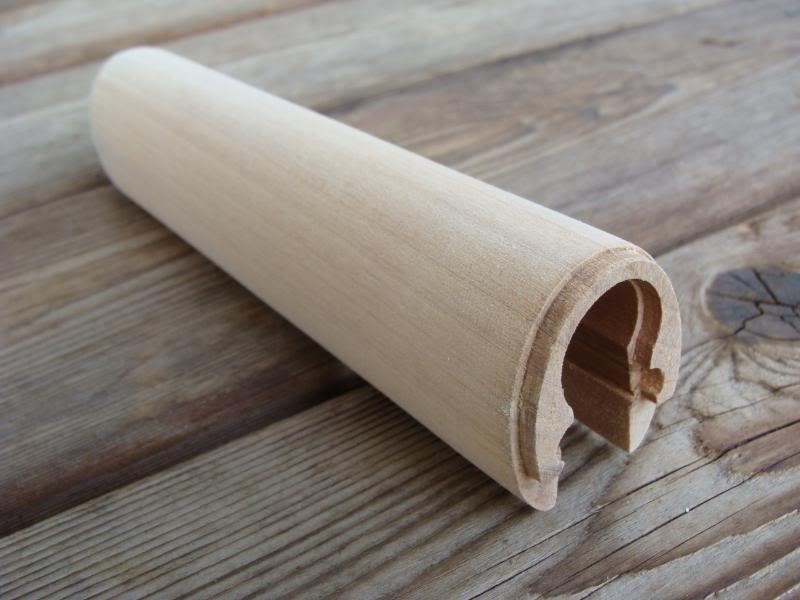
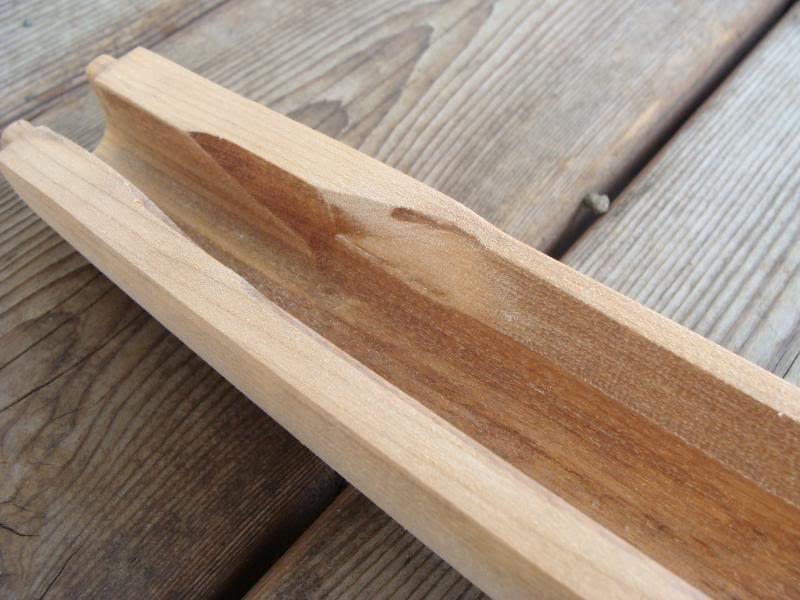
Using a wood chisel
and a detail sander
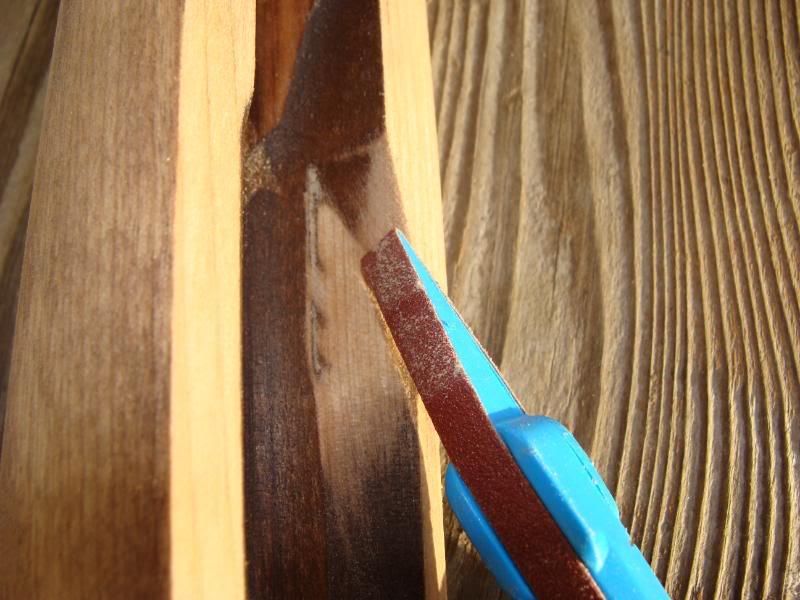
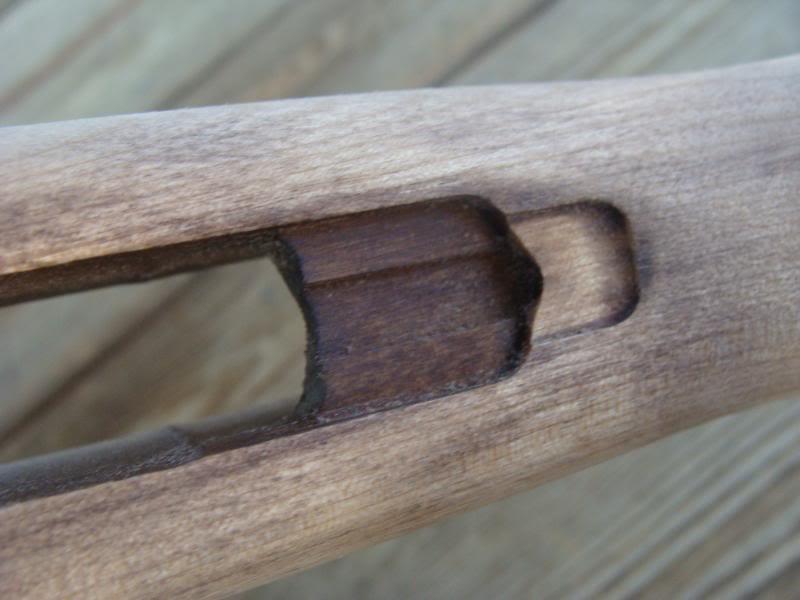
I cleaned up the area. Not perfect but better:
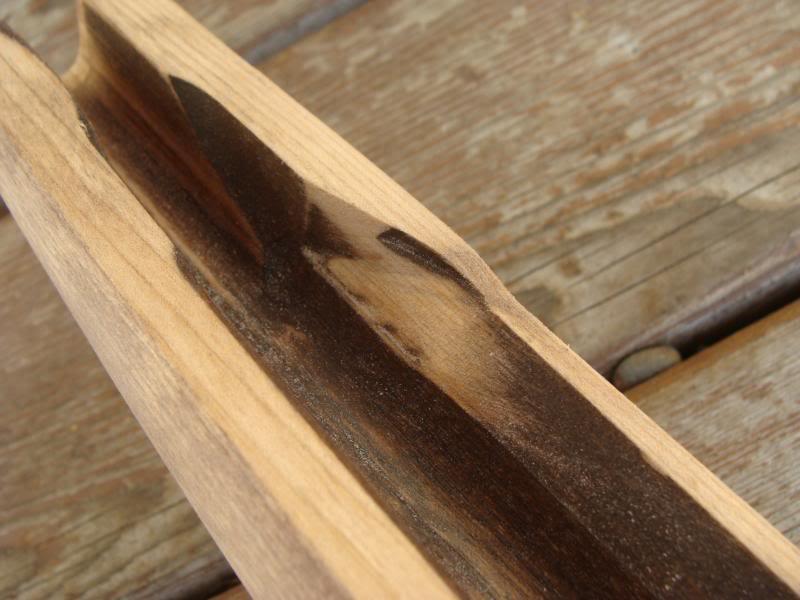
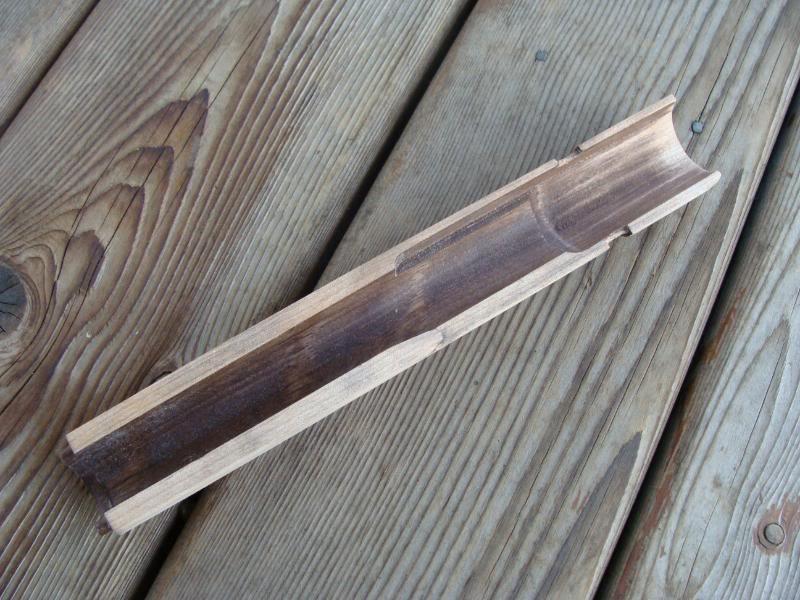
I sanded the rear handguard until it was the right thickness, and then I sanded the brown stain off the stock and handguards. That got almost all of the stain off of the outside, but left stain on the hard-to-sand areas like the insides, ends, and inletted areas:
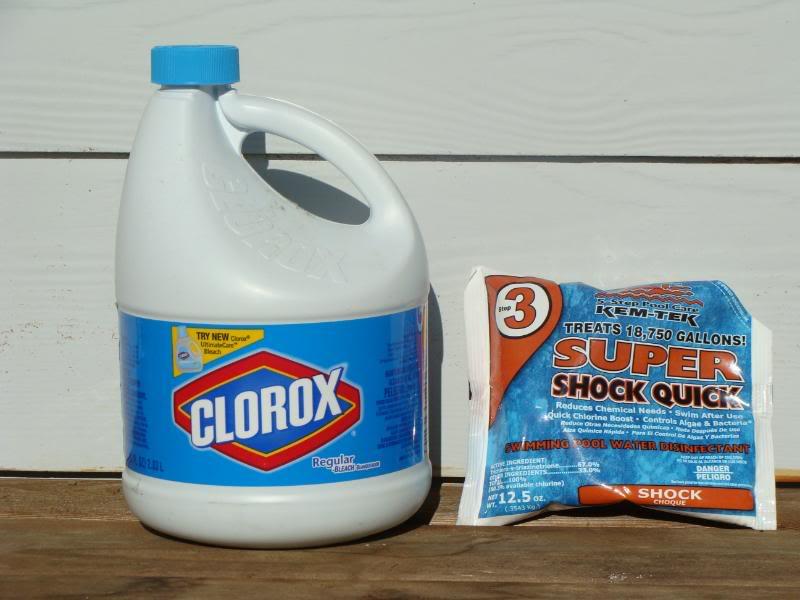
To remove the stain from those areas I bleached the wood. There are different types of wood bleach available depending on what goal is trying to be achieved. To remove stain without losing the natural color of the wood, a chlorine-type bleach is recommended. You can use regular household chlorine bleach, but a stronger bleach can be made by dissolving swimming pool chlorine shock treatment crystals in hot water (for more information about bleaching wood, see USING WOOD BLEACH ) :
The bleach removed most of the stain from the hard-to-sand areas:

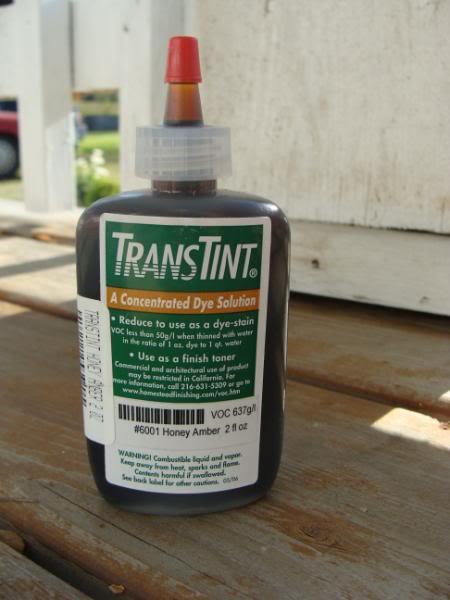
The sanding and bleaching left the wood very light. I wanted to return the wood to a more natural golden blonde color, so I used Honey Amber TransTint dye, available from Rockler Woodworking Details for TransTint® Dyes - Rockler Woodworking Tools
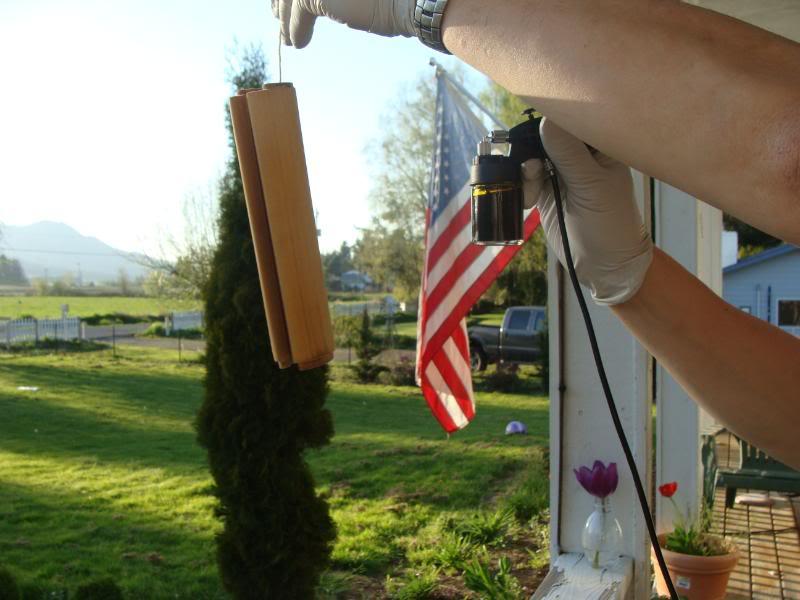
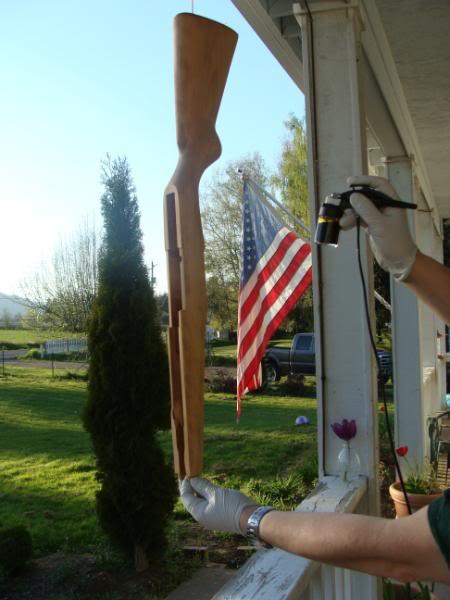
Birch can be difficult to stain because it is prone to blotching caused by uneven stain absorption. To reduce the blotching tendency of birch, instead of wiping on the stain I sprayed it on with an airbrush:
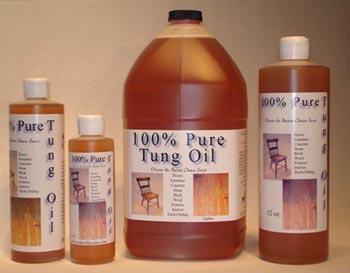
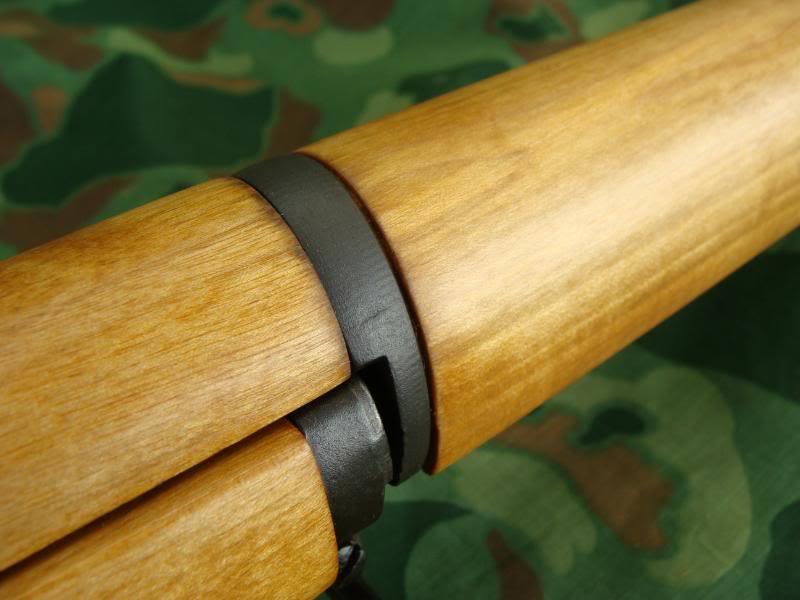
After staining the wood I used 100% pure tung oil Pure Tung Oil Finish - Wood Finishing - All Natural Finish - China Wood Oil - Real Milk Paint ®
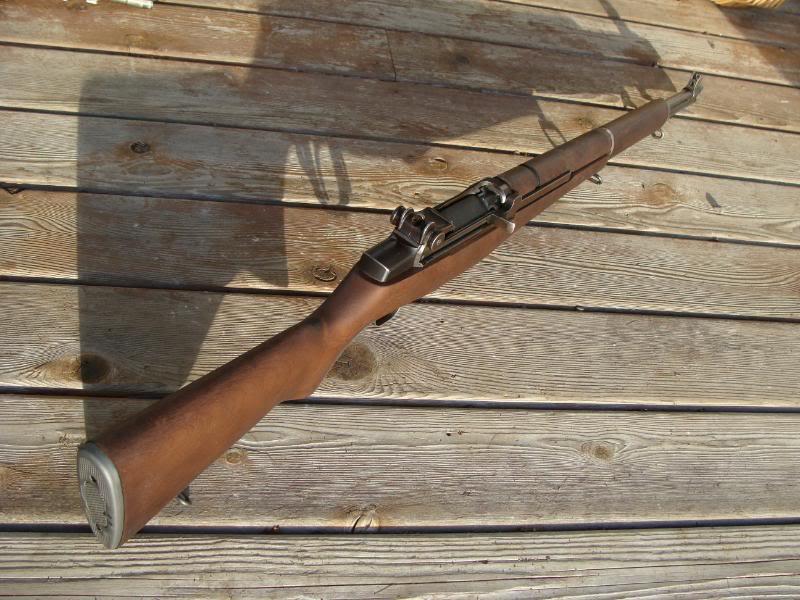
So after starting out with this...
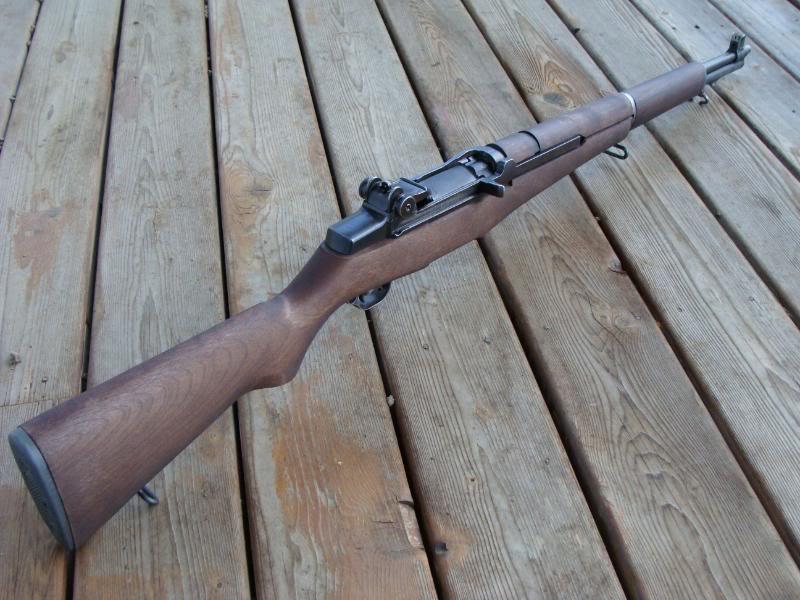
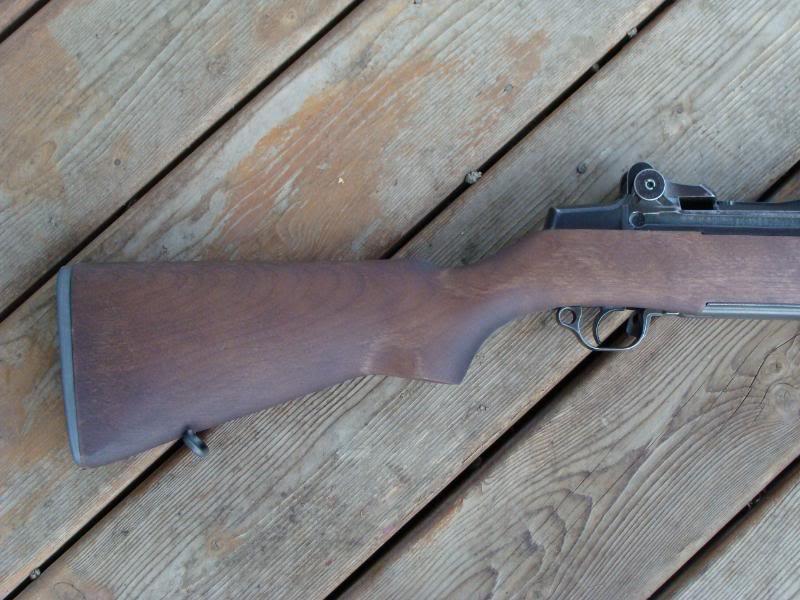

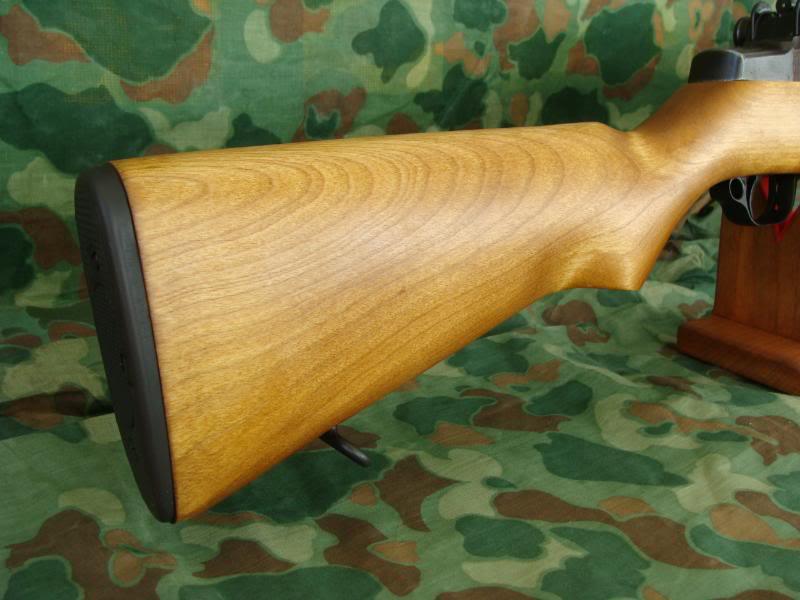
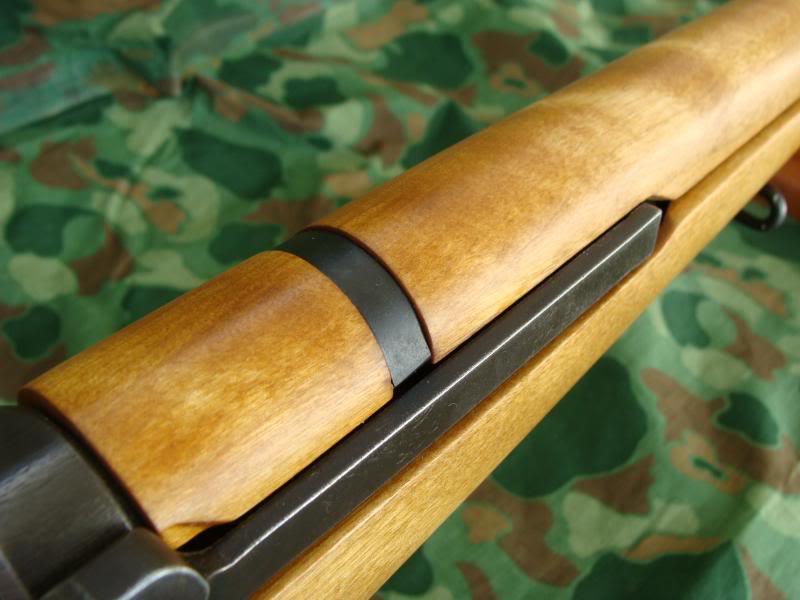
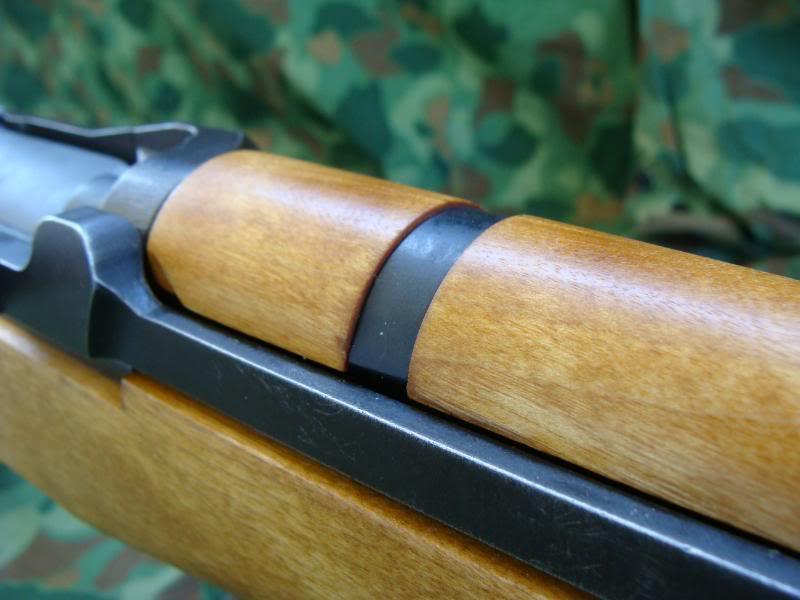
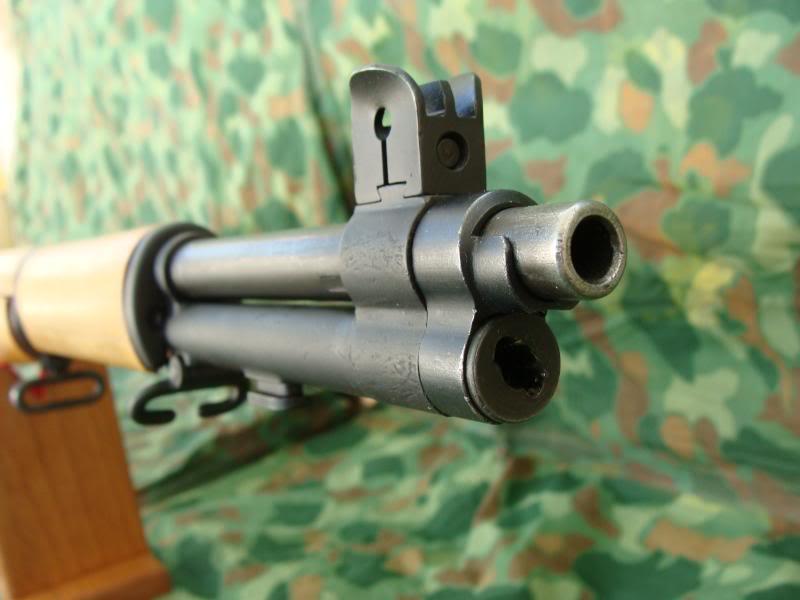
...the final results are below. The photos don't really capture the natural beauty of birch. The grain has an iridescent quality that makes it change in tone depending on the angle that light hits it:
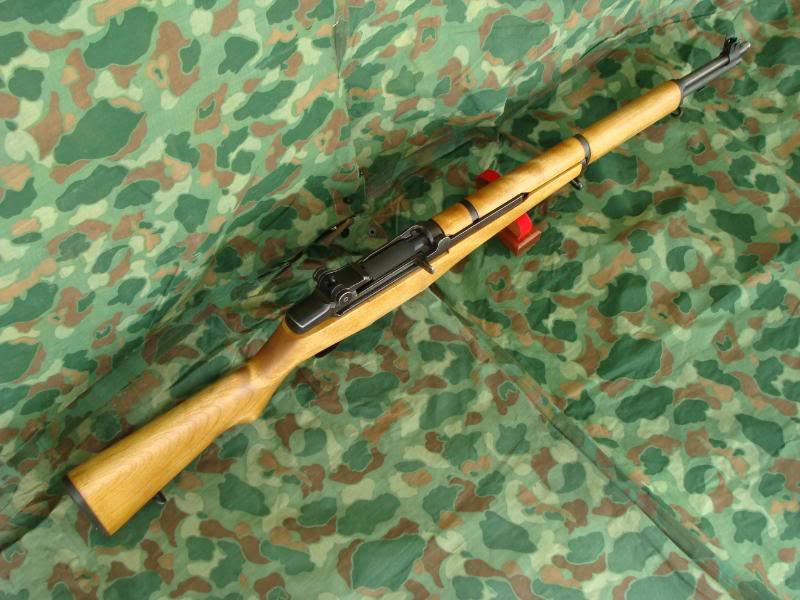
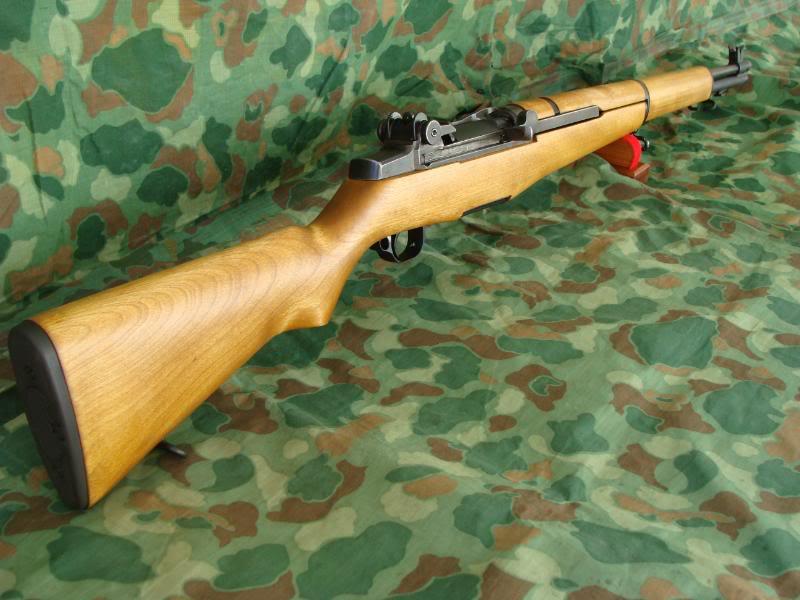
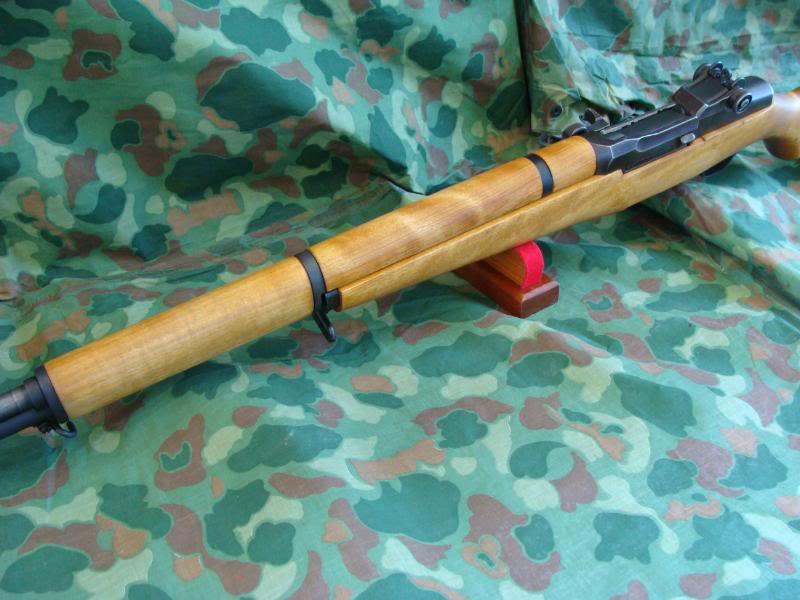
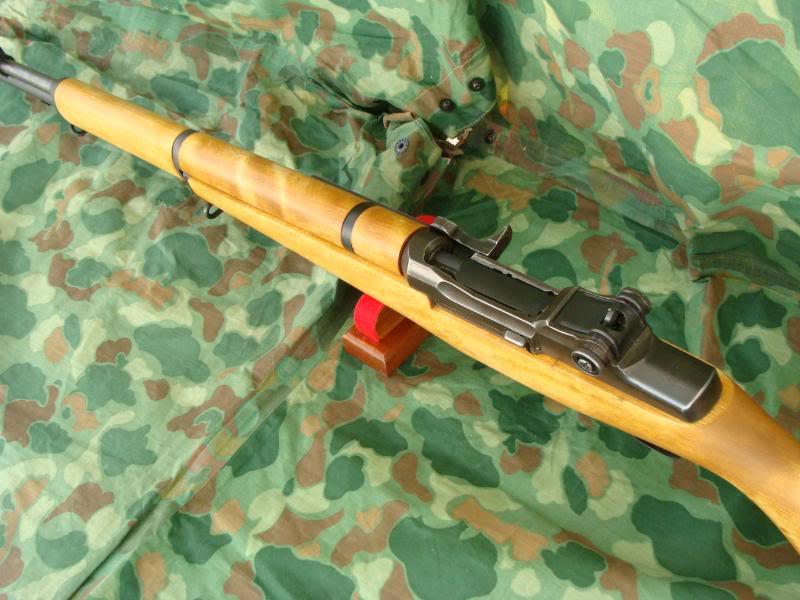
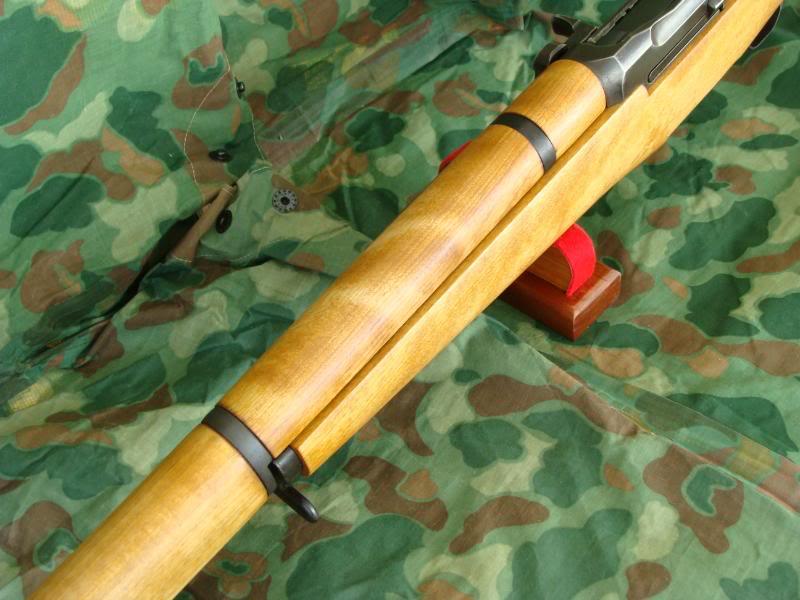

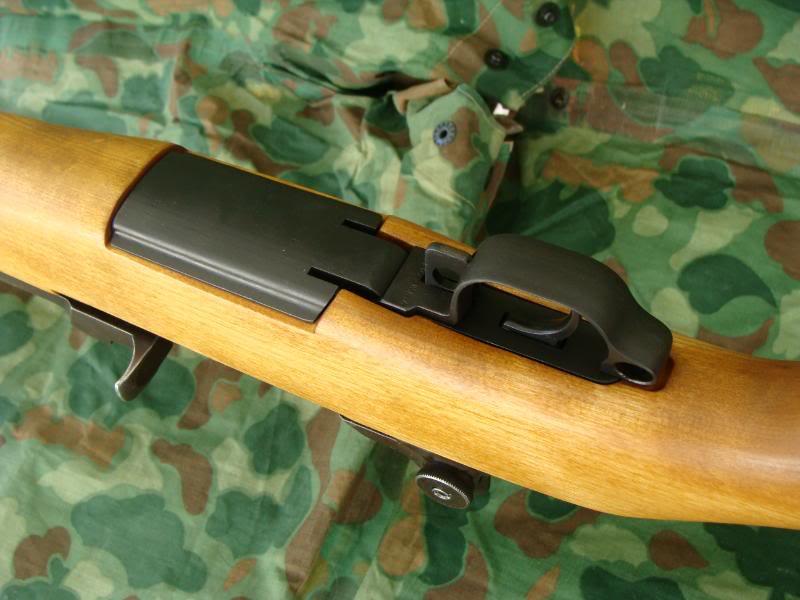
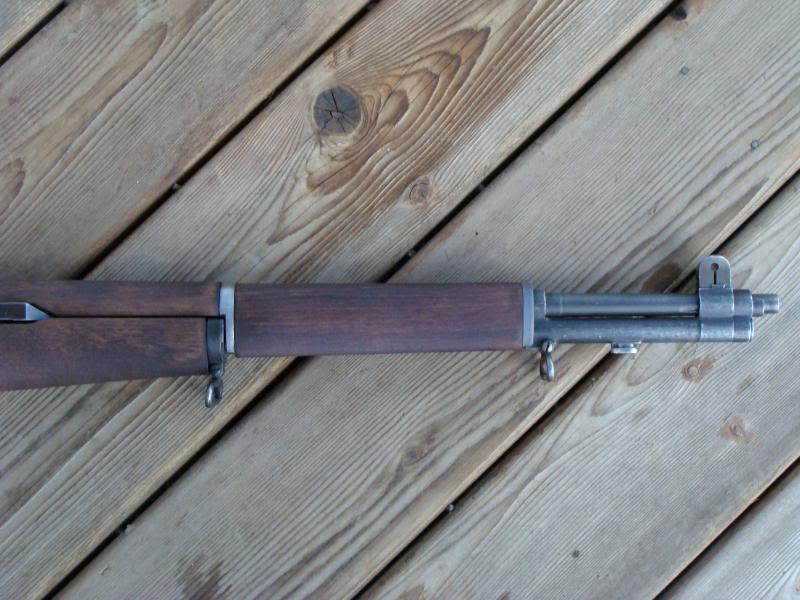
The front of the stock and the rear handguard are no longer too thick:


Information
 |
Warning: This is a relatively older thread
This discussion is older than 360 days. Some information contained in it may no longer be current. |
|
-
The Following 15 Members Say Thank You to Milsurp Collector For This Useful Post:
AFJon,
AKA Hugh Uno,
Ben Hartley,
Bill Hollinger,
BruceV,
garandfan1974,
gunner,
HOTEL WHISKY,
KarlKW,
limazulu,
Louis of PA,
Mark_M,
Seaspriter,
U.S.G.I.,
userids
-
05-17-2009 11:44 AM
# ADS
Friends and Sponsors

-
FREE MEMBER
NO Posting or PM's Allowed
-
-
Head Moderator
(Founding Partner)


Site Founder

 That rifle is absolutely gorgeous. Nice work.
-
Thank You to Stevo For This Useful Post:
-
Moderator
(M1 Garand/M14/M1A Rifles)

That's some really nice work, M.C. Thanks for chronicalling your work for us with those excellent and thorough photos and descriptions. I like your approach, using a contour gauge to establish a baseline and measure your progress. Once again, nice work!
Bob
"It is said, 'Go not to the elves for counsel for they will say both no and yes.' "
Frodo Baggins to Gildor Inglorion, The Fellowship of the Ring
-
Thank You to Bob Womack For This Useful Post:
-
FREE MEMBER
NO Posting or PM's Allowed

Excellent. I just got home from church and thought I'd check to see what was going on at CSP. Thanks for the post and pictures! Sincerely. BruceV
-
FREE MEMBER
NO Posting or PM's Allowed

To be correct you actually dyed the wood
Did you mix the dye with alcohol or distilled water? I did the same thing with my sprinchester that showed up about 2 months ago. Some heavy sanding and I also used transtint dye. The rifle really stands out at the range.....
-
FREE MEMBER
NO Posting or PM's Allowed
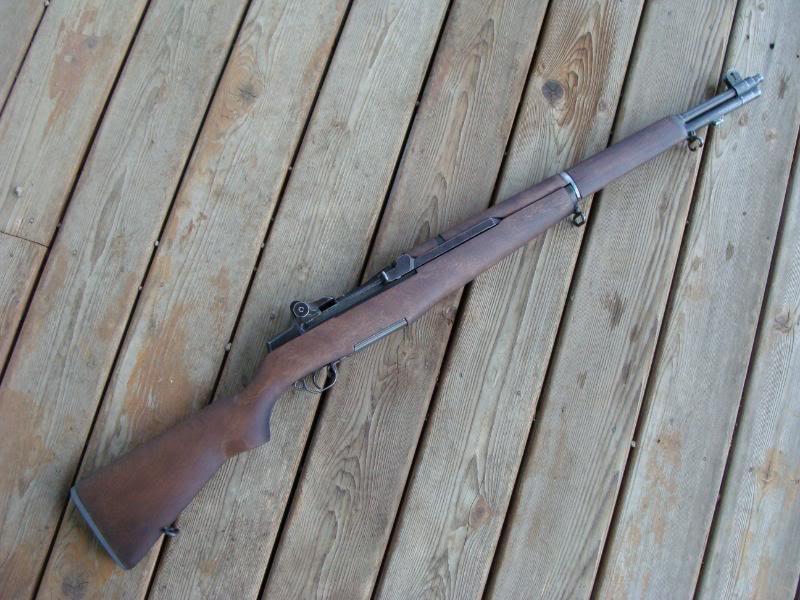
Some shots of my sprinchester after sanding off the brown.
-
Legacy Member

Originally Posted by
medic2264

Did you mix the dye with alcohol or distilled water? I did the same thing with my sprinchester that showed up about 2 months ago. Some heavy sanding and I also used transtint dye. The rifle really stands out at the range.....
After reading the reviews on the TransTint page at Rockler Customer Reviews for TransTint® Dyes I used distilled water instead of denatured alcohol. Since I sprayed it on with very thin coats it dried almost instantly using distilled water. If I had used denatured alcohol when spraying it might have dried in midair and ended up powdery. If I were to wipe it on instead of spraying I would probably use denatured alcohol instead of distilled water, to minimize raising the grain.
Thanks for the comments so far! 
-
-
Legacy Member
A great photo essay. Thanks for being so thorough.
The work with the contour gauge was slick. I'm going to have to get one of those. I recently handled a friends CMP Wal/birch and I would do the same to it if I owned it.
JR
-
-
FREE MEMBER
NO Posting or PM's Allowed
Great documentation
On your refinish of your Birch stock. The transtint dye really brings out a different character of the grain compaired to just staining. Superior job on your reshaping and refinish of the stock.


 PM
PM


