-
 SMLE No1 MkV Restoration (Part's 1 thru 7)
After a lot of other projects etc, i thought it was time to make another start, Just a recap for those who may not have seen it in the original state and what i was left with. Dont like to repeat myself but as this should be completed in the next few weeks i thought id start at the begining and continue to its firing stage, plus some of the original pics have moved to another folder.
It was bought (with out seeing ) for the action ( advertised as a sporterized SMLE £60),
I was under the impression i was getting No1 Mk111, and not one to complain I kept it.
Before and after a strip down with the parts that would go again.
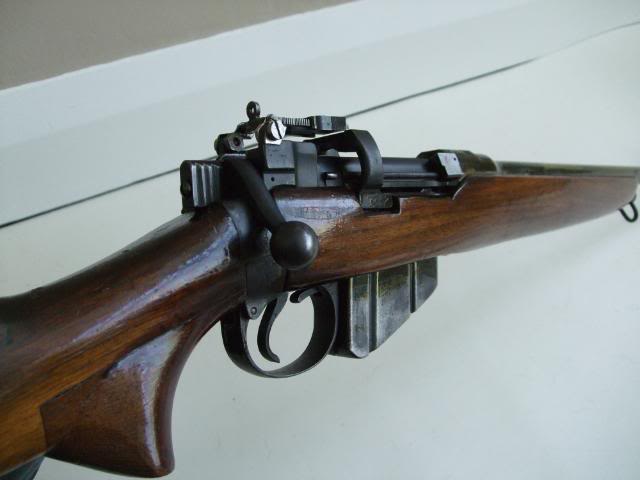
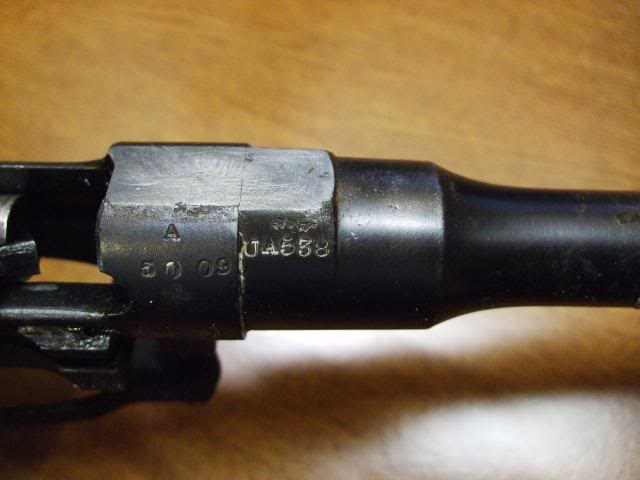
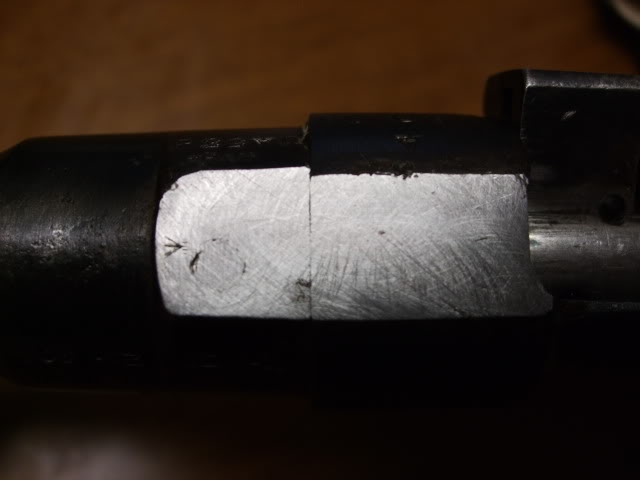
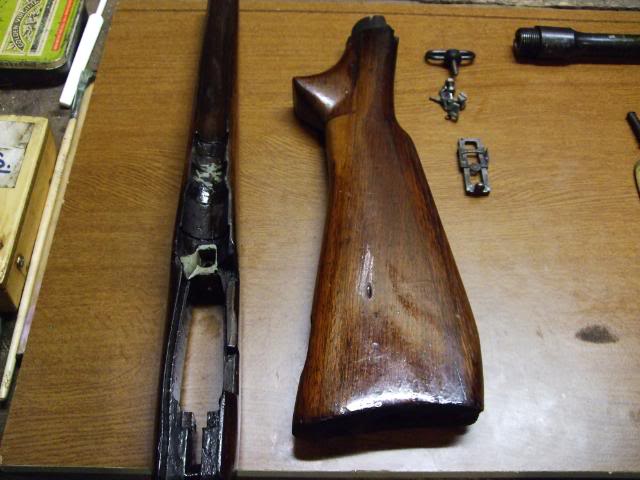
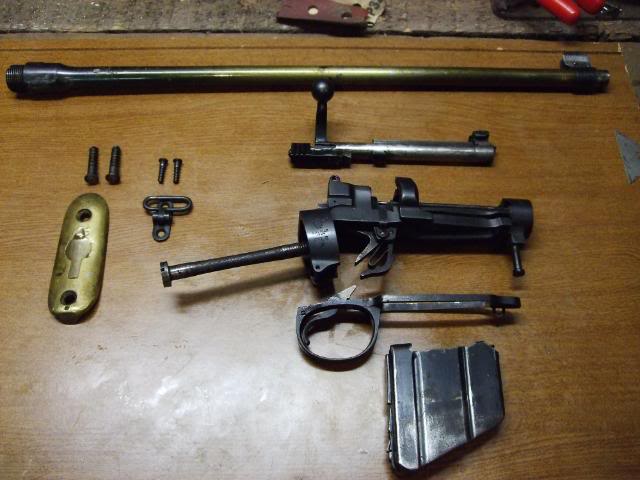
At this stage, i needed a few things , all woodwork, nose cap + spring and plunger, mag cut off, a rear sight and barrel.
As the action had undergone some major work by Bubba, i cleaned up the Breeching up ring, and reblued this part along with the top of the charger bridge and the bottom of the mag. (rust blue) (recipe at bottom).
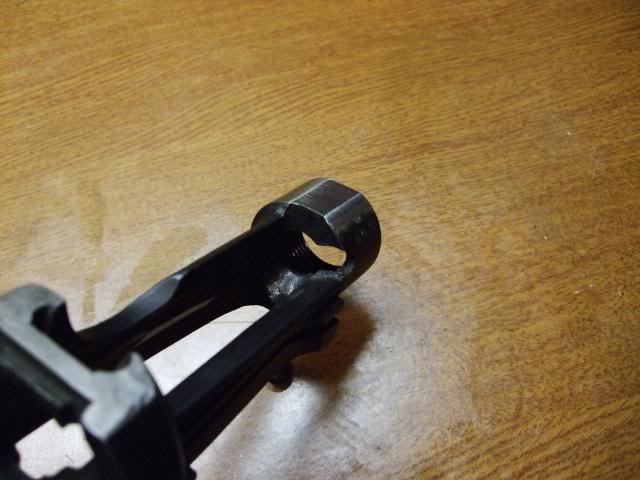
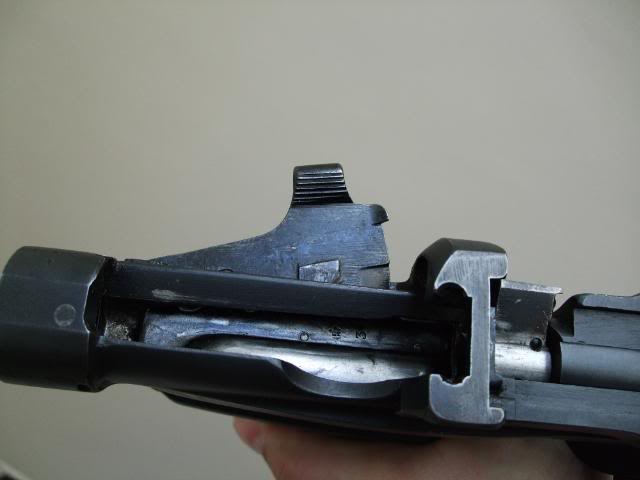
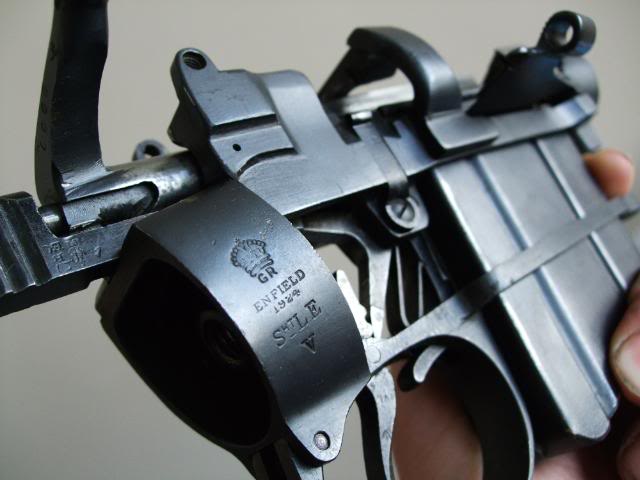
You can still see bubba,s work regarding the hardened pin,or screw he has used to plug a hole he drilled, the bluing took to the soft center but reluctant to to take to the side, i had stop the process there as the match was perfect.
Last 2 pics above show the action with the mag cut off, i purchased this with screw, and the plunger and spring for the nose cap last year at the War and Peace show,from:
D S Solutions DS-Solutions
Very helpfull and freindly to deal with
Rust Blue: I use a salt solution (Salammonaiac), area to be done has to be clean, apply with a paper towel etc, and leave to rust, in some cases i leave a soaked towel on the area until dry than remove, once rusted, boil in distilled water approx 20 mins, the area then needs the black oxide removing with a soft wire brush, steel wool or scour pad. the whole process has to be repeated approx 3 or more times for best results.
(Tip: after cleaning the area, i tend to clean it again with the solution and then after it has dried start the process.)
Patience is required with rust blueing, you can speed it up, but for the times i do it, i use mother nature. Its a hit and miss affair in the begining,I strongly recomend testing on scrap before your confident to use this process on your pride and joy, i started to test on old barrels for the best solution, when to boil, how long to leave to rust etc.
I would recomend the following book: Firearm Blueing & Browning by R.H. Angier
a must for DIY man.
Will try and get part 2 posted in the next few days.
Information
 |
Warning: This is a relatively older thread
This discussion is older than 360 days. Some information contained in it may no longer be current. |
|
Last edited by bigduke6; 01-03-2012 at 08:06 AM.
Reason: Missed part of the blueing procedure
-
The Following 6 Members Say Thank You to bigduke6 For This Useful Post:
-
06-09-2010 06:27 AM
# ADS
Friends and Sponsors

-
Very interesting read ... 
Thanks for posting ... 
Regards,
Badger
-
-
-
There's a project for The Patient One!
Lou
-
-
SMLE No1 MkV Restoration (Part 2)
Continued from Part 1
After being off work for some time and no cash coming in, i was looking at using a SMLE No1 Mk111 fore-end, and fill in the cutouts for the rear sight protector.
Before I begin, I must point out that woodwork is not my "forte" i,m a metal man.
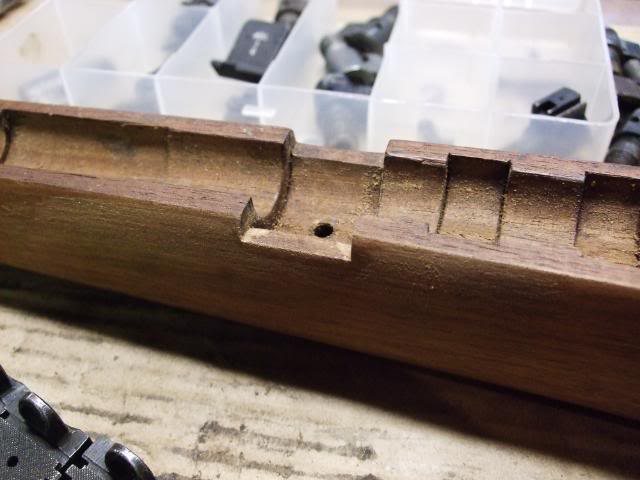
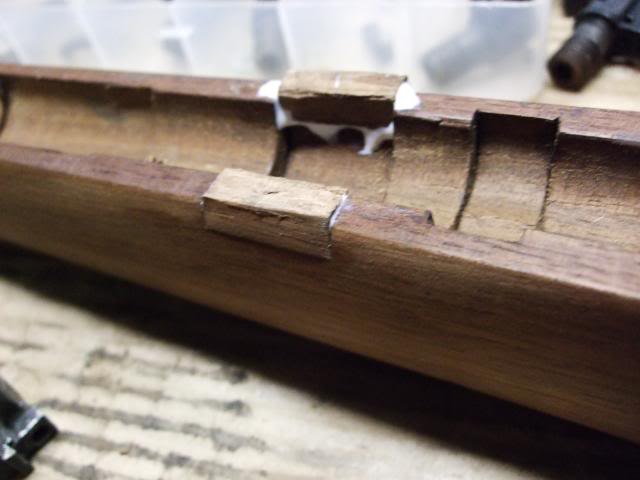
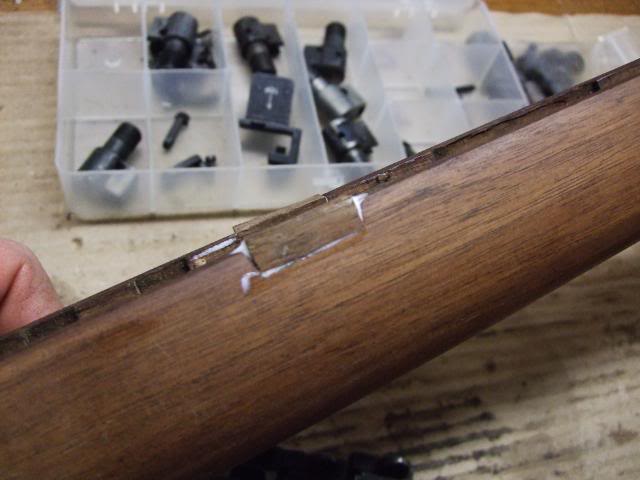
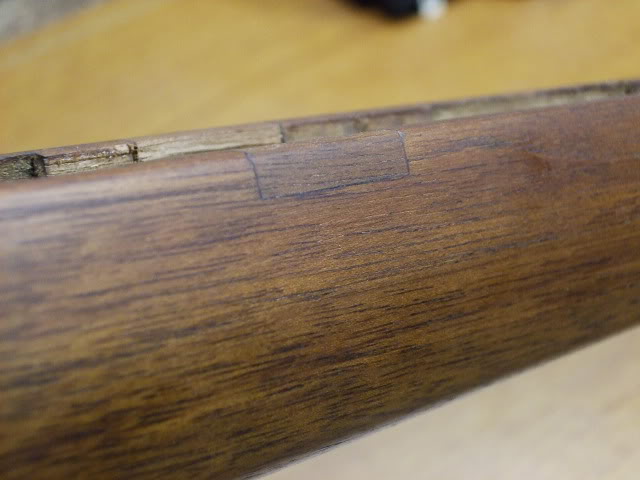
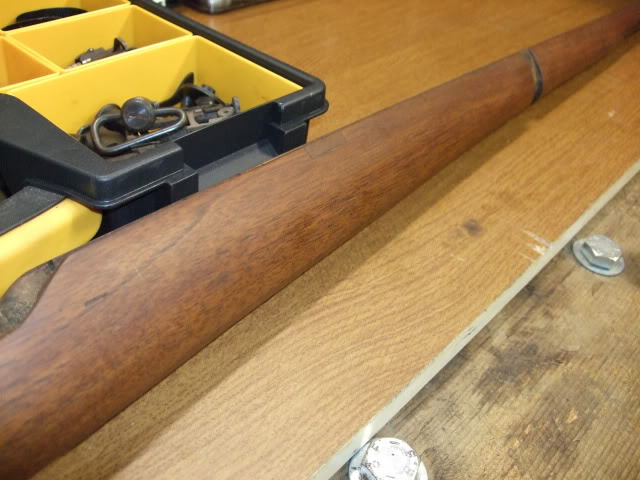
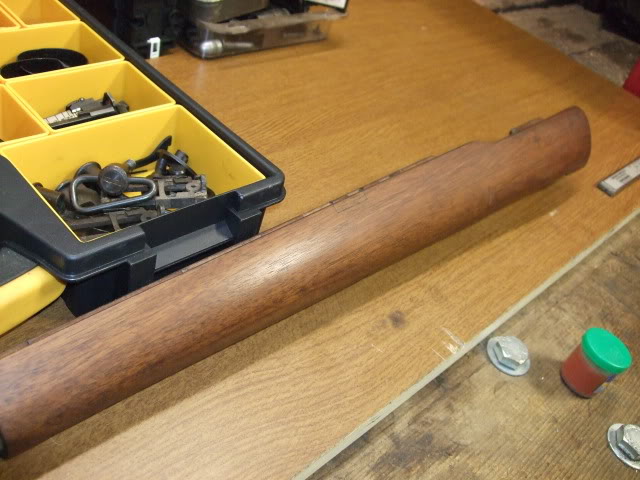
That was the Fore-end done, while looking for a butt i found the original fore-end and on a closer inspection i found an old repair, hard to see in the pics but its there, and would say was done when in service and not by the previous owner.
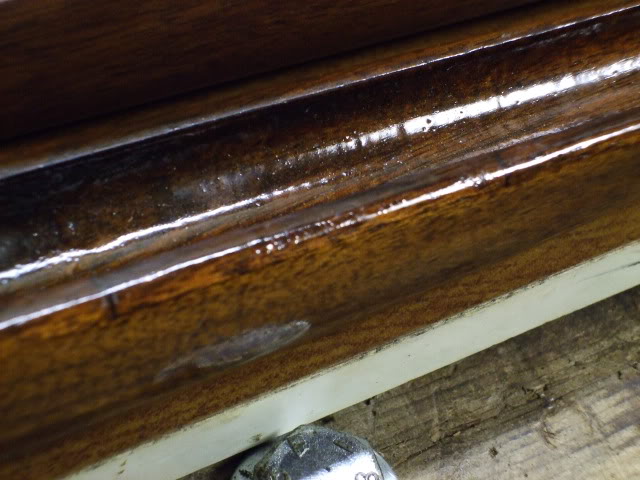
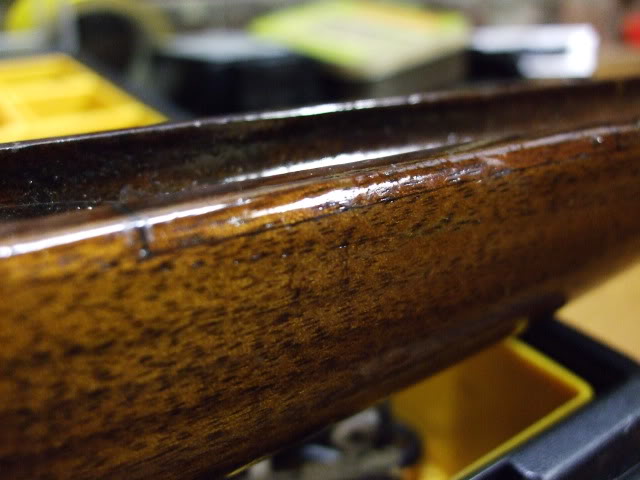
Next up was the butt, i had one which had come off a No4 which had had some meat taken off it.
I know the SMLE and No 4 are different, SMLE is a lot more slender, plus i had to fit the butt plate, it wasnt going to be perfect as i didnt want to alter the butt plate, if i come across an original SMLE butt i would swap them over, sods law if i didnt sort one out now i would be waiting a long time.
Searching through this lot i found the one i was looking for and found some other bits i was after.
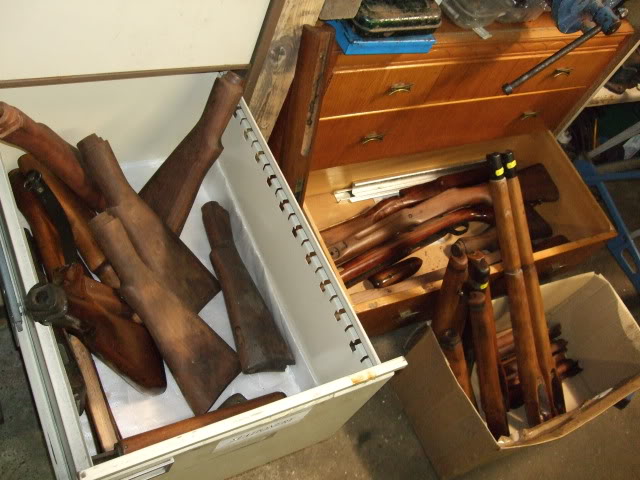
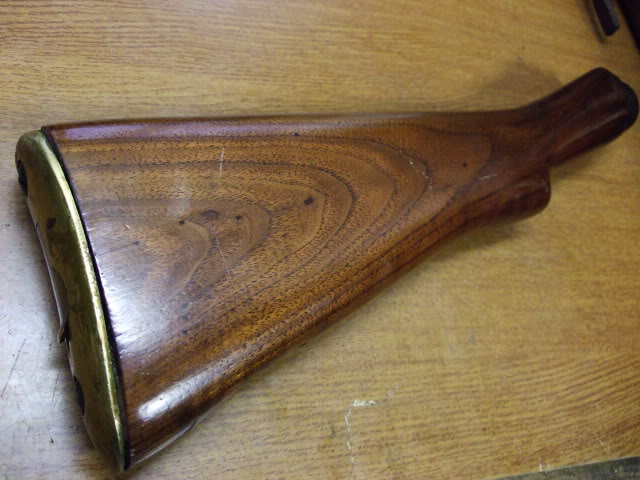
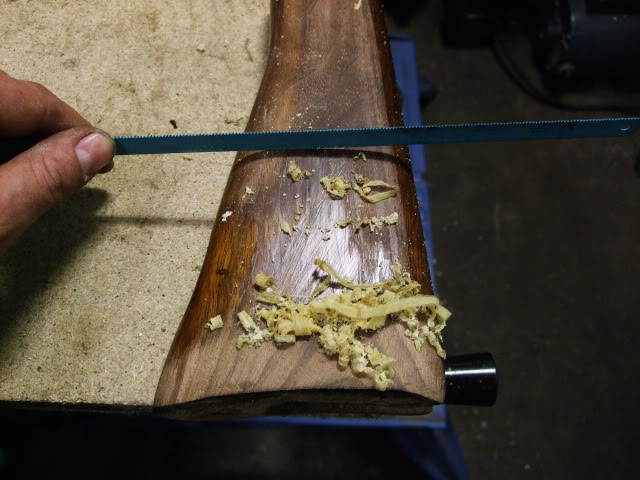
Just a quick note on the last pic above, in some cases,s i use the back of a hacksaw blade or stanley knife blade to remove old varnish.
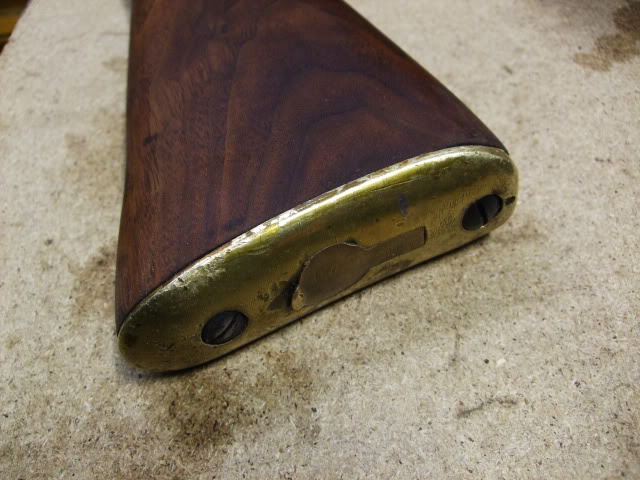
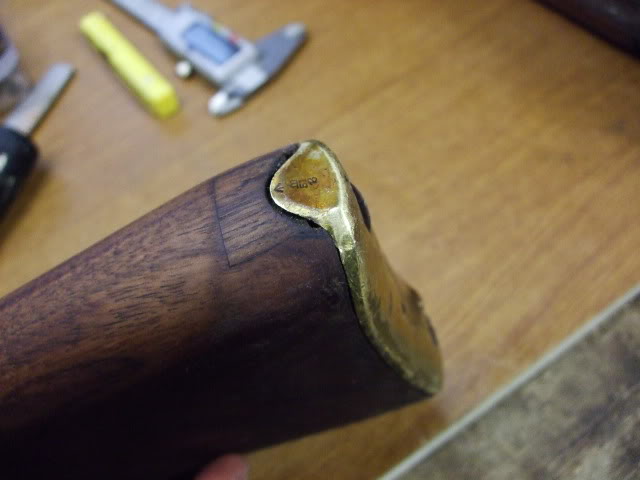
The butt (above) is dark as it was just cleaned in white spirit, an old repair visible this will probably be removed and re done for a better fit for the butt plate.
The next bit was more of an experiment, i had an old forward hangaurd which was broke, which i was going use with a repro rear handgaurd i was going to get from EFD.
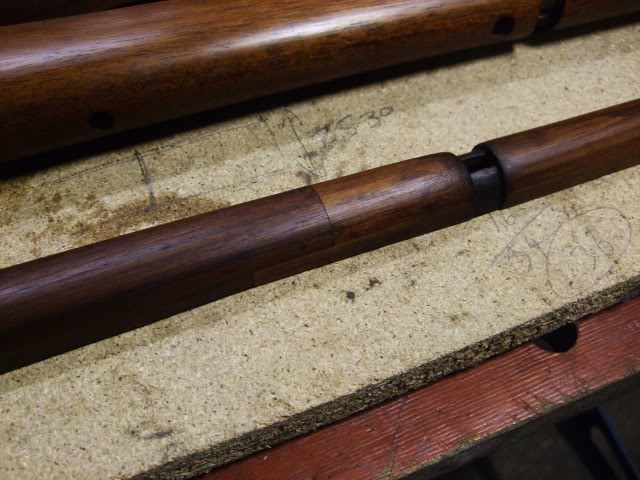
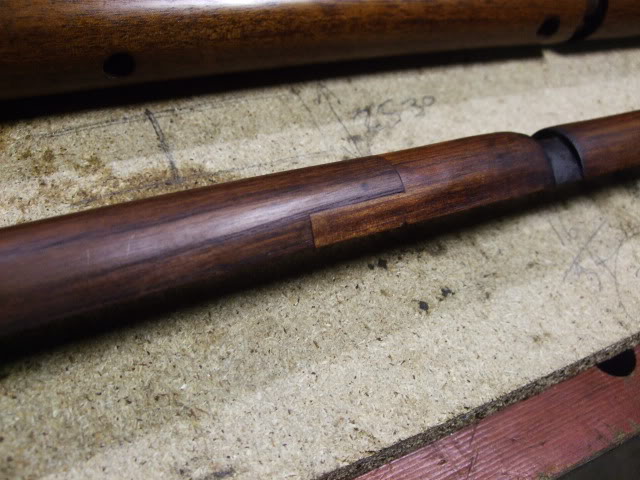
I decided to square up the hand gaurd and have a go of splicing into a rear hangaurd from a No4. i didnt have anything to loose as if it did go pear shaped i could still use it.
pics below show how a Mk111 set would be and the rear gaurd from a No4
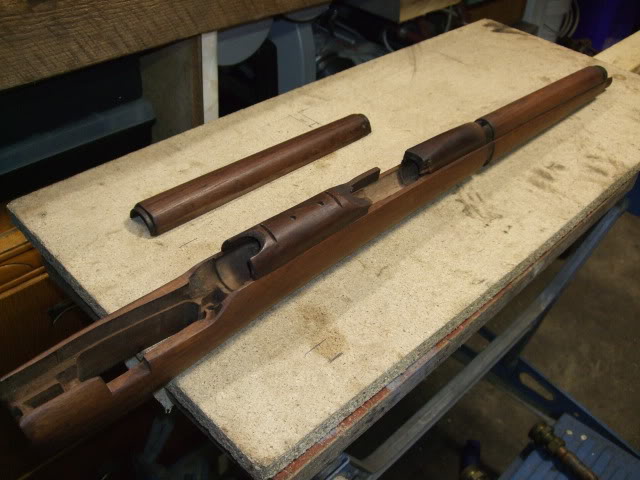
First job was to square off the end and mark out, then a bit of trimming.
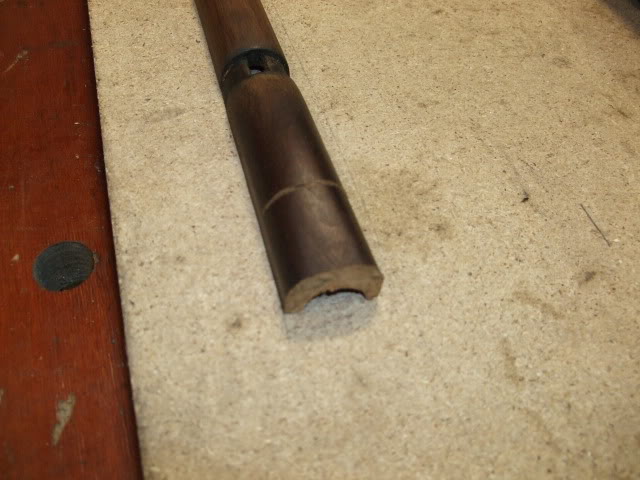
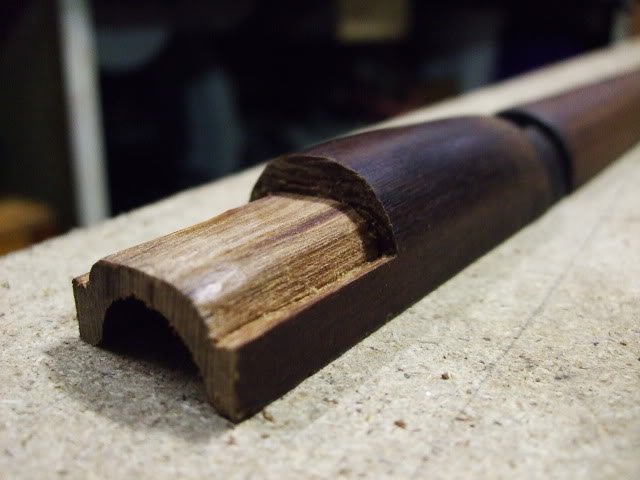
Next was to square up the No4 rear gaurd, and mark out.
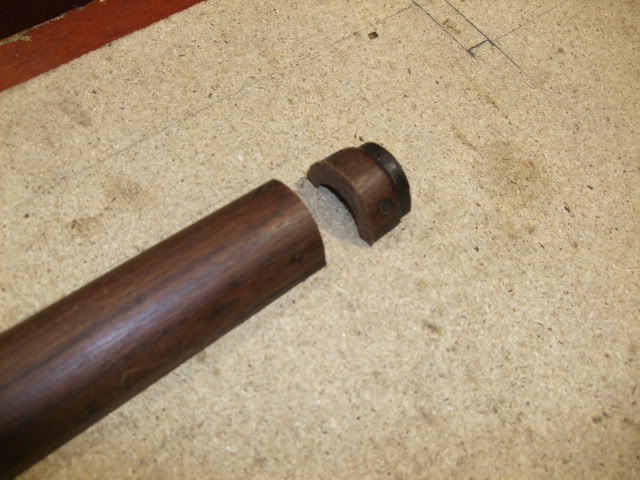
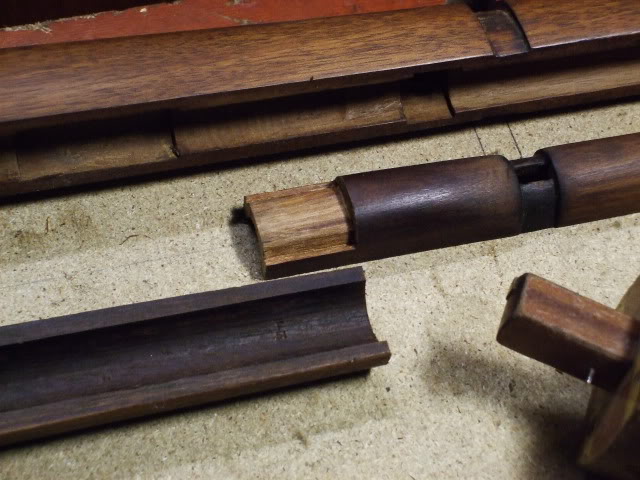
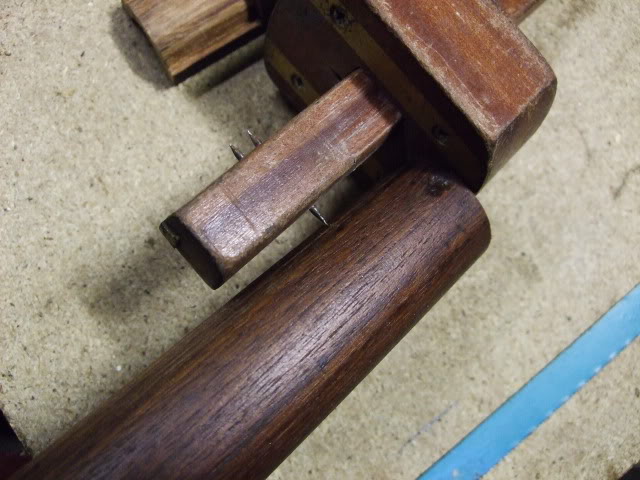
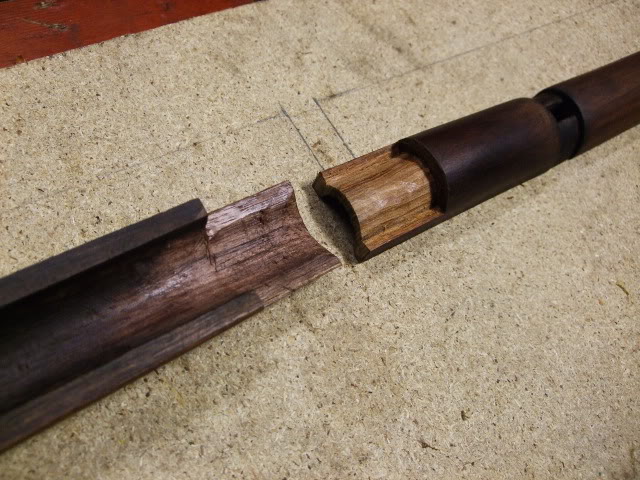
At this stage it was a case of trim, fit ,trim, fit etc
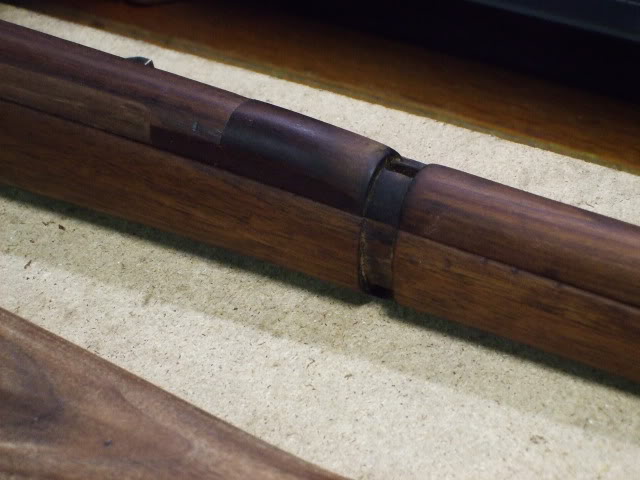
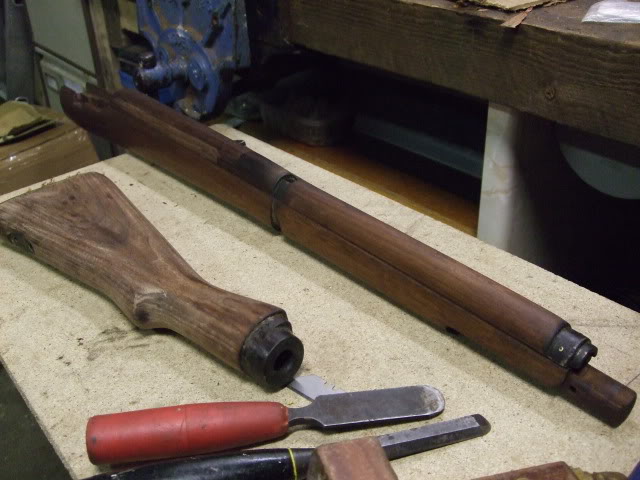
That wraps it up for this stage, still a lot of work to do, the hangaurd needs the cut out at the rear and the barrel clip fitting, then its a case of glueing and sanding, linseed oil applying etc.
part 3 Woodwork should be finshed and will looking at relining a barrel to .22. (thats if i can get the donor barrel of its host) which needs a new barrel.
The reason for the .22 was due to the work that bubba had done, i decided to go for .22. better safe than sorry.
Last edited by bigduke6; 06-10-2010 at 06:38 PM.
-
The Following 5 Members Say Thank You to bigduke6 For This Useful Post:
-
This is turning out to be quite a nice project! Keep up the good work!
And, if you're more a metalworker than a wood worker, I can then only imagine what magic you can do with metal... 
Lou
-
-
Thanks lou,
Hope to get the other parts posted, next week.
-
-
SMLE No1 MkV Restoration (Part 3)
I was wanting to get the woodwork finished and the barrel started in this part but had a few delays and the doner barrel i was going to relign from a 1966, 7.62mm Ishapore 2A1, turned out to be OK (and am now the owner).
With the barrel on hold thought i,d see what it all looked like with the action.
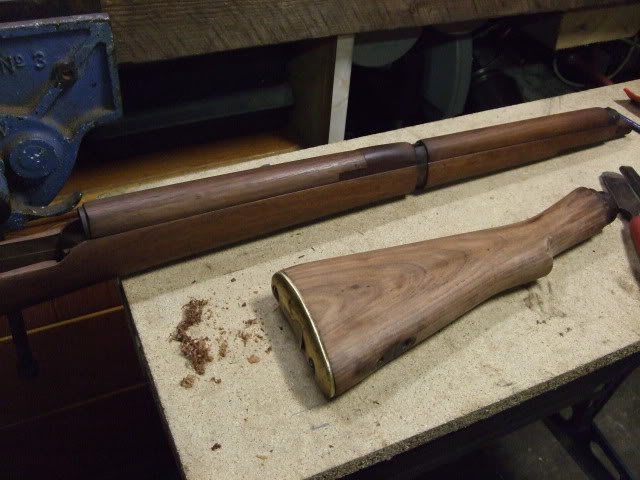
Where i left off last time the handgaurd was in its finishing stage, and i did the cut out at the rear. (still to finish this and the barrel clip but left it until i knew what barrel was going on)
After a few coats of Boiled linseed oil ,
,
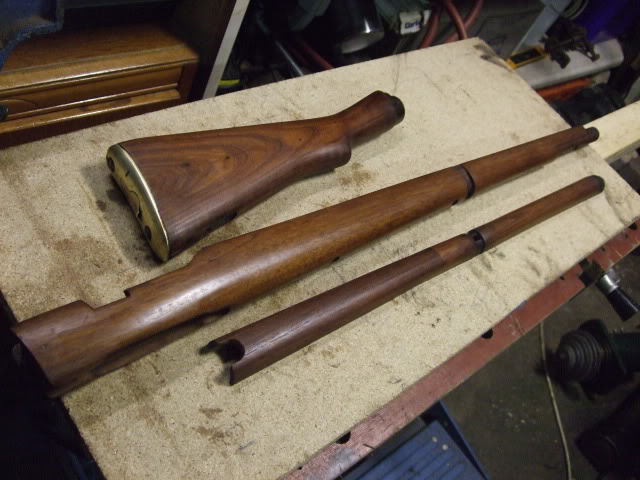
Two things i had to remove from the old fore-end, the stock bolt plate, and the gaurd screw bushing.
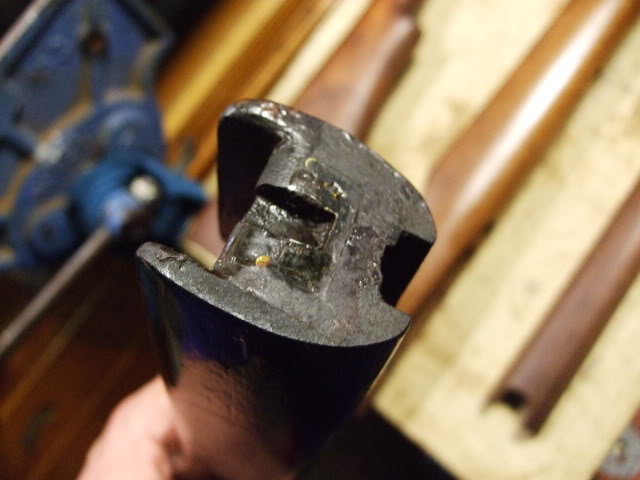
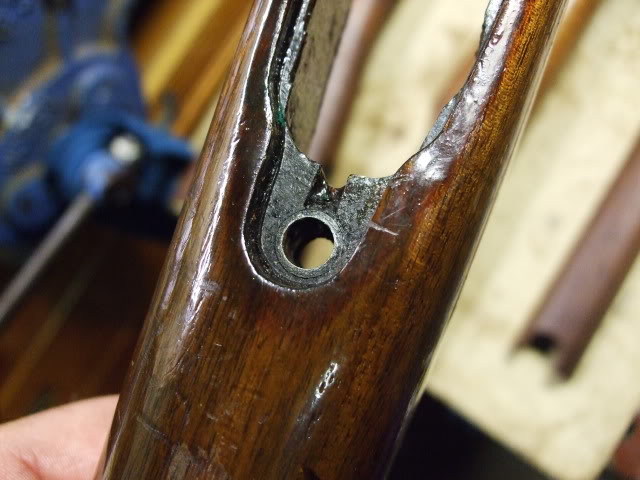
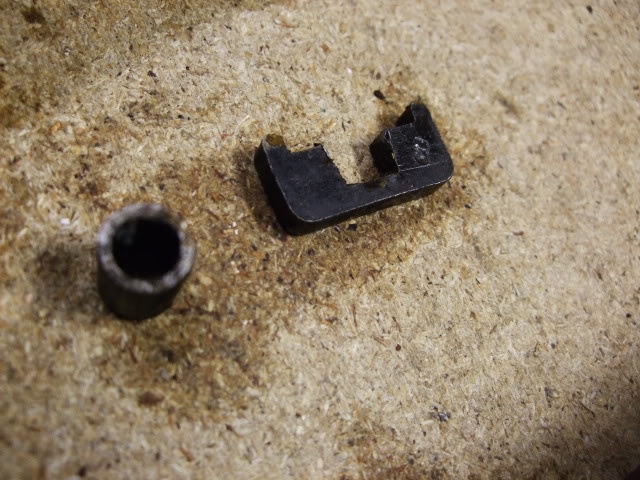
after fitting these to the new fore-end it was a case of putting it together to see how it looked ...
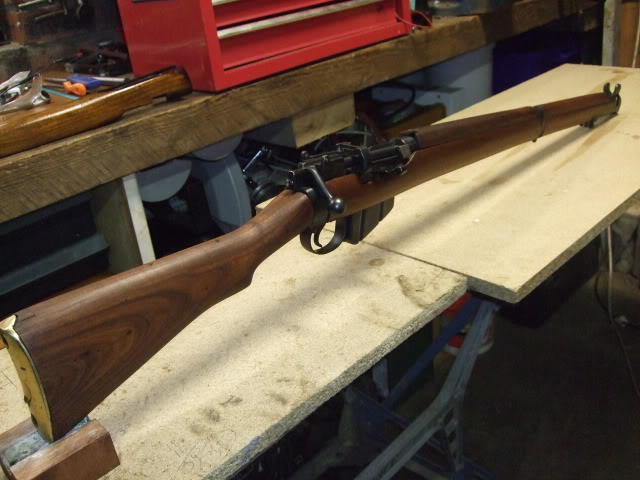
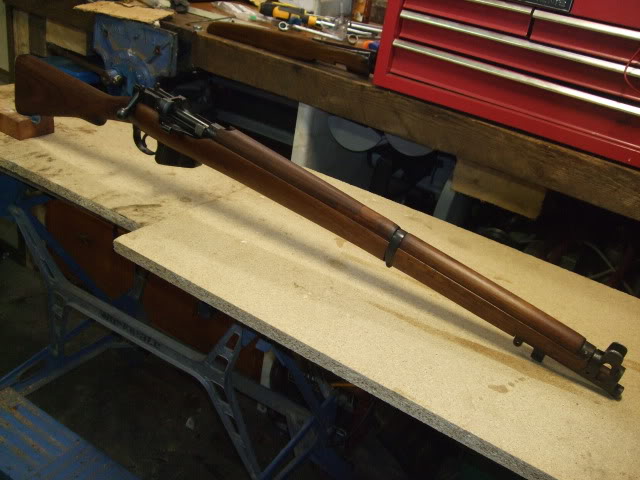
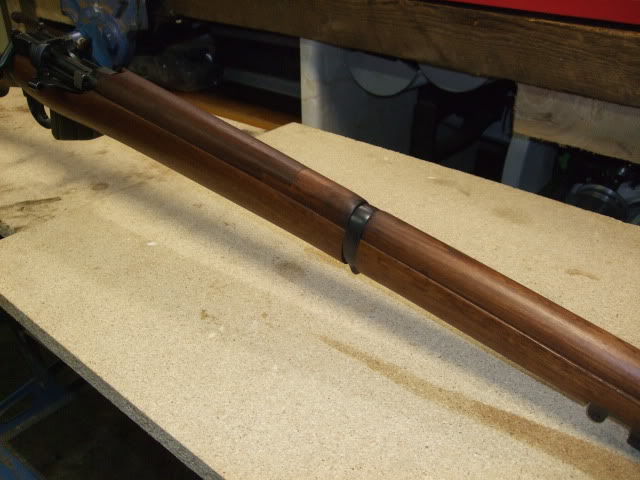
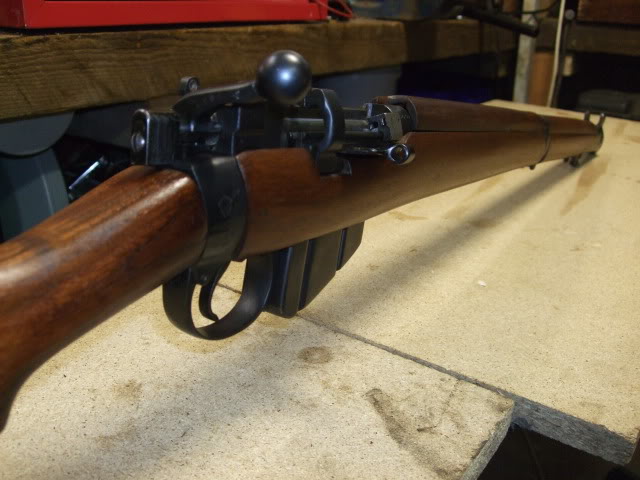
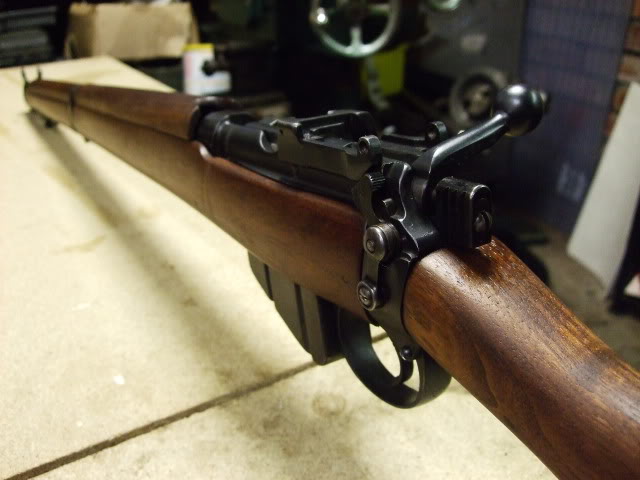
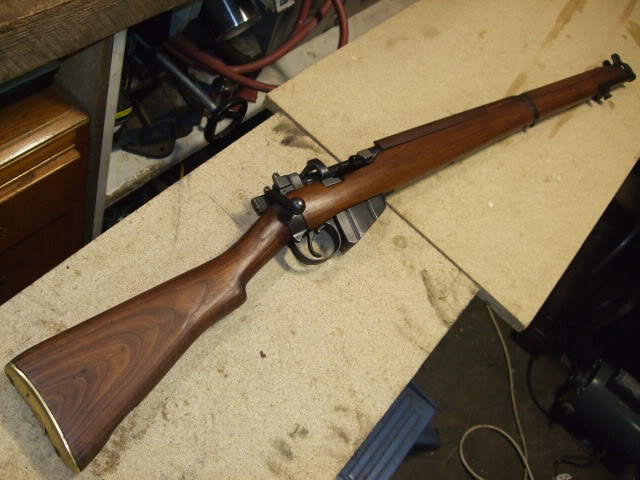
The butt i wasn,t happy with (first thing to be replaced when i find one) if i do use it, will need to remove some material to allow the safety to operate and to cut the recess for the butt disc.
The last pic shows that the hangaurd still needs work, but will wait till i get the barrel on.
Am awaiting for the extra barrel band, and while I,v ordered this and have done the handgaurd, i may have a original band and rear handgaurd on the way.
Sods law once you make a start, things start coming to the surface.
Last thing is the rear sight, have a few pics on hand of the original, so plan on making this but will use something as a stand in. If bubba had not had his way, then spending the cash on a sight from EFD would be worth it but as its never going to be perfect I will bide my time,
Am still tempted to put a barrel on chambered to .30 M1 carbine, it would be single shot and I have a bolt head and barrel, everything else would be unchanged.
Hope to be finished in part 4, but its suprising how many photo,s you end up with.
-
The Following 10 Members Say Thank You to bigduke6 For This Useful Post:
-
FREE MEMBER
NO Posting or PM's Allowed

Bigduke,
all the parts are a great reading! You made a great job,congratulations!!!
Regards
Gunner
-
Thanks Gunner,
The main idea behind it, was to show what can be done to bring a bubba case back to a useable rifle with what you have on hand and then add the original parts when they turn up, also to demonstrate that all is not lost, even if it requires a reduction or change of calibre, ( i must stress am only reducuing the calibre as a safety precaution, am more than confident it will hold up to the .303 but am a firm believer in better safe than sorry)
posting it in parts i thought was better than one big thread, and helps me to get the photos organized as there was a lot to choose from. hope to get the last part posted when the barrel band arrives, also the last post shows how to recycle an old .308 target barrel.....
-
Thank You to bigduke6 For This Useful Post:
-
FREE MEMBER
NO Posting or PM's Allowed

Bigduke,
this is a good idea! And i hope it will be a inspiration for some of the guys to do such an project by themselve and save a poor old rifle from being only cheap scrap. Thank you.
Regards
Gunner
, all woodwork, nose cap + spring and plunger, mag cut off, a rear sight and barrel.


 PM
PM


