-
-
Thank You to Claven2 For This Useful Post:
-
05-31-2011 09:21 PM
# ADS
Friends and Sponsors

-
Legacy Member

I wish I had the talent and equipment to do what you do. This is turning out beautifully!
-
Thank You to Bear43 For This Useful Post:
-
-
-
Thank You to Claven2 For This Useful Post:
-
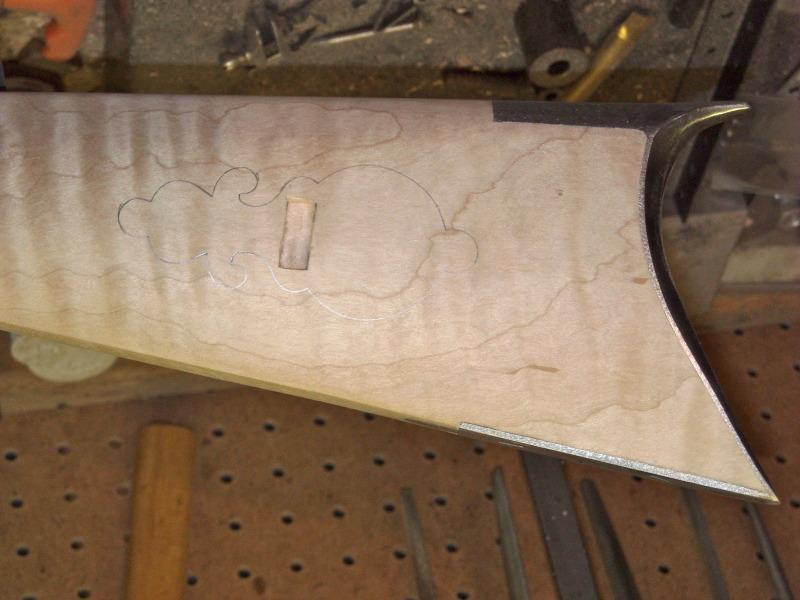
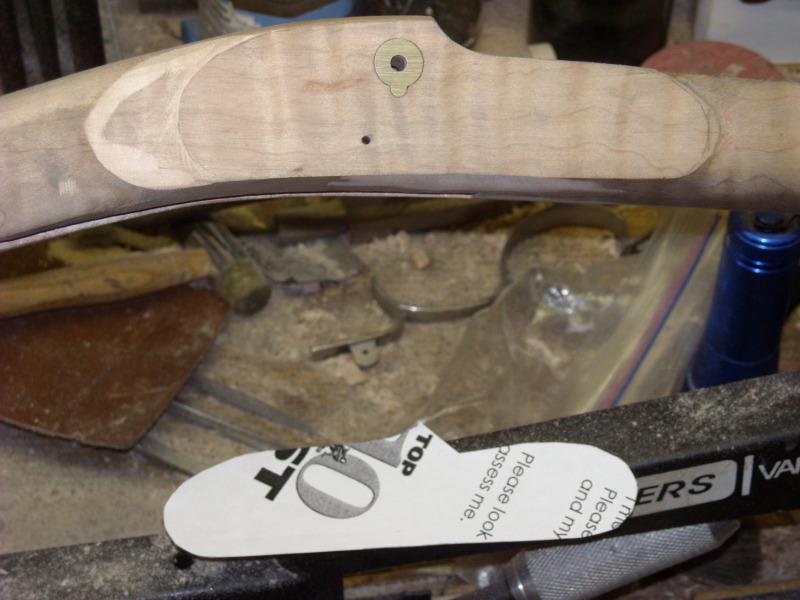
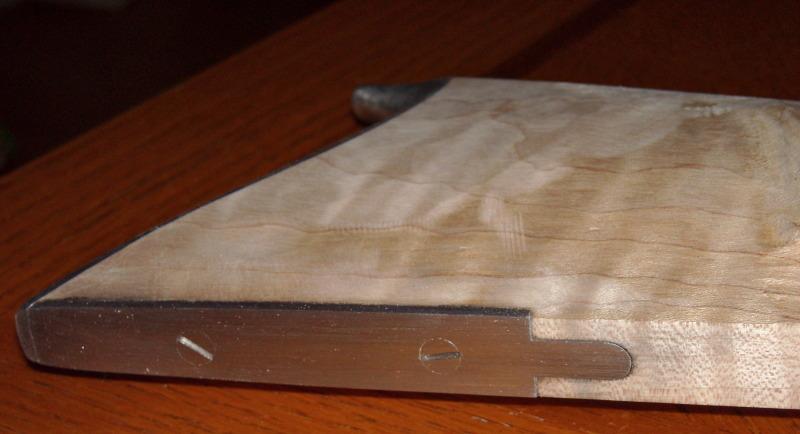
Time to start inletting the patchbox plate. Obviously, you strip the plate first to doe this, then re-assemble and inlet the operating mechanisms. The round cutout for the patches is the last thing you inlet.
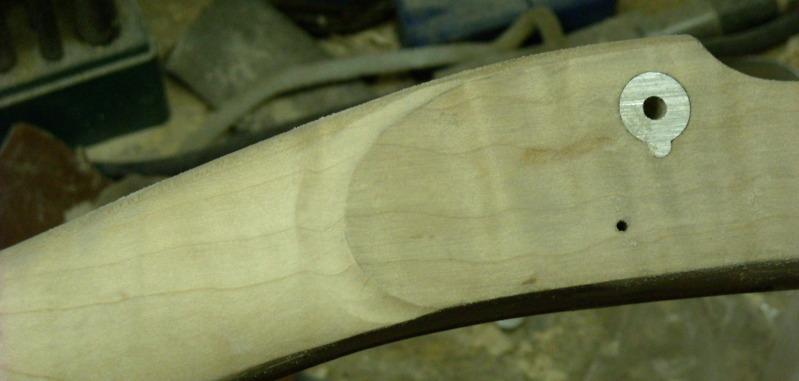
Here the plate is rough inlet, still a tad proud. I'm slowly taking it down to flush. This is a fairly complex inlet and you need to take your time to keep gaps to a minimum.
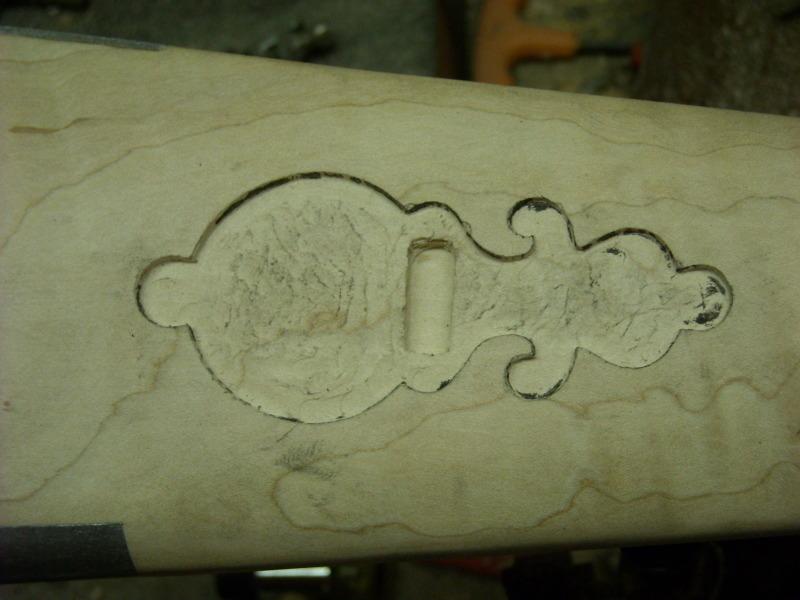
I start with a fine dremel gouging tip to get within a milimeter or two of my scribe lines and then switch to a scraping chisel and inletting black to strive for a tight fit. This is literally one of the only things you should ever use a dremel for on a gun build IMHO 
Союз нерушимый республик свободных Сплотила навеки Великая Русь. Да здравствует созданный волей народов Единый, могучий Советский Союз!
-
The Following 2 Members Say Thank You to Claven2 For This Useful Post:
-
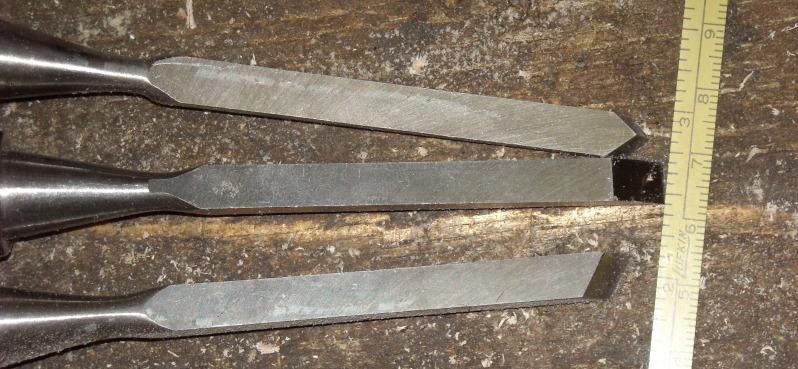
Can you post a pic or 2 of the chisels/gouges you used for the inletting (around the outline)?
-
-
Legacy Member

Claven, an excellent start on the forend, fitting the tip is often a buggaboo for beginners, your tutorial will help those who have not done these things before. Please also show the results of slimming the entire forearm, that too will benefit everyone. People may miss the fact that there is a great deal of wood to be removed.
-
-
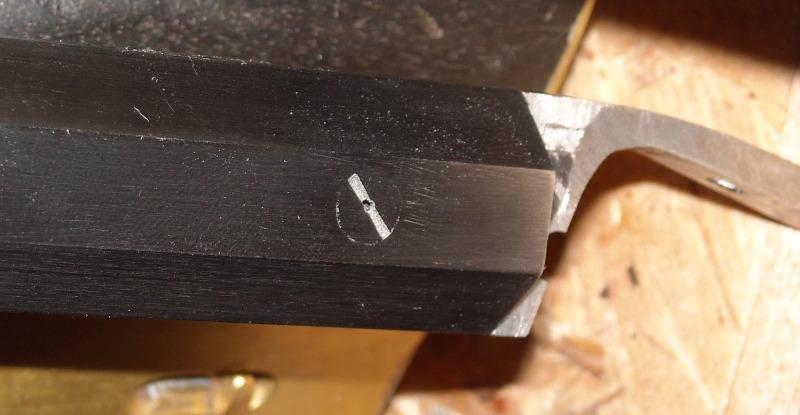
Hey guys, sorry to take so long to answer, I was out in BC on business last week. Since you asked, here are the chisels I use as scrapers. For around the perimeter of shallow outlines, I use the 45 degree chisel (the one on top) flipped upside down as a scraper. It works well as long as you aren't dragging it into the open grain, so for half the inlet you pull it one direction, for the other half, you pull it in the other direction so that you are always pulling along or away from open wood grain, if that makes sense?
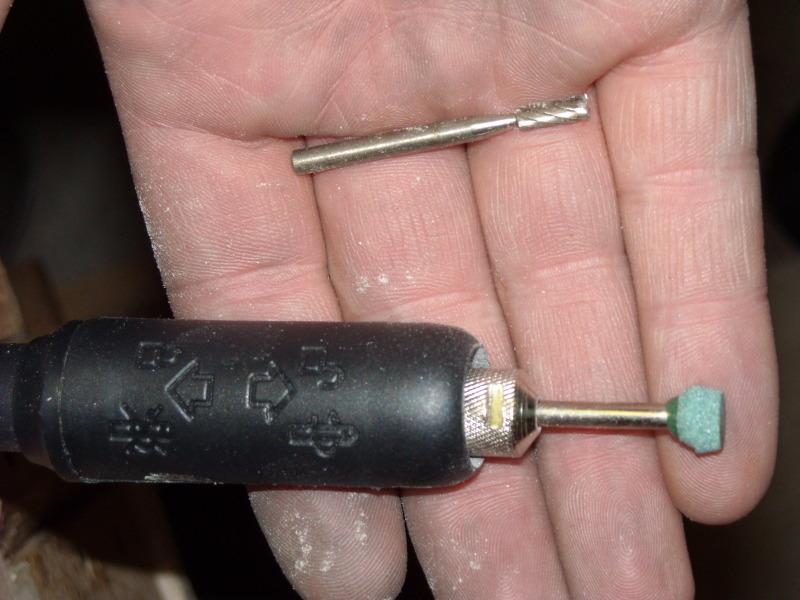
For removing the material roughly in the middle, I use a dremel flex shaft as pictured mounting the small wood gouge bit (loose in my hand above). GO SLOW. A slip can ruin your inlet in a big way. I keep the speeds pretty slow, around a "2" on my 8 speed rotary tool.
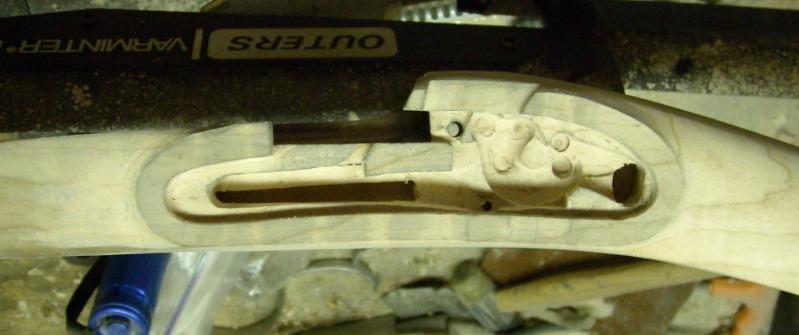
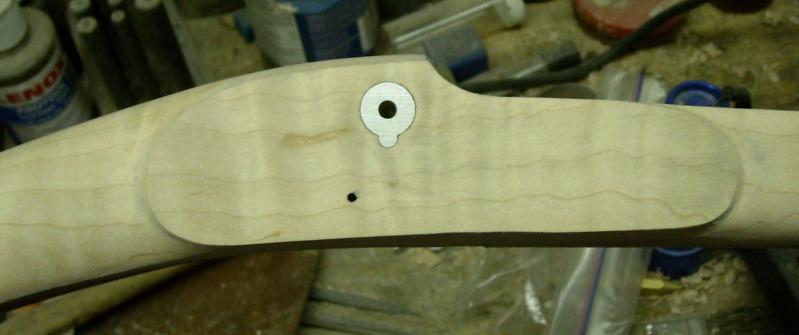
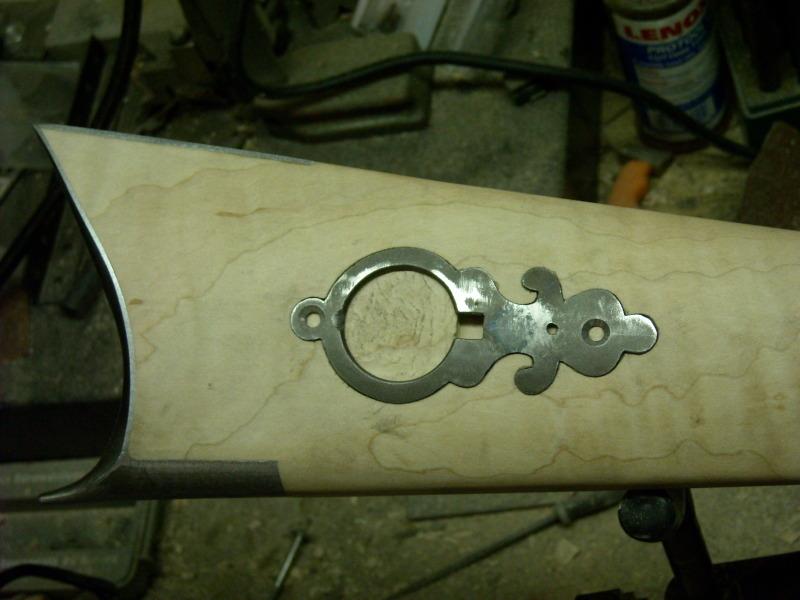
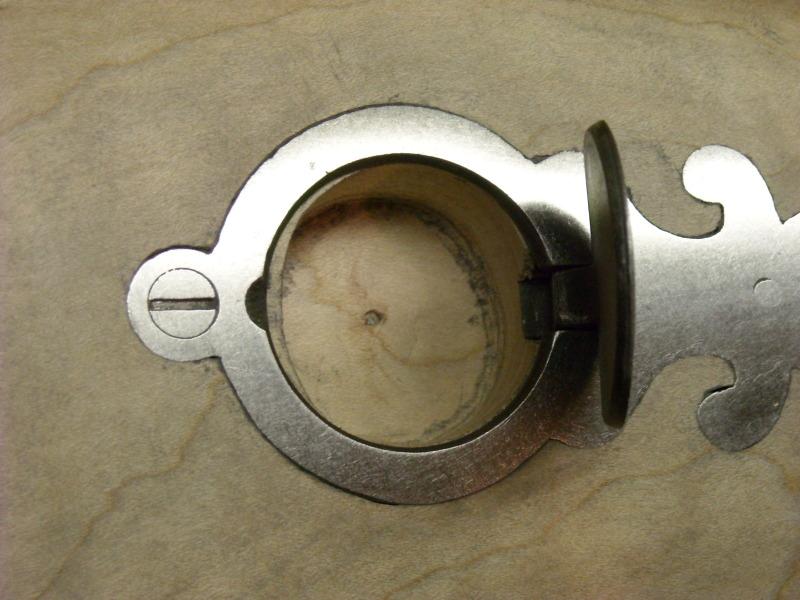
Here the inlet is done and the exterior is lightly sanded. I need to sand it flush to the wood a hair more, but will wait until the stock is completely shaped before I do more finish sanding I think.
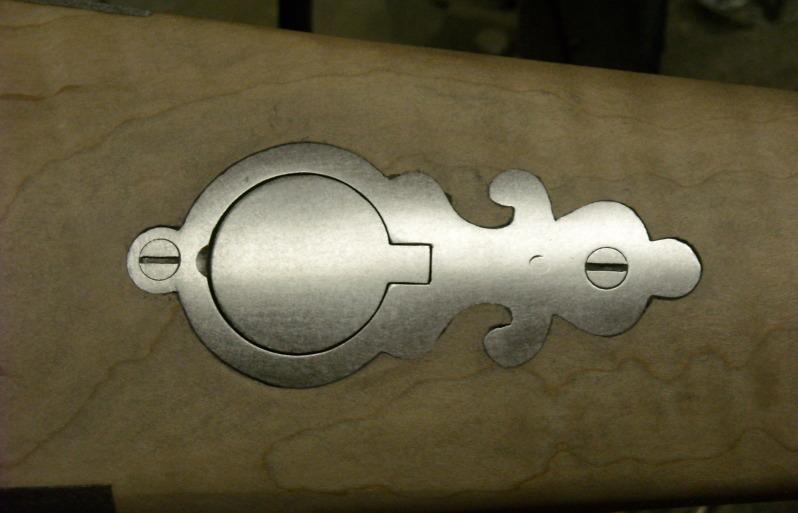
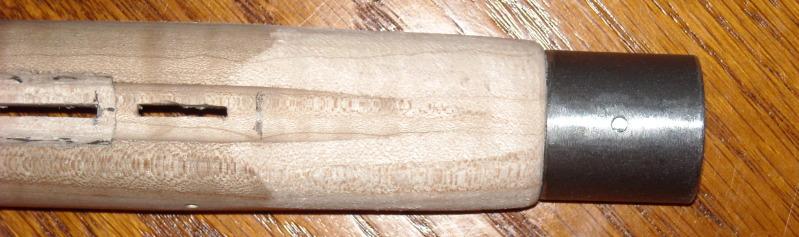
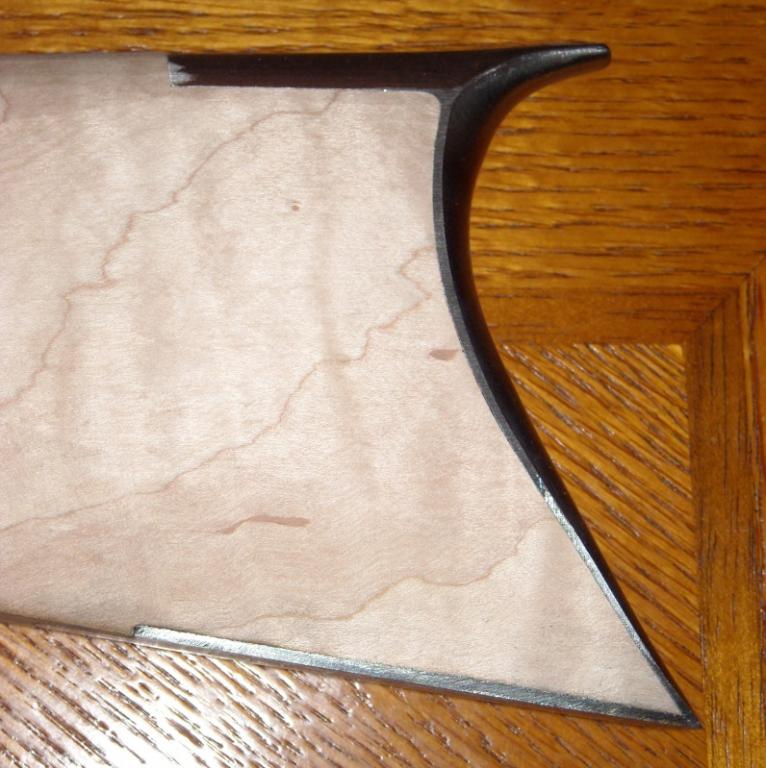
And here we see the hole underneath. I don't cut this with a spade drill like some guys do, it's actually a bit D-shaped. I like leaving a small lip of wood at the front end because these steel wax castings fit fairly loosely and if you want the door to sit up flush with the main plate after it's installed, it helps to leave just enough wood to press the door up a hair. I actually ground out the recess roughly with a gouging bit and then use a small drum sander and sanding disc to smooth the insides of the patch box recess.
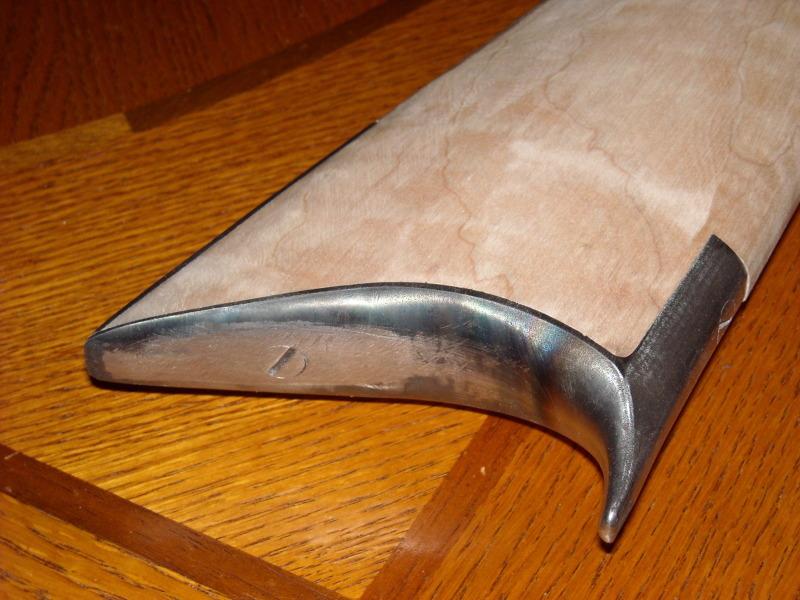
Ans since the nosecap came up, this pic show where I set the nosecap, just to the base of the points at the corner of each barrel flat:
Союз нерушимый республик свободных Сплотила навеки Великая Русь. Да здравствует созданный волей народов Единый, могучий Советский Союз!
-
The Following 2 Members Say Thank You to Claven2 For This Useful Post:
-
-
The Following 2 Members Say Thank You to Claven2 For This Useful Post:
-
So now we get to forearm thinning. There are a number of ways to do this, and I find which you use is HIGHLY dependent on the type of wood. For straight grain wood, bar nonw, I like a proper scraper. This one is made by Veritas and is pretty high-end, interchangeable blades, etc.
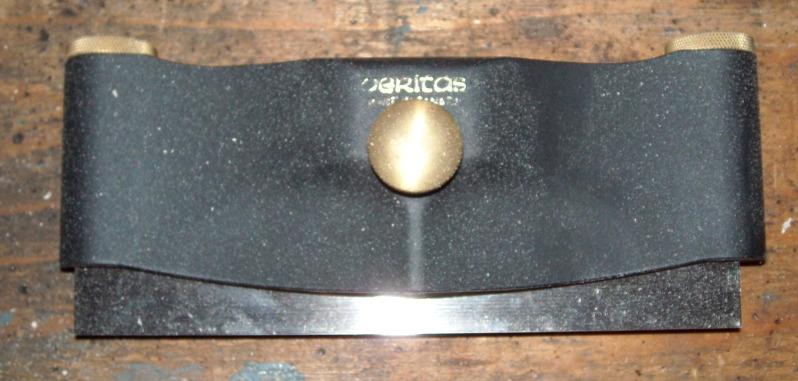
The problem with fiddlebacked maple, however, is that a scraped edge will leave a wavy surface due to the nature of the grain and you will have to sand it smooth again, so make sure you leave some meat for sanding if you use a scraper. I typically will only use it in small areas that need precise removal of material when working with fiddleback maple.
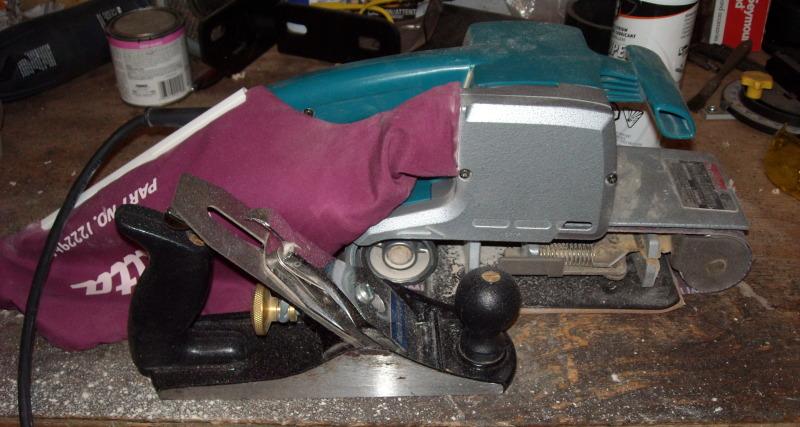
Next, you have the wood plane. This works OK if you have long flats to remove material from, but for fiddleback you need to keep it razor sharp and only remove very thin curls of wood. I will use this to remove high-points I'm trying to round, etc.
Now I know it sounds crazy, and frankly it does require a LOT of practise to not ruin the piece, but for fiddleback, I like an industrial power belt sander like this Makita. DO NOT USE the 80 grit belts they come with or you WILL remove too much wood and ruin the stock. Buy a 120 grit belt, clamp the stock REALLY firmly in a good vise (use leather to pad the jaws) and GO SLOW. 2-3 seconds of sanding, stop and check, repeat. You can scribe lines, but I just do it by practised eye. I don't use a sander for straight grain,. but for fast removal of a lot of wood from fiddleback, IF YOU ARE VERY CAREFUL, this way works and leaves you with a flat, non-grain-wavy surface.
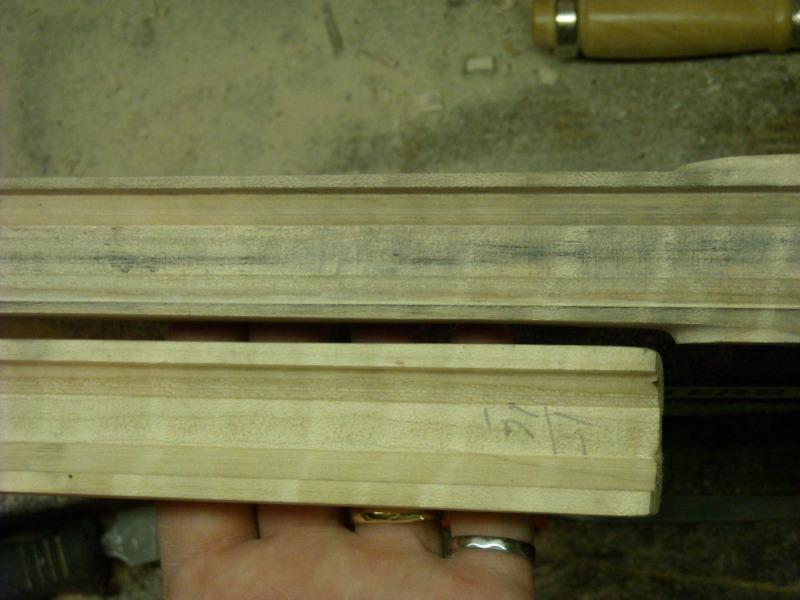
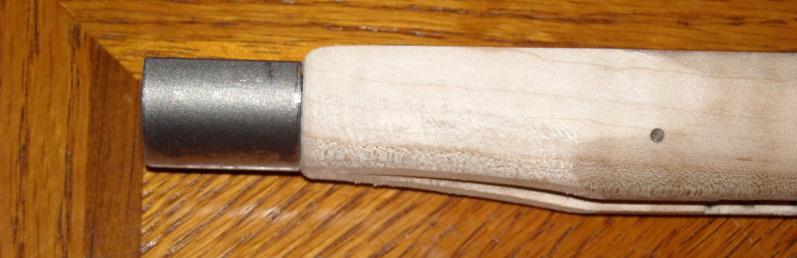
Now here is a chunk of the original forearm from when I shortened it to show you how much the stock has been thinned:

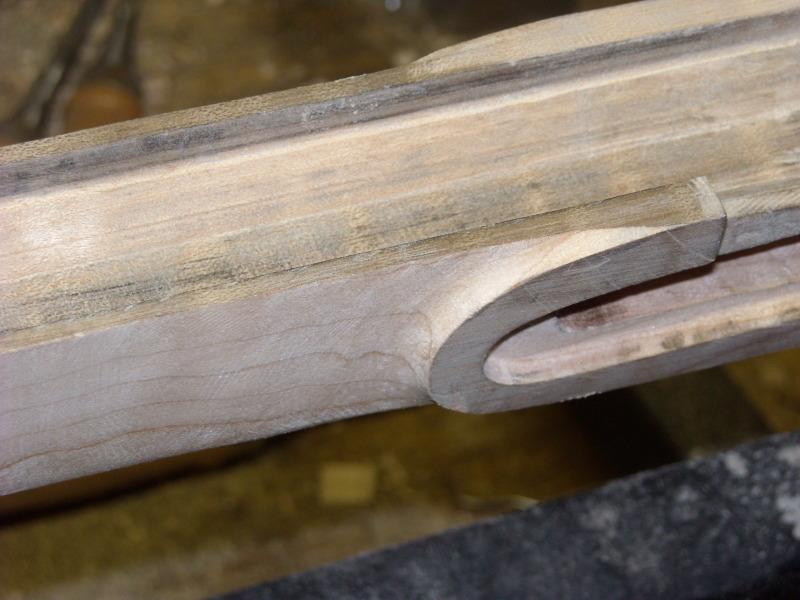
Notice when we approach the lockplate flare and the cosmetic flare on the opposite side, I let the barrel channel walls get slightly thicker, this is to fill out the hand a bit where the stock is gripped.
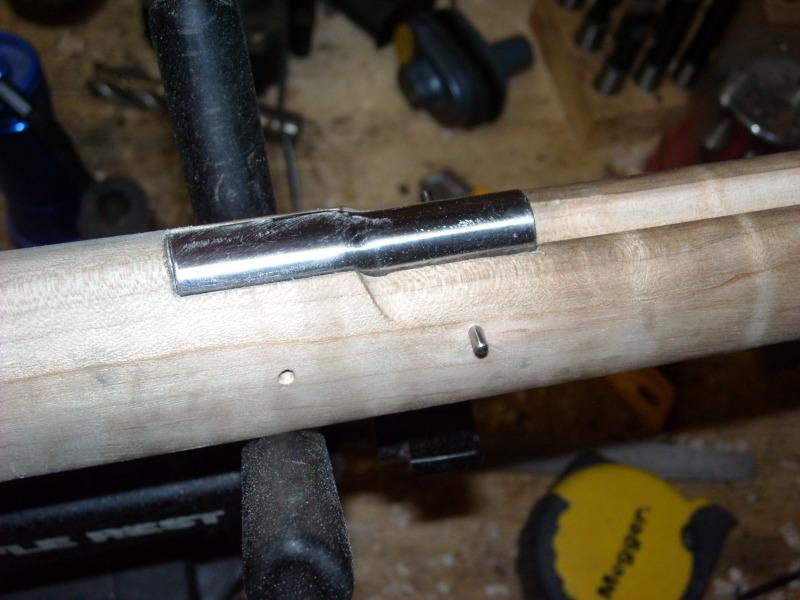
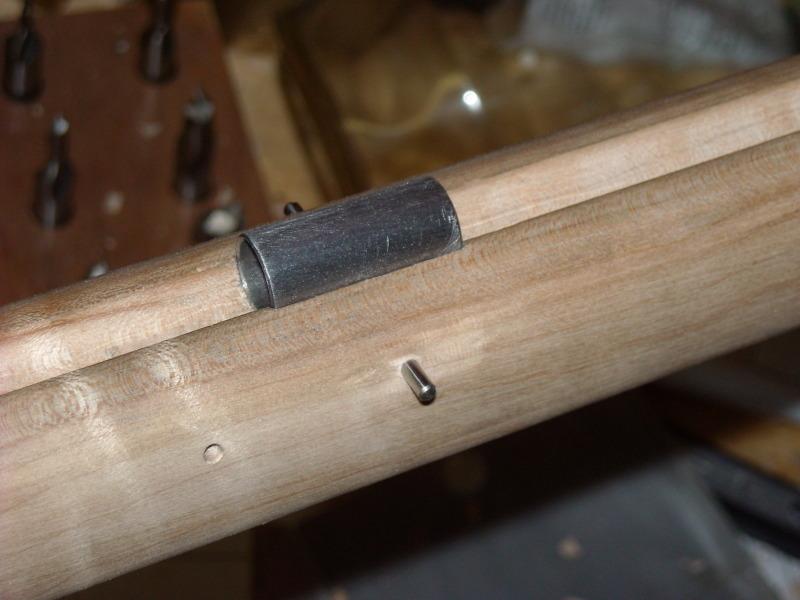
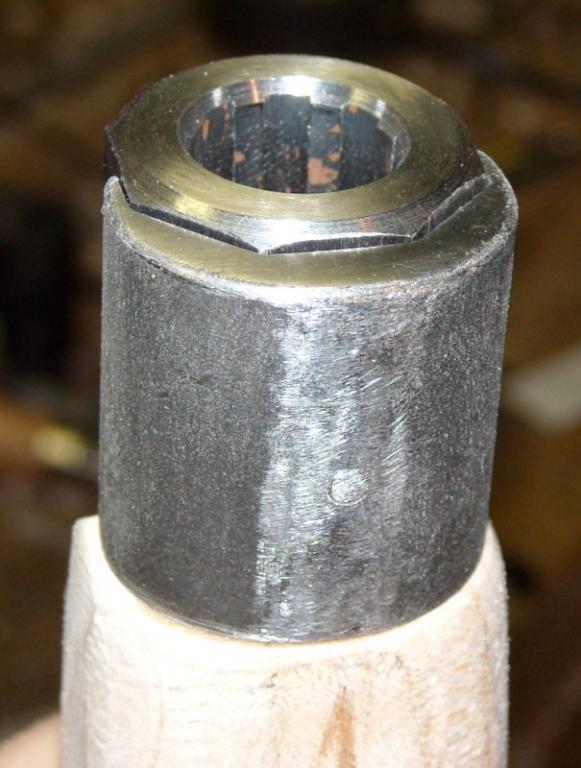
Oh, I also fit the touch-hole liner. This ones is TOTW brand liner threaded 1/2x28. I recommend you drill this with the barrel clamped in a vise on a milling machine - you only get one chance to drill it to the right diameter. Use a centre-drill prior to drilling to final diameter and mark the location first with the barrel and lockplate installed to best locate the flash hole. put a 90 degree bevel on the finished hole, no larger than the diameter of the flange on the liner. Once installed, file it flat and polish to 400 grit with the flat of the barrel.
I still have to finish sanding and scraping the final rounded contour under the forearm, right now, it's parallel-sided with the thickness reduced.
Союз нерушимый республик свободных Сплотила навеки Великая Русь. Да здравствует созданный волей народов Единый, могучий Советский Союз!
-
Thank You to Claven2 For This Useful Post:
-
Legacy Member
Good work on the forearm. I personally use a large, course file to remove the majority of the wood moving then to a finer file and then on to 220 grit sand paper or a scraper since power tools, unless you are very, very careful, can remove too much wood too quickly but you are obviously capable of handling the power sander very well.
Last edited by gew8805; 06-14-2011 at 02:55 PM.
-


 PM
PM