-
Oviedo Model '93 Mauser, Caliber 7mm, Mfg. 1927
Over a month cleaning and reapplying RLO to a rather forelorn Spanish Mauser finally led to a trip to the range.
A "Before":
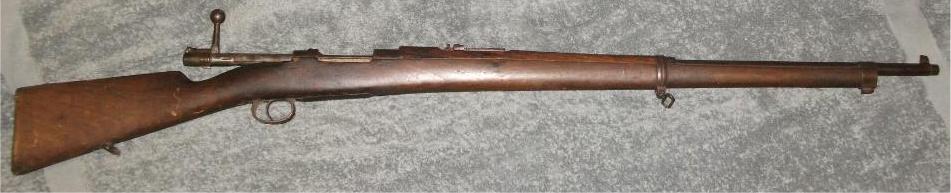
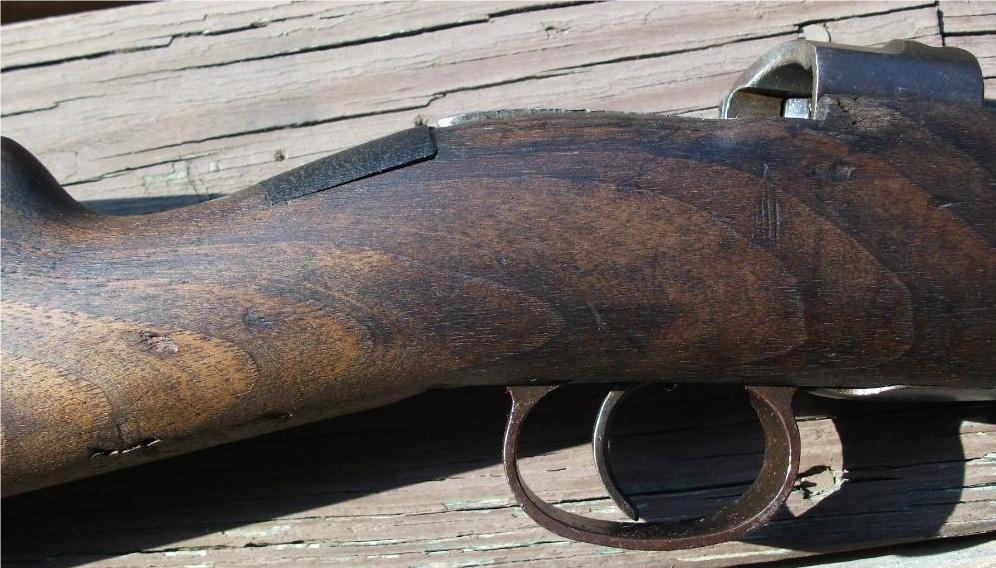
and "After":
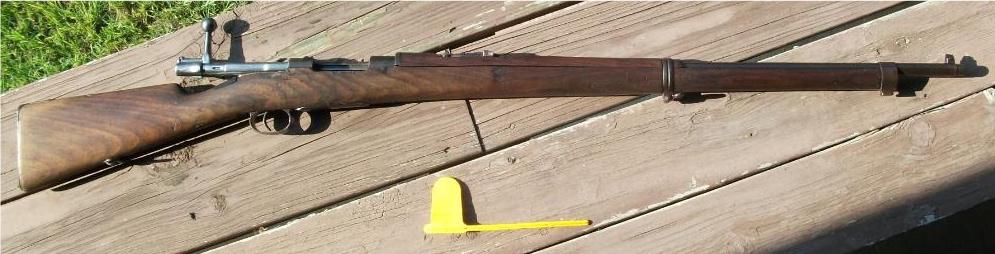
Well, up close it's MUCH less "grody".
"Grody to the max"
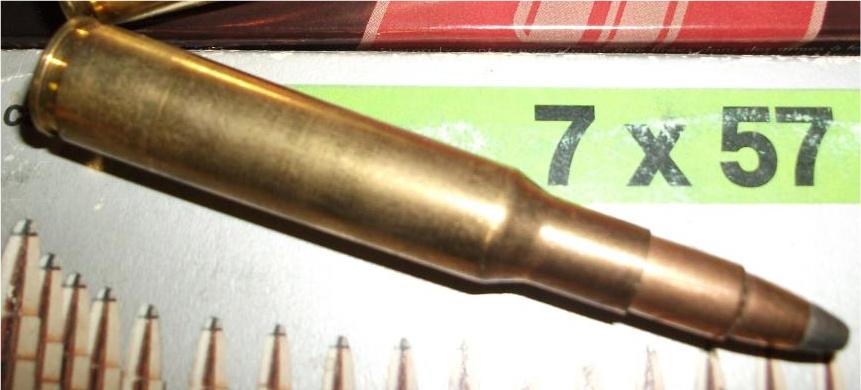
First five rounds of 140gr Remington went into ~5" at 100 yds, but the elevation was pretty good and about 5" right. Actually, that's better that expected.
Then, as the bullet weight was correct, some wierd old S&B ammo was tried:
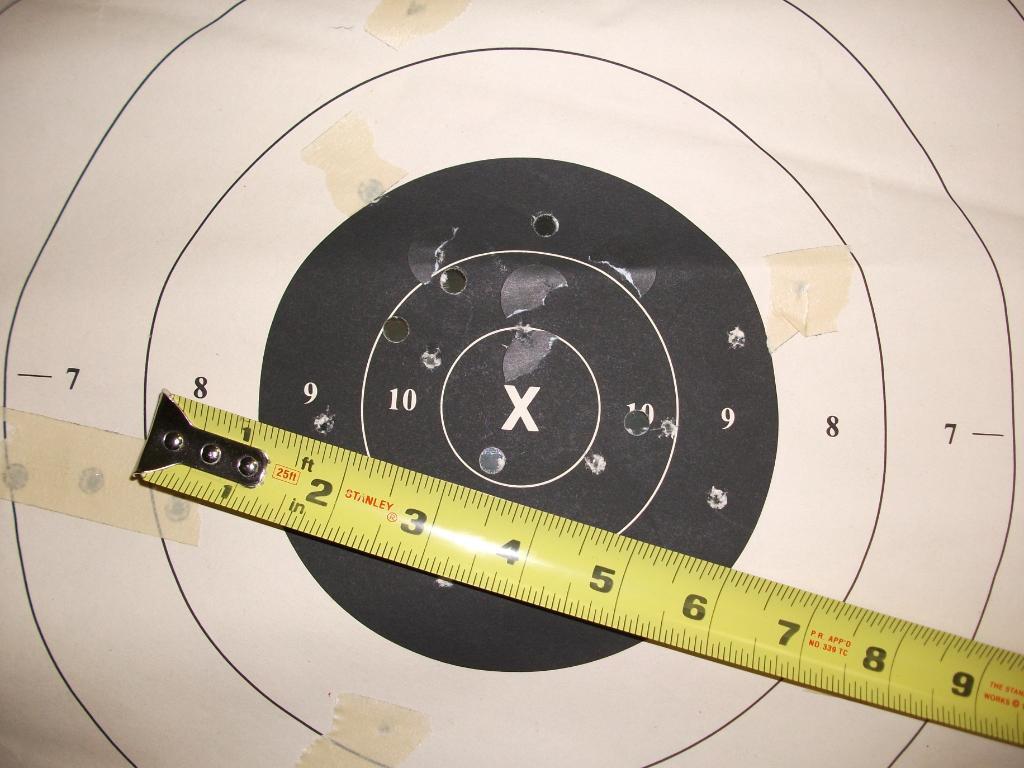
 (Never mind the .22" rf holes from previous shooting)
Max spread right at 2 3/4" and centered! 
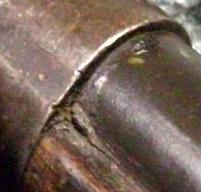
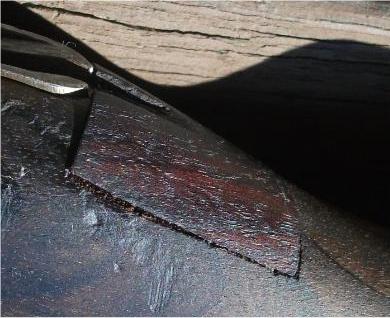
However, due to the wretched bedding of the action, the patch on the wrist came adrift.
Phooey!
Sooo... what's next?
Glass bedding the action would be easy, but it just seems wrong, even if the bolt's not matching to the rifle.
Probably won't shoot it enough to justify a massive rebuild of the stock inletting with wood bearing surfaces either.
Do you think it would be a bad thing to merely install a bent steel shim at the recoil lug area to move the action up and forward a little, and then do a quick plug and patch at the rear using large hardwood dowels?
It feels like there's two or three threads already on this particular rifle, but apparently not! There IS a large collection of photos and likely more coming, so until things get better organized you'll just have to suffer through a slideshow of the entire album, if you need more insights into this late production 7mm. (1928 was the last year the Spanish made complete '93 Mausers, apparently.)
Link to 145+ photo slideshow: http://s20.photobucket.com/albums/b2...view=slideshow
Information
 |
Warning: This is a relatively older thread
This discussion is older than 360 days. Some information contained in it may no longer be current. |
|
-
-
07-25-2011 10:07 AM
# ADS
Friends and Sponsors

-
Legacy Member

Well if you are not going to shoot her enough to justify any serious concern, then I would replace or reseat the wood repair, dowel it in place and call it a night. I have a couple of rifles like that- ones where extreme shooting would likely damage the rifle but where the precious few rounds I'll put through it don't justify a rebuild. So in short- repair thr patch then leave her be... My opinion anyway. And you know what they say about opinions... They are like asses, everyone's got one and they stink!
Good Luck! The before and afters look great by the way
-
Thank You to m4a3sherman For This Useful Post:
-
Advisory Panel


Stock fix
Congratulations jmoore - you obviously have a potentially good shooter. Now let's make it better.
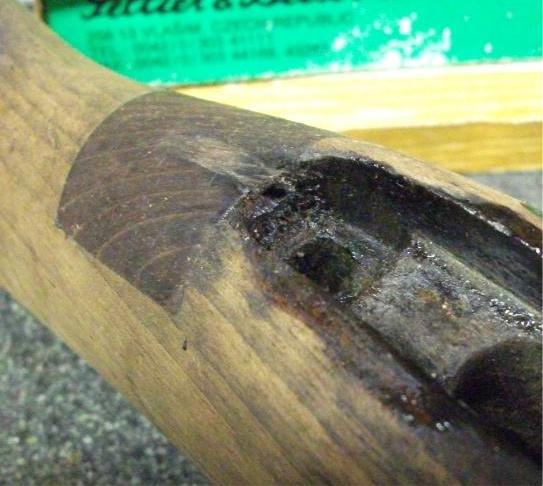
First, why is there a patch in the stock behind the tang, and why did it come adrift?
The answer to both questions is the same - because the recoil is banging the tang against the end of the inletting. This may have been caused by the trigger guard bolts not being tight enough. OK, they may have been tight enough a century ago, but the wood has shrunk and set a little since then - just enough to allow the damage!
This must NOT happen.
The banging will often start a crack in the wrist (which is probably what happened to your rifle) or even split the stock. The taper of the tang means that it can exert an almighty wedging force to split the stock apart. The patched piece was apparently knocked out of your rifle by the same action.
The fix is simple.
Remove the barreled action from the stock. Refit the wood patch. While you're at it, check that there is not a real crack underneath. If so, you will have to fix it before proceeding.
Now get yourself a sharp wood chisel/gouge with a concave-curved cutting edge (this is vital if you want the result to look good) to work on the curved edge of the recess. You will also need a sharp flat wood chisel with about a 1/4" blade, to work on the floor of the recess.
Enlarge the back end of the recess in the wood so that there is at least 0.5 mm (i.e. 1/32" or less, depending on your carving skills) clearance behind the back end of the receiver tang. It is not enough to free the end of the tang - the sides of the curved end of the recess must ALSO be relieved in order to fully eliminate the wedge action.
If, like me, you are not a skilled woodworker and unable to get a good-looking edge just with a chisel, then I find that a suitable lathe tool can be used as a scraper to smooth the edges of the recess.
Get the floor of the recess as flat as you can. A nice edge to the recess looks good but is functionally irrelevant. On the other hand, the floor of the recess is relevant. The area which you have added must not stand higher than the rest, otherwise the trigger guard screws will be cinching on this area. Rather have this extended area a gnat's whisker deeper, to be sure that the wood is cinched around the screw, not to one side or at the end of the tang.
Reassemble, check that the tang is not touching the sides of the recess, tighten the trigger guard screw "two-hand tight" or "T-handle tight" but not "wheelbrace tight" and shoot!
Good luck!
Patrick

Last edited by Patrick Chadwick; 07-25-2011 at 11:52 AM.
-
Thank You to Patrick Chadwick For This Useful Post:
-
If you had been able to see and feel the lack of correct fitment of this stock to the receiver, Patrick, you would be appalled! The bottom of the action touches the stock nowhere but the bottom of the recoil lug-!
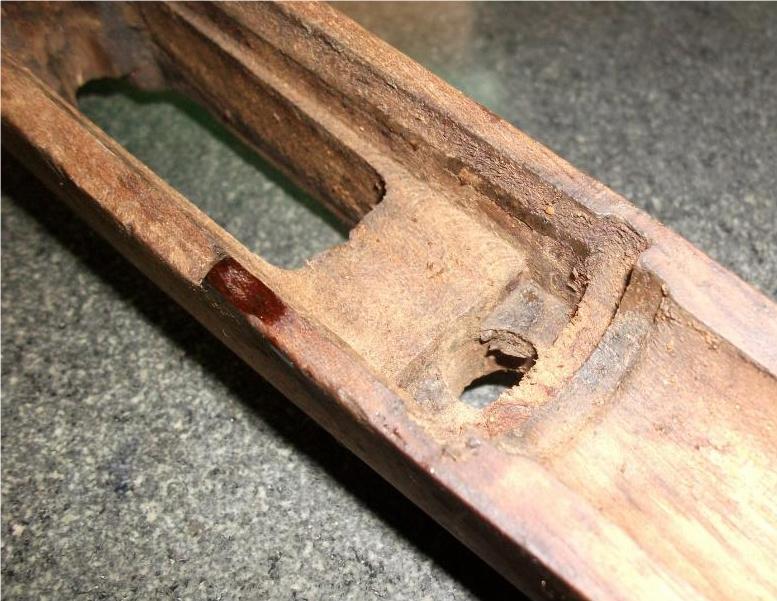
Older "during clean-up" photo. Note that the only sign of metal contact is directly under the recoil lug and the rear barrel band- a sad little part, too.
I added some super secret removable flexible material (PW2037 CSV rub strip "excess") at the rear of the action so the rear screw wouldn't crash the sear face during bolt operation- wood's not collapsed- I don't think it was ever there!
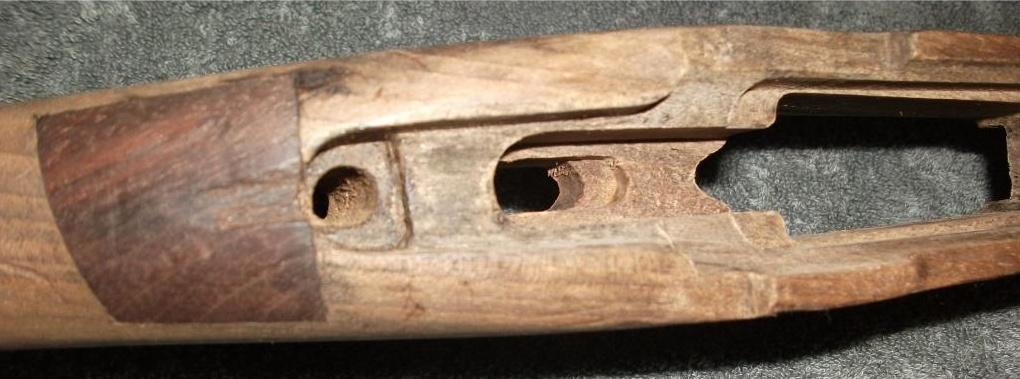
Older "during clean-up" photos
Upon closer inspection this mornng, I think the recoil just vibrated it loose from it's driven home location. No cracks at the back, 'cuz there's no actual wood to metal contact -the patch already had a chunk out of it (which I had noted to my self during cleaning) . So the fact it shot a group at all is shocking!
However, since it shoots so well in this pathetic state, it's sorely tempting to spend yet more time on it, rather than on many of my OTHER projects. Your approach is surely the best way. But do I really want to spend the time...
More fine attention to detail:
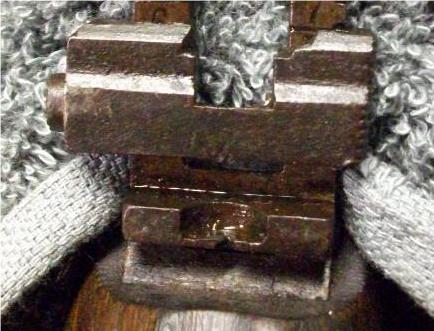
Somebody forgot the long range sight notch! (another "before" photo )
I ordered another rear sight assembly (it's in a "cargo" pocket of my shorts as I type- they even included the barrel ring)) to make sure that the old notch had not just been removed.- Nope, just never had one!
This rifle seems to cry out that there were many unhappy and/or uncaring folk involved in it's past. It doesn't indicate desperation like a "last ditch" Axis rifle, but rather disaffection. (?) Is that a real word?
Last edited by jmoore; 07-25-2011 at 12:31 PM.
-
-
Advisory Panel
Yes you do want to spend the time!

Originally Posted by
jmoore

But do I really want to spend the time...
Yes you do! Because any fool with enough money can buy an exhibition quality gun, or let a dealer find one for him. That requires no skill whatsoever. And because I believe you are somewhat like me - having done it yourself is much more satisfying than just emptying out your wallet. Take a look at how Claven2 turns firewood into good stocks - and take heart! And there are several online sources of "How to" information on pillar-bedding Mauser actions.
Like this:
http://www.brownells.com/.aspx/lid=1...user_Receivers
Which seems to be what this one needs.
Patrick
-
-
Legacy Member


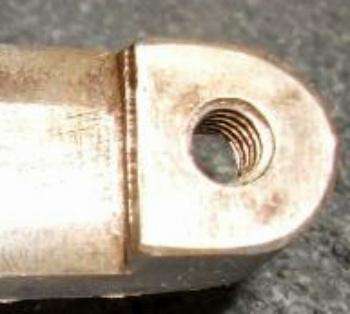
JM this is probably a dumb question but is/was there a liner in the rear action screw hole?
-
-
No signs of a liner in either hole. No marks in the action or trigger guard that would indicate that they were ever used that I noticed.
Mmmm, pillar bedding- that's kind of what I was thinking for the rear of the inletting, but using wood rather than metal. I've done a few pillars for more modern stuff, but it's been in conjunction with epoxy bedding. Eh, don't see why not here. It's quick. And easy. And how much value could i take away from this rifle? 
Last edited by jmoore; 08-13-2011 at 08:45 AM.
-
-
Legacy Member
The absence of the liner just might explain why the patch popped loose and probably why it's there to begin with. I accidentally left the liner out of a very nice Chilean Mauser once(had it apart for cleaning and did'nt notice when it fell out) and ended up with a big ugly crack in the wrist within just a few shots. I still kick myself every time I think about it.
Last edited by vintage hunter; 07-26-2011 at 02:34 AM.
-
-
Advisory Panel
Originally Posted by
vintage hunter
I accidentally left the liner out of a very nice
Chilean Mauser once(had it apart for cleaning and did'nt notice when it fell out) and ended up with a big ugly crack in the wrist within just a few shots.
Q.E.D.
Jmoore - please don't chicken out of this - get that action pillar-bedded!
Patrick
-
-
Pardon the delay before live fire excercises resume...sigh. Don't know WHEN the milling machine will be freed up.
-


 PM
PM


