-
FREE MEMBER
NO Posting or PM's Allowed

Excellent work but the lock seems to be on the wrong side. 
-
04-22-2011 01:15 PM
# ADS
Friends and Sponsors

-
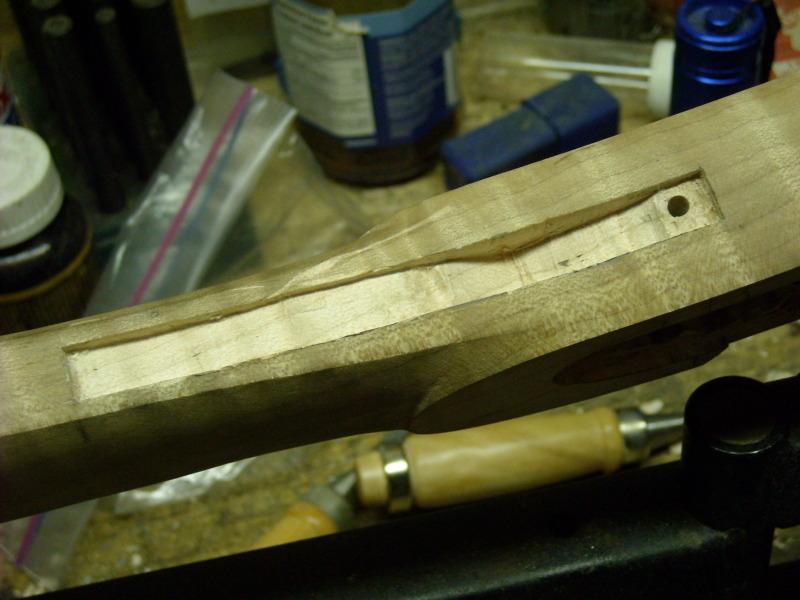
A little more progress to show. As you may have guessed, the lock inlet for the internals was roughed out in the mill and scraped to size with chisels. Unfortunately, the Lehman was designed for a percussion lock, and the flintlock they sell with it causes a few inletting compromises - more on that in a moment.
You also end up with a paper-thin gap between the ramrod channel and the mainspring inlet. In my case, it broke through in one spot, but hte spring doesn;t foul the rod - I've checked, so this isn't a noteworthy concern. I also slipped once with the chisel and broke into the barrel channel when inletting for the mainspring hooks - again, just a cosmetic issue that will only be obvious if you pull the barrel. On these guns, the barrel typically remain pinned in though.
On the whole I'm well enough pleased with the lock inletting. It's fully functional with no fouling of the internals and seats nice and tight.
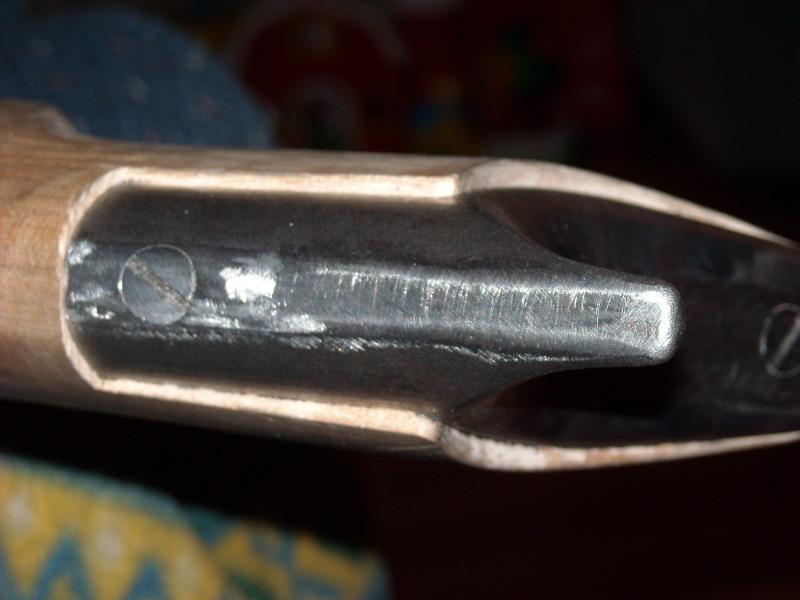
The compromise I referred to is that because it's a flintlock, there is precious little room for the sidenail. I put it as far as possible back on the lock ledge, but it still broke into the inletting for the breech plug. I could have put it right through the breech plug, but I wanted it to be possible to remove the barrel without removing the lock in case anyone ever tries to do that. I therefore slightly relieved the breech plug to accommodate.
Inletting for the lock:
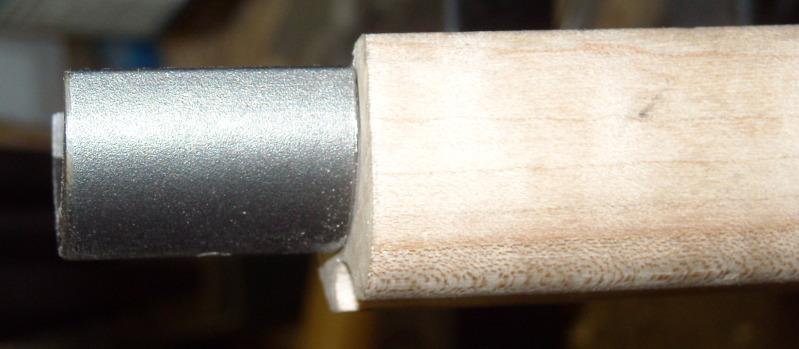
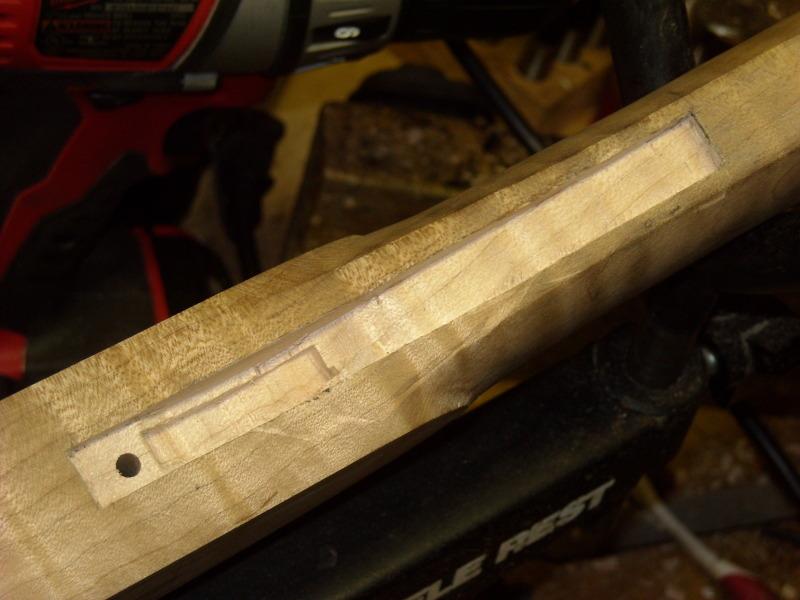
Drilled and lock threaded, sidenail installed. Pretty long huh!?
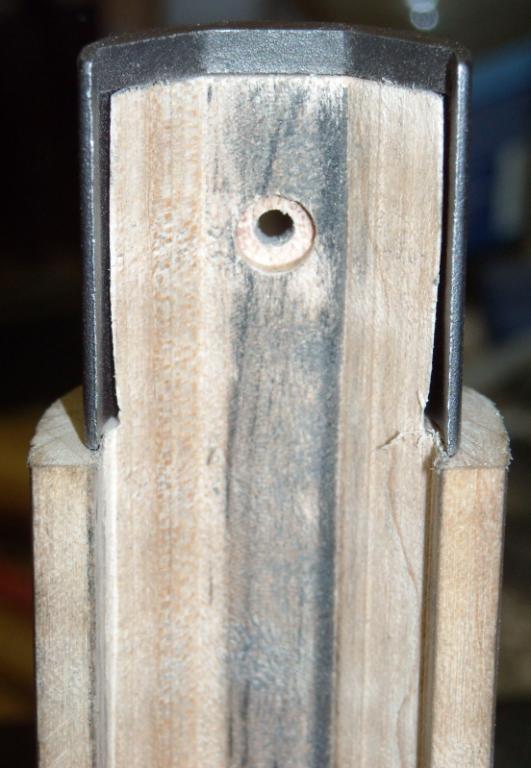
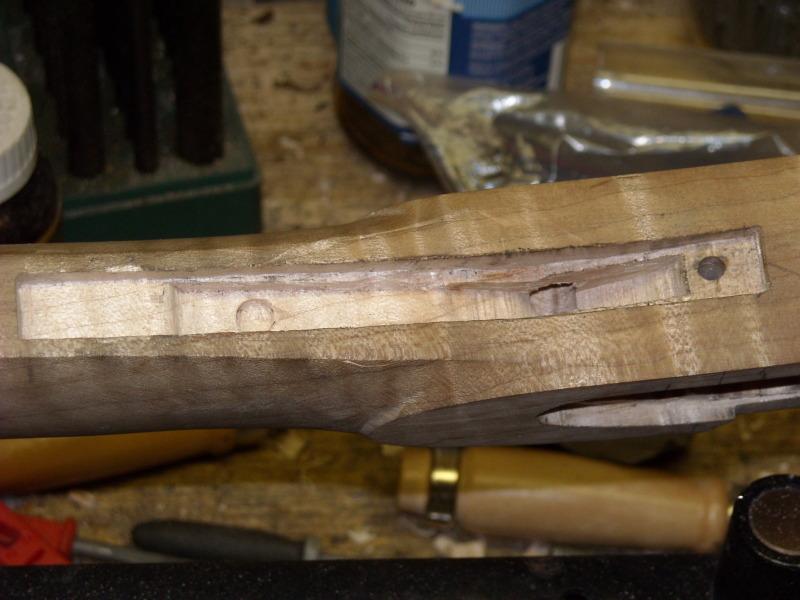
Here you can see where the sidenail breaks through the breech plug inlet. You can also see the small spot I mentioned where I slipped and the chisel broke into the barrel channel. Oh well, I'm not perfect, it seems.
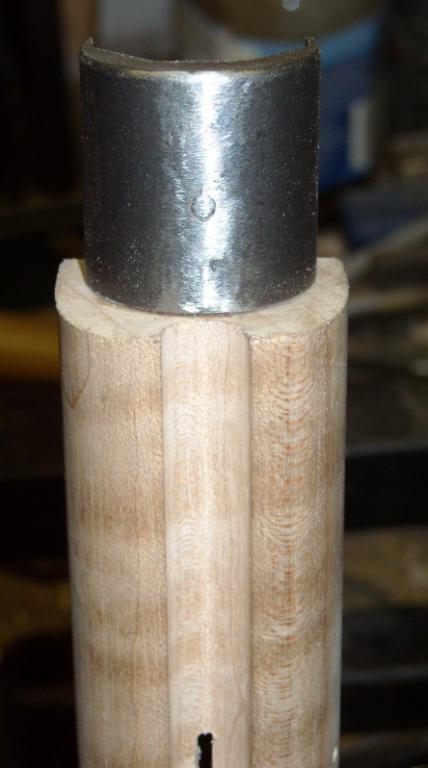
Couldn't have gotten the sidenail back much farther on this lock. It is nice and functional though.
Relieved breech plug:
On another note, the sidenail TOTW sells with this kit is not threaded anywhere near long enough. If you cut it to length, there is no thread left. I had to more than double the length of threading (cut new threads) to make it usable.
To drill the sidenail, you drill through the installed lock and stock as a single unit with whichever drill is indicated for your tap that you will ultimately thread the lockplate with. Then you remove the lockplate (without removing the stock from your jig) and change drills to a size that is 3 or 4 thou larger than the diameter of your sidenail shank and re-drill the same hole (stock only). Once you tap your lock, you should have a perfectly aligned lock, stock hole and sidenail. After the stock is thinned down (the lock is rather recessed when first inlet), you later inlet the sidenail plate on the side opposite the lock.
Союз нерушимый республик свободных Сплотила навеки Великая Русь. Да здравствует созданный волей народов Единый, могучий Советский Союз!
-
The Following 3 Members Say Thank You to Claven2 For This Useful Post:
-
-
These kits look like a frightening amount of work.
-
-
Perhaps "kit" isn;t really the right term. It's a piece of maple with a barrel channel partiall inlet and a bag full of steel castings. Also a barrel blank. That about sums it up. But, if you like building rifles from basically scratch, this is a way to go that ensures you have most of the material on hand.
Союз нерушимый республик свободных Сплотила навеки Великая Русь. Да здравствует созданный волей народов Единый, могучий Советский Союз!
-
Thank You to Claven2 For This Useful Post:
-
I enjoy long term projects, I'm not really keen on black powder, but this looks like a good one. It looks very challenging. Do you keep them all when you're finished (builds, restorations etc.)or move them on?
-
-
Most I keep, but sometimes I'll sell one or two here an there. Once you put so much effort into something, it's hard to let it go.
I can build an entire AR15 from parts in an evening and there is therefore nowhere near as much attachment to one of those. A flintlock long rifle can take me months to finish - totally different story 
Союз нерушимый республик свободных Сплотила навеки Великая Русь. Да здравствует созданный волей народов Единый, могучий Советский Союз!
-
-
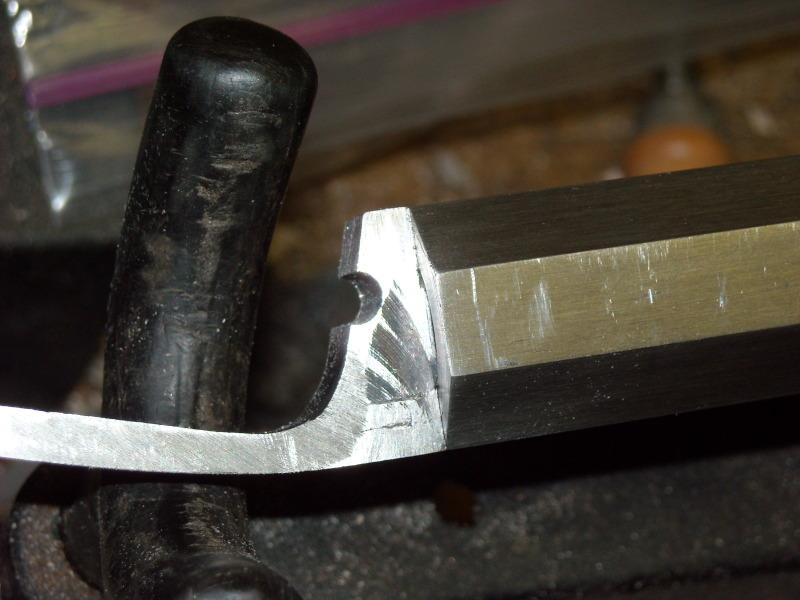
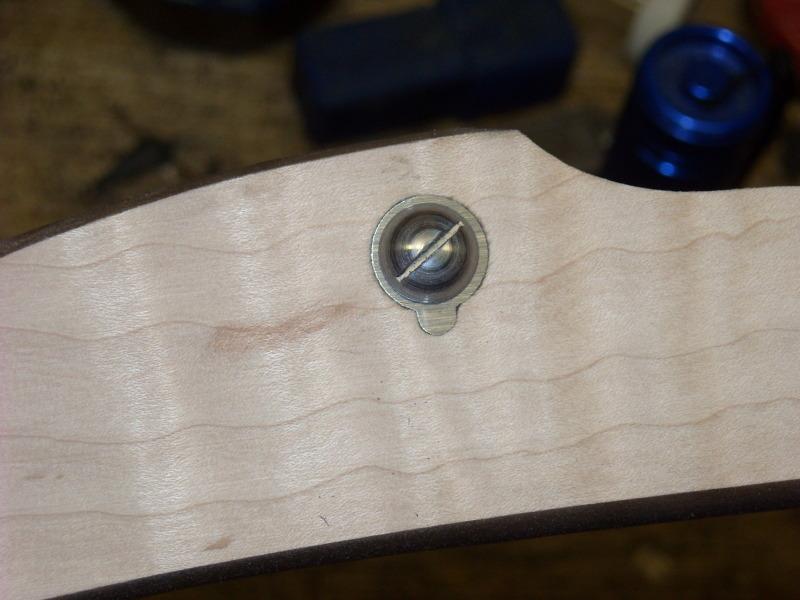
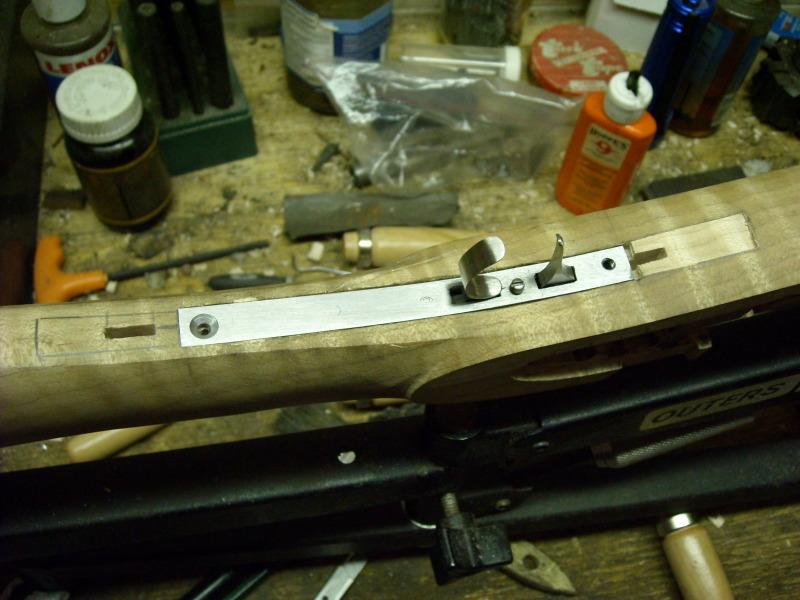
So I inletted the sidenail escutcheon. The one that comes with the kit has a squared anti-rotation tab, but the round version is easier to inlet so I cheated and filed the tab to a round point so I could just do 90% of the inlet on the mill. I intent to brown this part in-situe as I'm finishing the stock, so I actually epoxied it into the inletting and left slightly proud, then used a belt sander to take it flush.
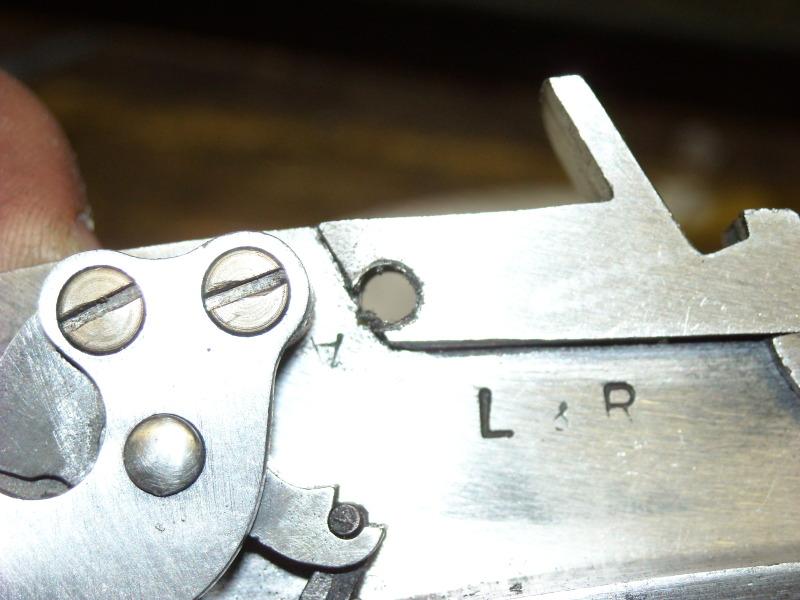
It was then time to move on to the double-set trigger assembly. Positioning here is REALLY picky and finicky as you have about 1/16" or fore-aft movement to play with, elsewise either the trigger will only work in single-set or only in double-set but not both. Often, even if uou get it perfect, you will have to tweak the sear bar on the lock (as I had to do) to get the sear low enough to be contacted by the triggers. This is far less an issue with a standard non-set trigger.
Start by measuring, marking in pencil, then carving the outline with an edging chisel.
The rough out the inlet.
Now star the inlet for the trigger bars and switch to inletting black on all contacting surfaces so you know where to remove wood.
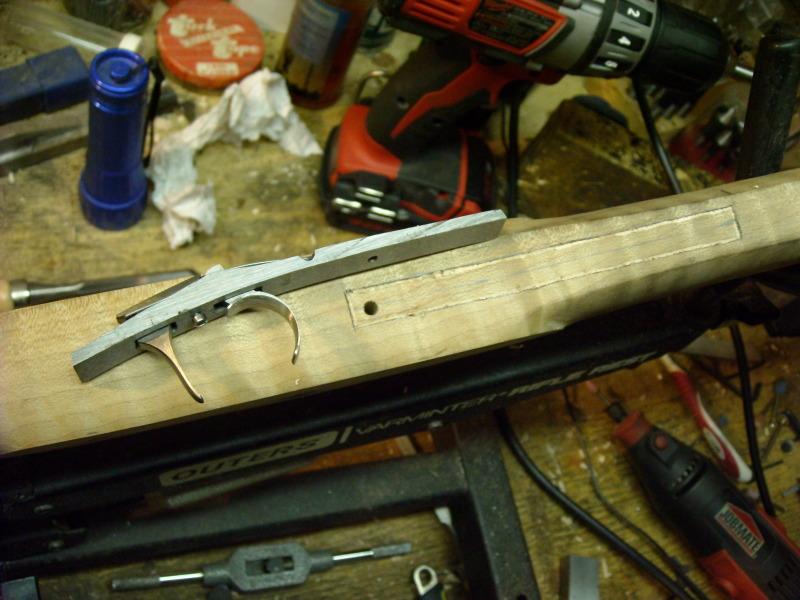
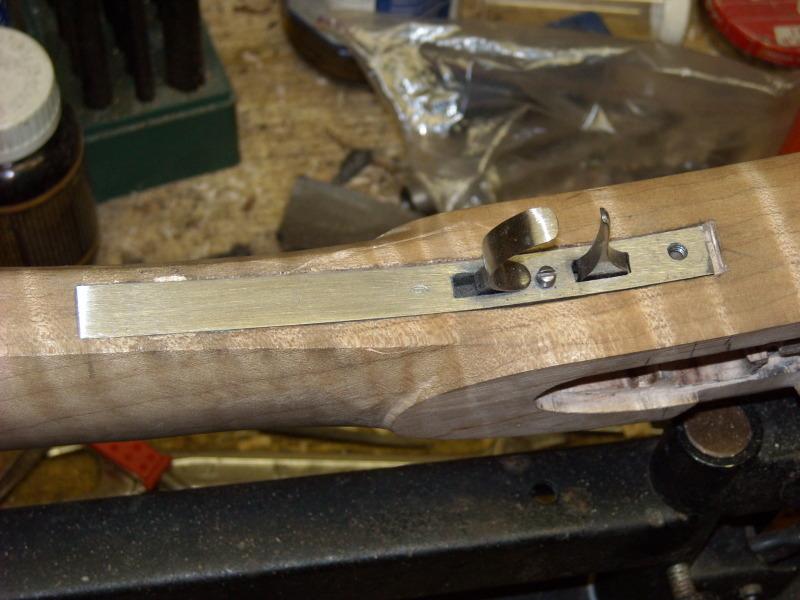
I didn't take a picture, but you do the same with the main trigger spring. In this photo the triggers are fully inlet and the retainer screw for the main trigger spring is filed and sanded flush to the trigger plate.
Here you can see where I had to bend the sear bar to get it low enough to reliably fire. You do NOT want to lose temper in the sear up by the tumbler, so I clamped the sear between large blocks of aluminum to leech the heat away from the tip and use an OA torch to spot-heat it where the bend is.

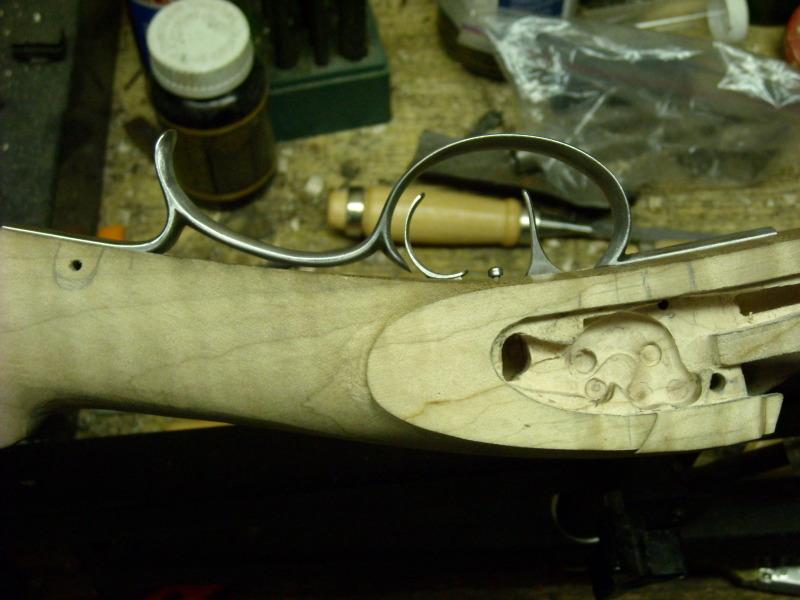
And here is the inletting.
You'll also note I added a retainer screw for the rear of the trigger plate and you can see the inlets for the two trigger guard tenons which will be pinned in later.
Trigger guard is trial fit. Next we will have to slightly inlet the tangs down into the stock, a mm or two.
More to follow.
Союз нерушимый республик свободных Сплотила навеки Великая Русь. Да здравствует созданный волей народов Единый, могучий Советский Союз!
-
Thank You to Claven2 For This Useful Post:
-
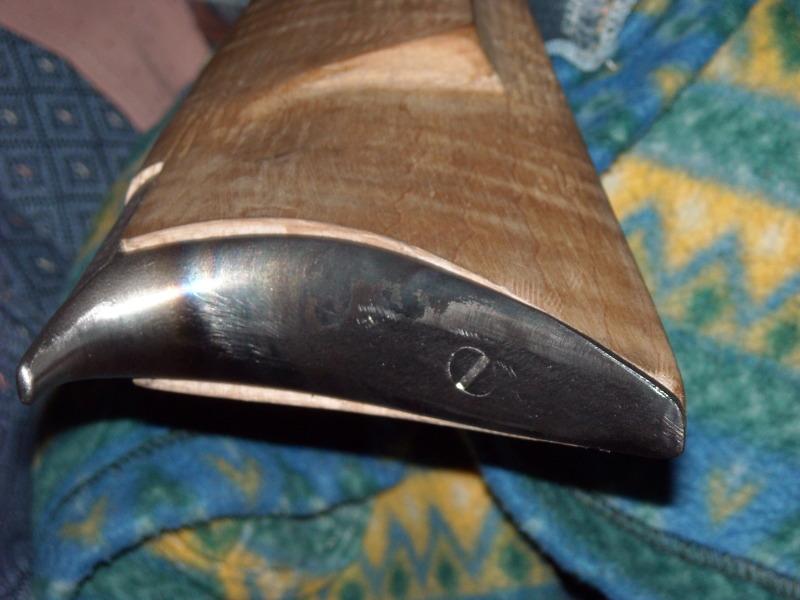
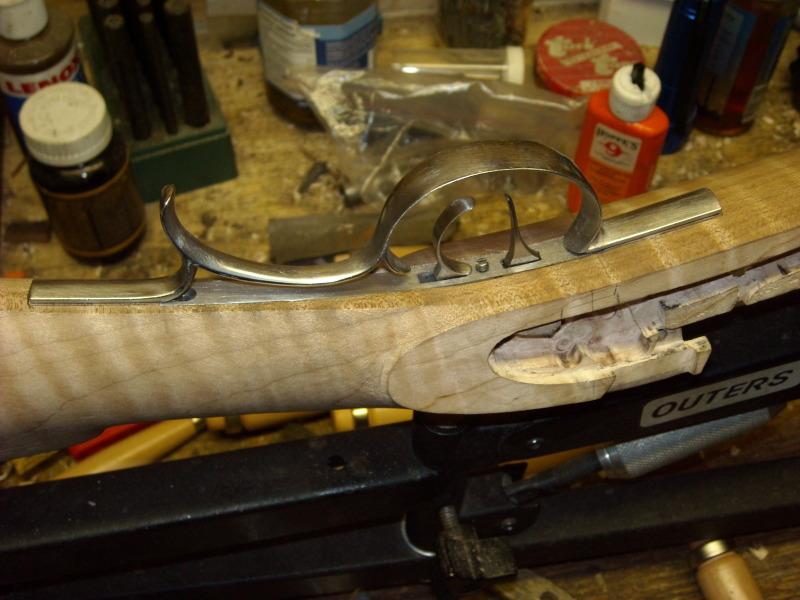
So I finished doing the last little bit of fine inletting on the trigger guard and drilled and pinned it in place. I had to relieve the trigger mechanism slightly on the tips to allow the trigger guard to fully seat. Also, when cocking the rear trigger there was a minute amount of contact at the back of the trigger bow on the decorative tip. I used the OA torch to heat and bend that back slightly to give nicer clearance. In this photo you see the set trigger at full cock.
And here is the finished inlet:

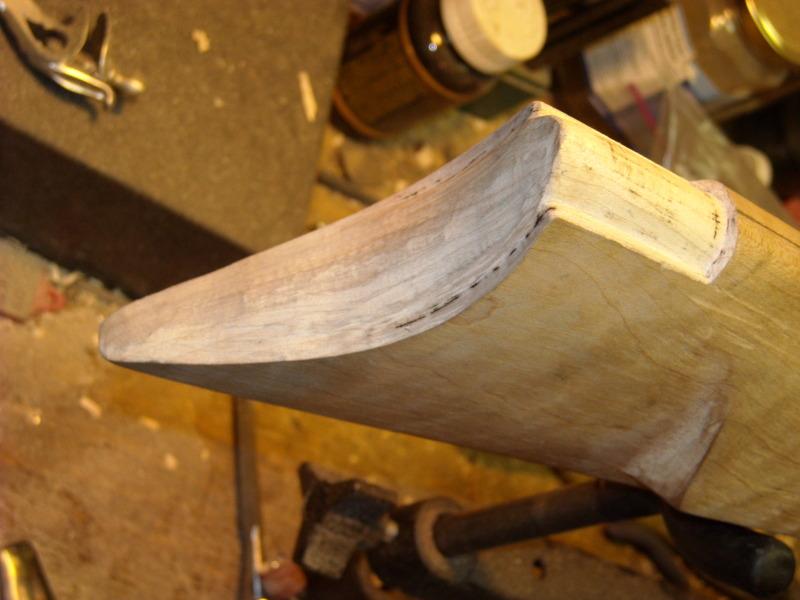
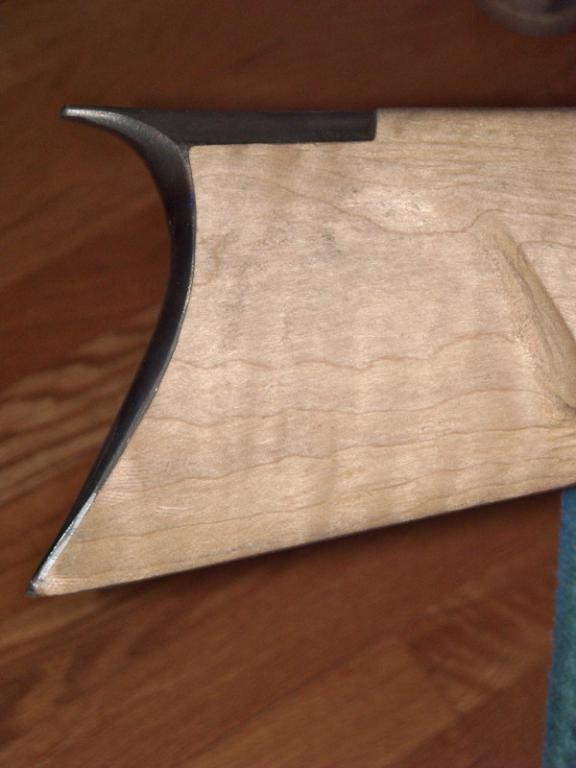
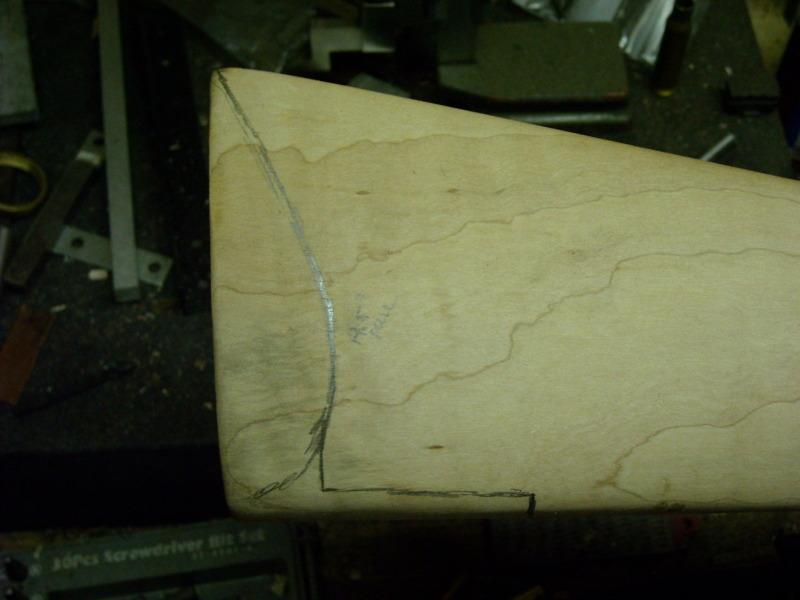
Finally, I have laid out the buttplate for a 14.5" pull to the let-off trigger. Next I'll have to rough that out on the bandsaw. It's coming along...
Союз нерушимый республик свободных Сплотила навеки Великая Русь. Да здравствует созданный волей народов Единый, могучий Советский Союз!
-
-
-
-
-


 Register To Reply


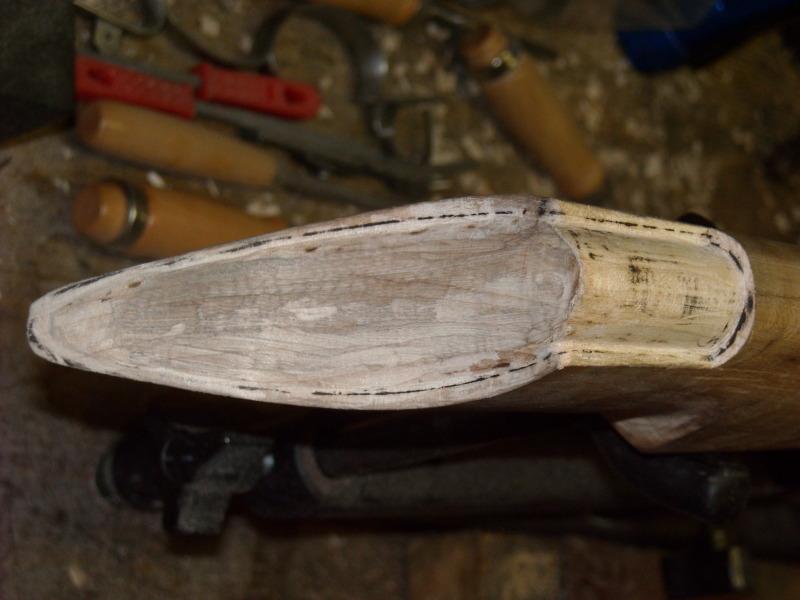
 I roughed out the cut to the crescent shape pencilled on using a band saw (handy item). After that, I roughly inletted the domed tang. Commercial guns save time here by just machining the stock inlet square and it's hollow under the buttplate. That is lazy and IMHO has no place on a hand-made rifle, so I will inlet that to close to 100% contact.