+ Reply to Thread
Page 3 of 5 FirstFirst 1 2 3 4 5 LastLast
Results 21 to 30 of 42

Thread: British East India Company Model F Percussion Musket

Click here to increase the font size Click here to reduce the font size

Hybrid View

  1. #1
    Advisory Panel
    painter777's Avatar
    Join Date
    Mar 2009
    Last On
    @
    Location
    Central Michigan
    Posts
    5,493
    Local Date
    06-10-2025
    Local Time
    04:31 PM
    Man,
    Super busy Holidays for you !
    "Rifle is super hectic. I have about 20 first years with no experience shooting competitively".
    Sounds like the Bad News Bears of Shooting...

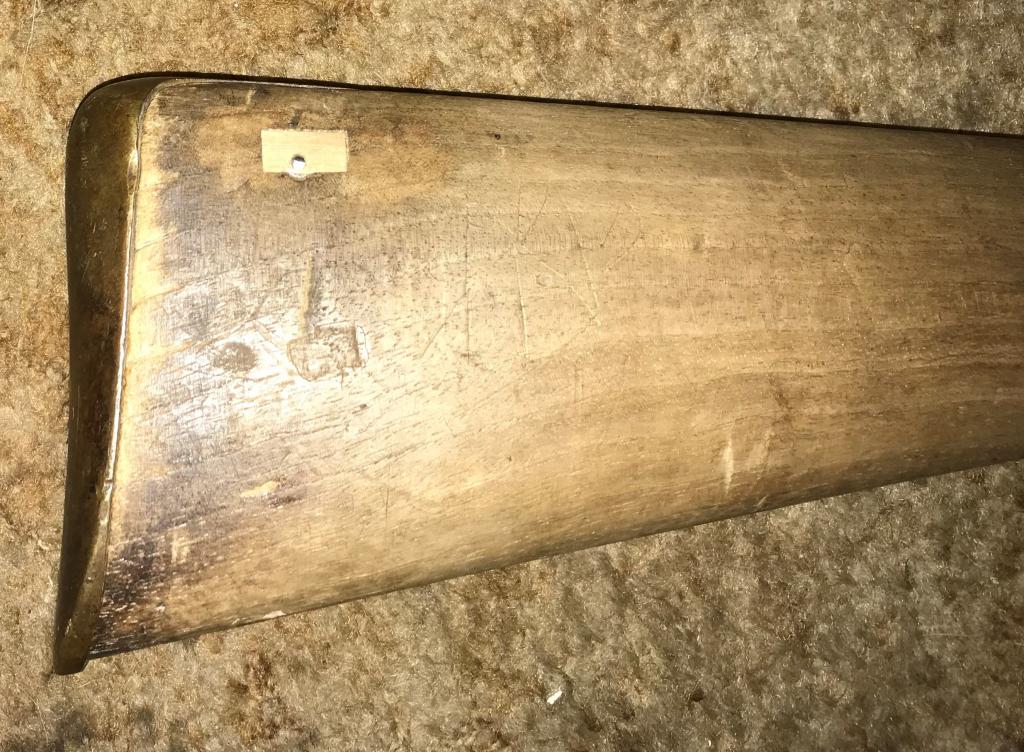
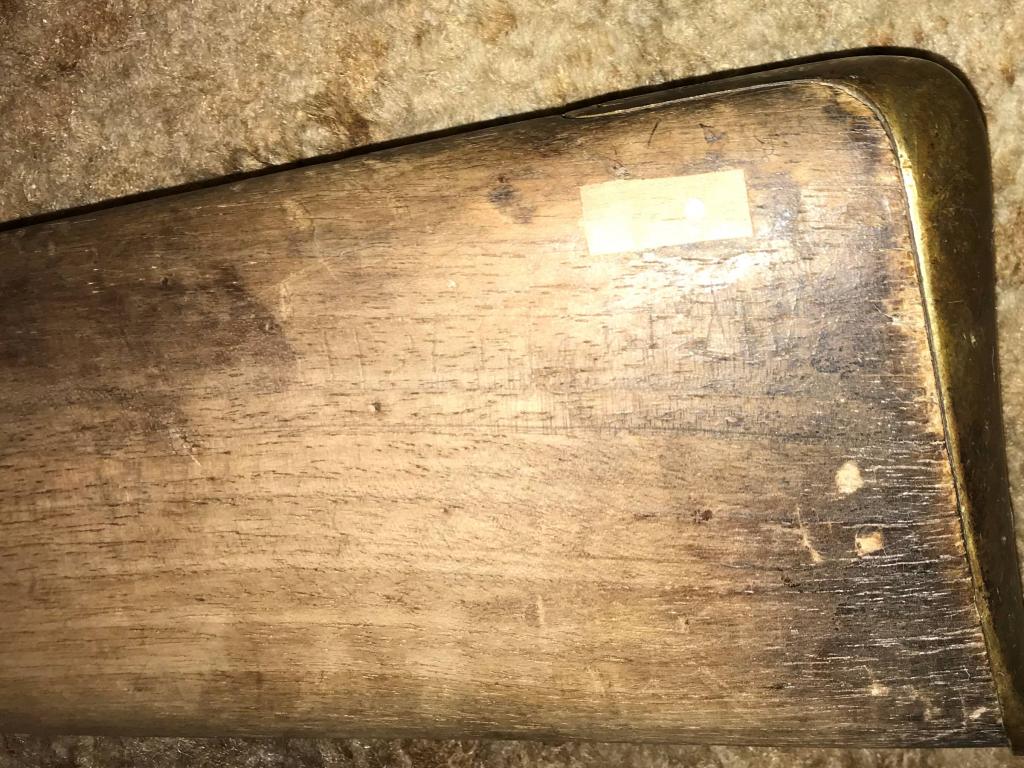
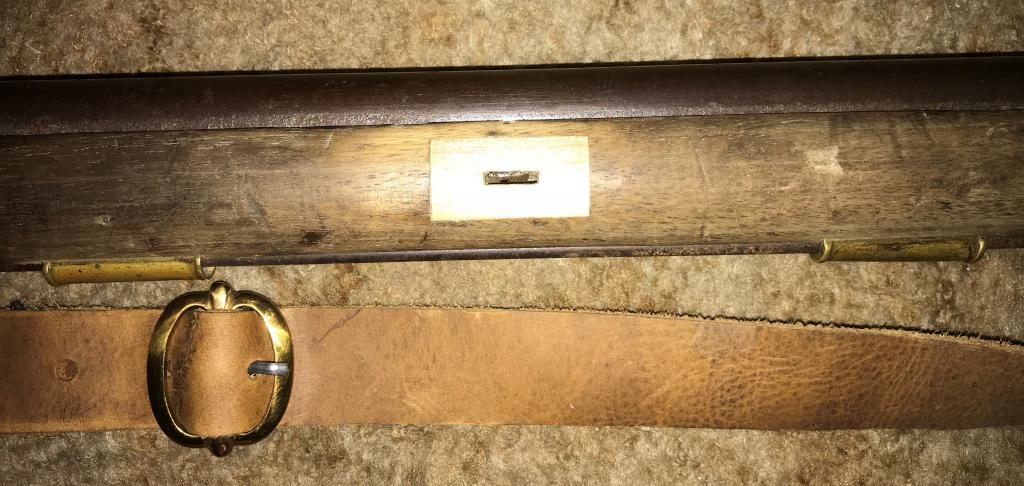
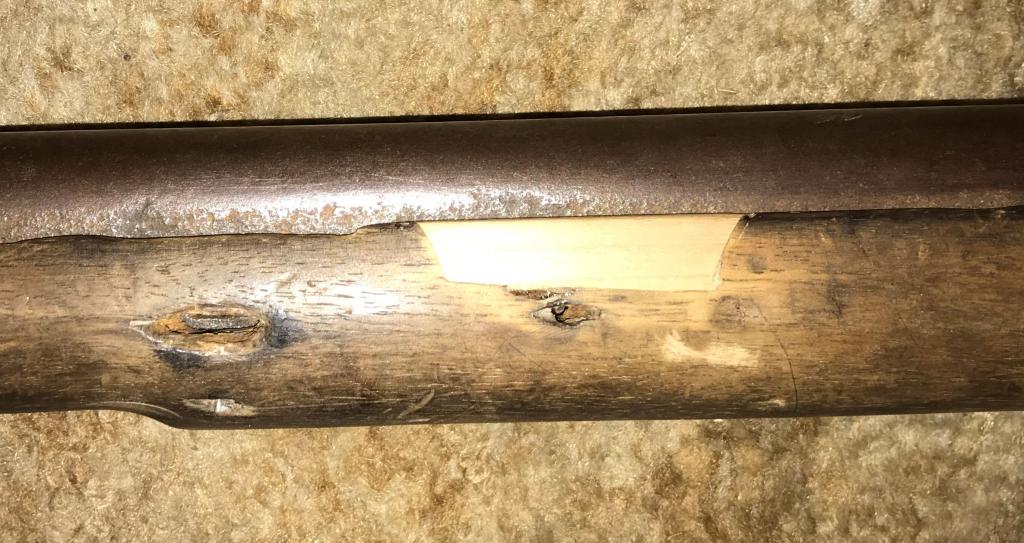
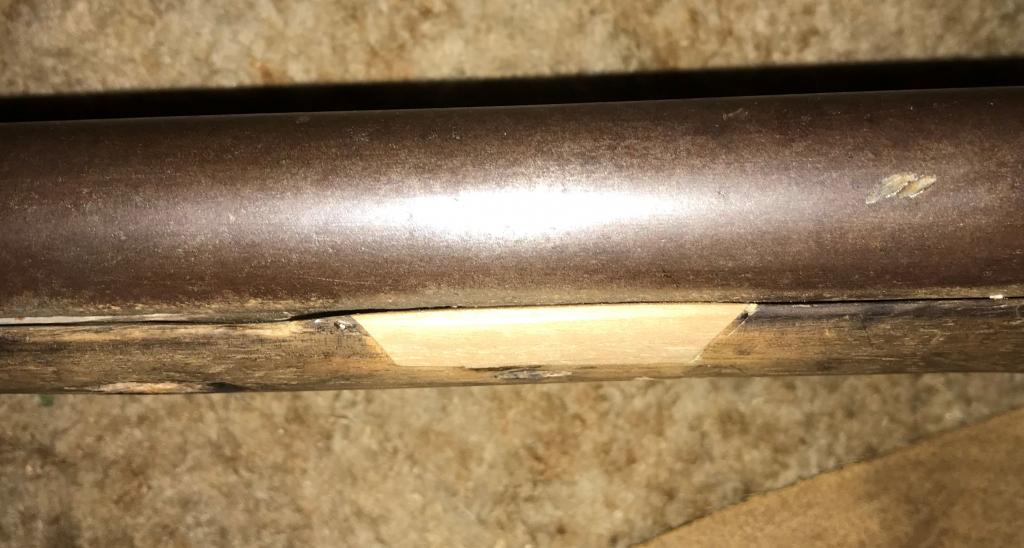
    I've been trying to kill some time and happened across this forum with members asking questions about parts and barrel markings, it includes both letter and number codes.
    Check this out, I hope and believe this will help you. It even explains some of the assembly process with who did what. An assembly line of skilled trades and craftsmen:

    Percussion Muskets of the East India Company 1840 to 1851 - British Militaria Forums

    Charlie-Painter777
    Information
    Warning: This is a relatively older thread
    This discussion is older than 360 days. Some information contained in it may no longer be current.

  2. #2
    Contributing Member Aragorn243's Avatar
    Join Date
    Apr 2009
    Last On
    Today @ 02:04 PM
    Location
    Pennsylvania, United States
    Posts
    7,582
    Real Name
    Steve
    Local Date
    06-10-2025
    Local Time
    04:31 PM
    Thread Starter
    Got my first wood repair drying. The worst, the busted out side. Cut angles in it narrowing to the outside so it can't fall out, not thinking it will with gorilla glue but you never know. Hoping it turns out nice. Lot of excess wood to remove when it dries. Put kwikwood inside in all the rotted out areas. Pretty significant hole in the area of the tang screw. Probably about all I get done for today. Going to make sure it is dry before messing with it

  3. #3
    Contributing Member Aragorn243's Avatar
    Join Date
    Apr 2009
    Last On
    Today @ 02:04 PM
    Location
    Pennsylvania, United States
    Posts
    7,582
    Real Name
    Steve
    Local Date
    06-10-2025
    Local Time
    04:31 PM
    Thread Starter
    Slow progress. I got the butt stock butt plate pin area repaired on both sides with wood blocks and a new pin in place. I have the three exit side key ways repaired with wood blocks and one side of the cleaning rod retaining pin area repaired. Got the two butt plate screw holes filled and original screws back in place. Installed a replacement front sling band but am probably going to work on that a lot to get it closer to original. This one is oversized. in the bolt area. Also picked up a sling for it, reproduction. Very soft leather. Looks a little rough but seems to fit the rifle well. Key holes came out OK but I manged to mess up two of the three a little bit. I was able to dress them up and I think they will be fine for an older rifle.

  4. Thank You to Aragorn243 For This Useful Post:


  5. #4
    Advisory Panel browningautorifle's Avatar
    Join Date
    Jul 2008
    Last On
    Today @ 08:50 AM
    Location
    Victoria BC
    Posts
    31,125
    Real Name
    Jim
    Local Date
    06-10-2025
    Local Time
    01:31 PM
    Looking for some pics as you go...? Let's see all of it, even the harsh work. It's all educational...we'll all have a piece like that do do eventually if not already.
    Regards, Jim

  6. #5
    Contributing Member Aragorn243's Avatar
    Join Date
    Apr 2009
    Last On
    Today @ 02:04 PM
    Location
    Pennsylvania, United States
    Posts
    7,582
    Real Name
    Steve
    Local Date
    06-10-2025
    Local Time
    04:31 PM
    Thread Starter
    First repair is the pin area in the butt stock. This holds the butt stock "tang" in place. There is a flat extension which goes down in from the top and a small steel pin held it in place. I removed all the rotted wood which got larger the deeper I went. I then cut the wood plugs to size to cover the rot and marked the stock with a utility knife. Used the utility knife and a sharp wood chisel to dig out about 1/4 inch. Only do one side at a time for the next steps. I packed the interior with wood weld which is an epoxy type substance, removing and re-inserting the butt plate repeatedly so the adhesive doesn't block the interior and doesn't stick. I then glued the plug in. After it dries, an hour or so with gorilla glue, I drill the hole from the opposite side so I can see how it lines up. Repeat on the far side.


    The keyways I basically did the same thing for except the rot wasn't so bad I needed to pack it with wood weld. I used a hand drill from the opposite side and the barrel in place to drill them out. I cleaned them up with the utility knife and a jigsaw blade. a drill press would have been a lot better but as I said in an earlier post, I don't have one. Plus I'm not trying to create a brand new looking rifle, just a functioning one. The keys are in two of them, very pitted and bent. The third shows the interior a bit.


    This is the replacement front sling swivel. It is a lot heavier than the original and I will probably remove the excess metal to make it closer to original specs.


    And finally, the section that was busted. As mentioned I cut it at an angle so the wood would have more surface to adhere too and not get knocked out.


    I need to repair the left side of the rifle now. Lots of smaller issues on that side. I don't have to do the front keyhole but the other two I will probably address in a similar manner. Also the small pins that hold the keys in place need done. The area below this stock repair is where the pin for the cleaning rod retainer goes.

    No idea if this sling is appropriate or not. I did ask the seller which would be best out of the period slings he offered and he said this one. Which was not his most expensive, actually one of the cheaper ones. In any case, I'm OK with it until something better comes along.

    I have made no attempts to color match anything at this point. I may bleach the stock to try to get it more uniform but I haven't decided on that. It still needs further cleaning in some areas. Appears to have been painted black at some point and that has been resistant to my efforts so far.
    Last edited by Aragorn243; 11-28-2017 at 07:37 PM.

  7. The Following 2 Members Say Thank You to Aragorn243 For This Useful Post:


  8. #6
    Advisory Panel browningautorifle's Avatar
    Join Date
    Jul 2008
    Last On
    Today @ 08:50 AM
    Location
    Victoria BC
    Posts
    31,125
    Real Name
    Jim
    Local Date
    06-10-2025
    Local Time
    01:31 PM
    The moisture must have wicked right along the steel...
    Regards, Jim

  9. #7
    Contributing Member Aragorn243's Avatar
    Join Date
    Apr 2009
    Last On
    Today @ 02:04 PM
    Location
    Pennsylvania, United States
    Posts
    7,582
    Real Name
    Steve
    Local Date
    06-10-2025
    Local Time
    04:31 PM
    Thread Starter
    Something between moisture, the wood and the iron in the steel. There are brass pins which are as good as new and the brass fittings don't have any issues either.

  10. #8
    Contributing Member Aragorn243's Avatar
    Join Date
    Apr 2009
    Last On
    Today @ 02:04 PM
    Location
    Pennsylvania, United States
    Posts
    7,582
    Real Name
    Steve
    Local Date
    06-10-2025
    Local Time
    04:31 PM
    Thread Starter
    I have hardly picked the rifle up since the flurry of activity with the wood repairs. Rifle season started but we have not yet had a match. Still in practice mode. First match next Thursday. I did not clear the stuff out of the barrel yet. Just no time. It's deer season now also so weekends when I normally would work on it are full. Be another week probably till I get some time.

  11. #9
    Contributing Member Aragorn243's Avatar
    Join Date
    Apr 2009
    Last On
    Today @ 02:04 PM
    Location
    Pennsylvania, United States
    Posts
    7,582
    Real Name
    Steve
    Local Date
    06-10-2025
    Local Time
    04:31 PM
    Thread Starter
    Musket still just sitting there. I did do one thing with it. I got the idea of color matching the patches using permanent magic markers. Brown sharpies are hard to find but in the areas I tried they blended amazingly well.

  12. #10
    Advisory Panel Patrick Chadwick's Avatar
    Join Date
    Sep 2008
    Last On
    06-25-2023 @ 06:36 AM
    Location
    Germany
    Posts
    5,032
    Local Date
    06-10-2025
    Local Time
    10:31 PM
    Aragorn, I admire your perseverance. Carry on the good work!

+ Reply to Thread
Page 3 of 5 FirstFirst 1 2 3 4 5 LastLast

Similar Threads

  1. Military Style Percussion Musket Restoration Project - Free to good home - SE England
    By peregrinvs in forum Milsurps General Discussion Forum
    Replies: 5
    Last Post: 07-18-2016, 04:40 PM
  2. US Model 1842 Percussion Pistol in Academy case?
    By robesetz in forum Other Military Service Pistols and Revolvers
    Replies: 3
    Last Post: 11-23-2015, 04:05 PM
  3. Replies: 4
    Last Post: 05-22-2014, 06:31 AM
  4. Re: "The Last Enfield Manufactured Under British Rule at Ishapore Rifle Factory India
    By hm6d in forum The Lee Enfield Knowledge Library Collectors Forum
    Replies: 7
    Last Post: 03-25-2010, 12:42 PM
  5. Adjusting a lock on a percussion musket
    By Embalmer in forum Black Powder
    Replies: 3
    Last Post: 03-20-2009, 10:49 PM

Tags for this Thread

Posting Permissions

  • You may not post new threads
  • You may not post replies
  • You may not post attachments
  • You may not edit your posts