Gents,
I debated on where to post this... under gunsmithing... restoration... or here. As I have seen previous posts on Bayonets on this forum, I dropped it here. If I have errored, please move to a better location.
As some of you know, I am a freak when it comes to sad junk (that I get from gunshows).As such, I came into possession of some Type 30 Japanese
bayos that need some help. My disclaimer, is that if the blades were rare, or in better shape, I would suggest that it would be prudent to NOT restore the grips. But as these are more common, and the wood working was easy, I figured I would put these back together.
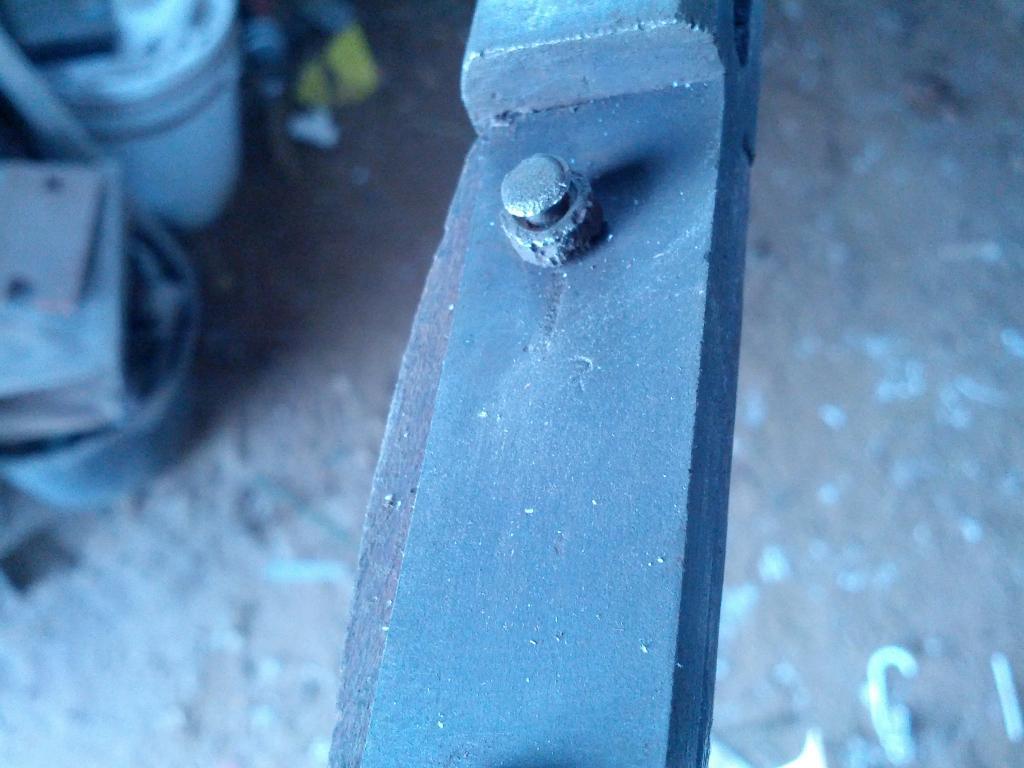
So.. the mysterious rivets... what exactly are they? Well, they appear to be a softer steel shaft around 1/8in or less, that are peened over a "ferrule". Here is a photo to show what they look like:
What I did, was to carefully tap and dislodge the ferrule after cleaning and lubing up the 1/8in shaft. This got it out of the way! I then tapped the "rivet" into some sort of cylinderical shape. As this involved some filing to get it so I could slip the ferrule back out (for pattern making or reuse). Keep as much metal on that shaft, as you WILL be using it to shape back into a rivet when you are done. And remember, metal can "work harden"... as I won't take a torch to this to resoften (do more harm than good), go slow and make each working process count.
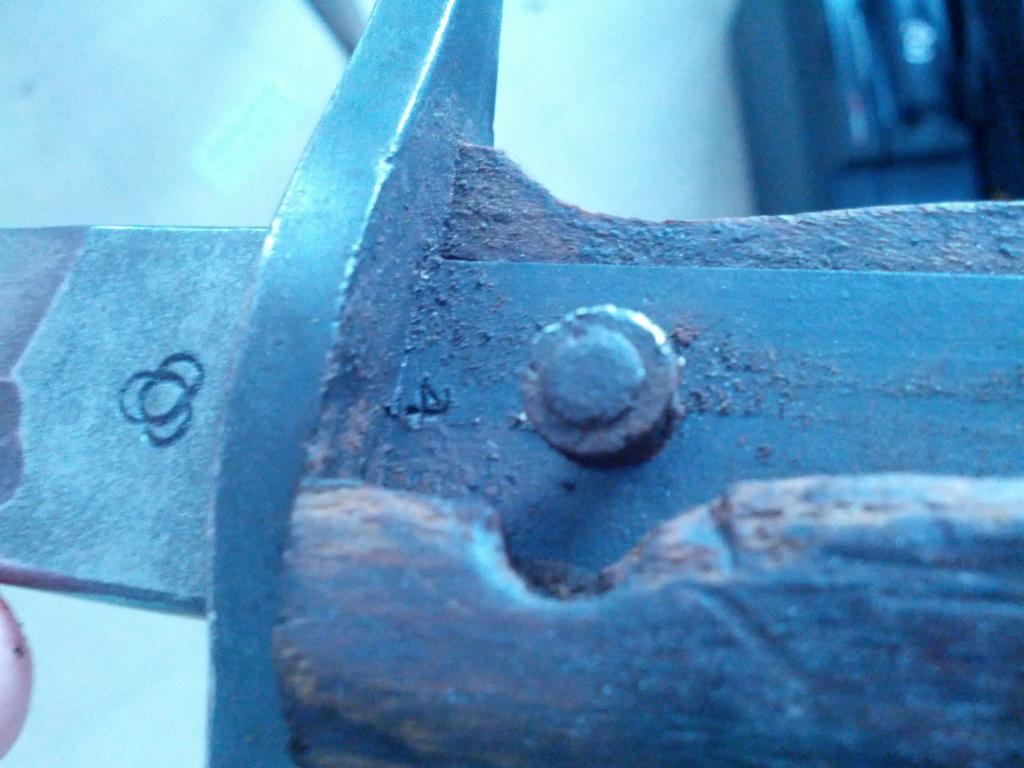
The first blade to restore was missing half of 1 grip.
Please note that under the grip, I found an inspectors mark! Interesting!!
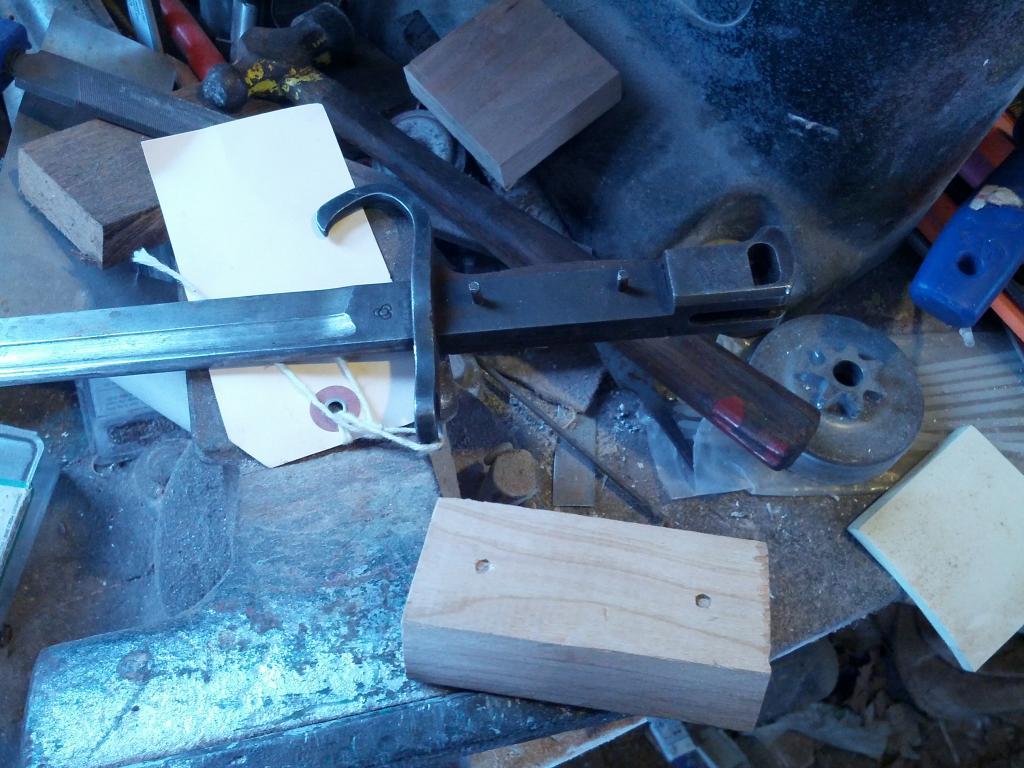
After pulling the wood remainder off, I dimensioned out a block of cherry wood.
I had cherry, but walnut would do well also!
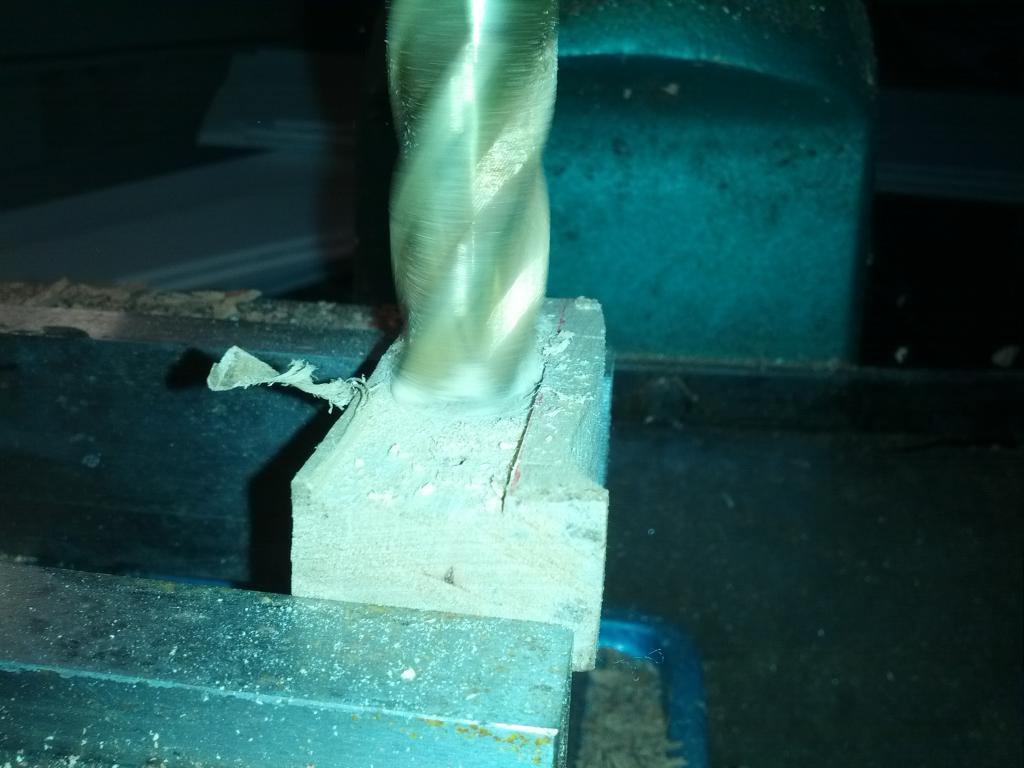
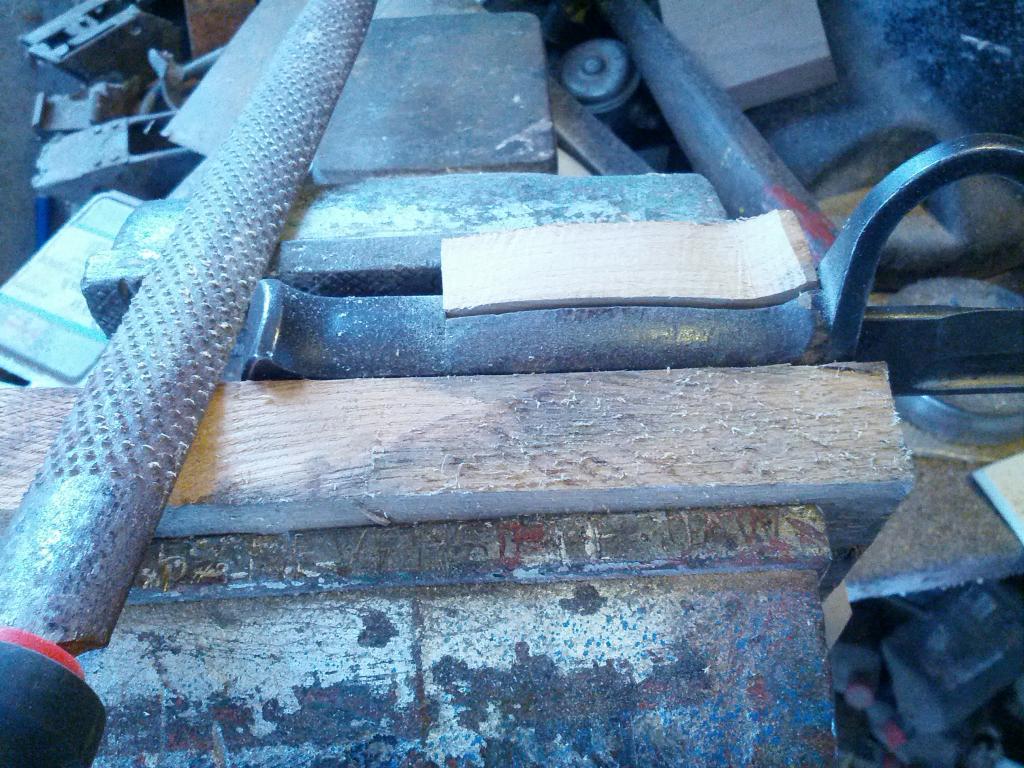
Next up, was the creation of a "shelf". If you look closely at your bayo, you will notice that the contoured section has both halves of the wood meeting each other. To make this happen, I did this!
Next up was to insert the block into the pommel area. This allowed the original rivet/ stakes to be used to position the wood, and allow me a drilling pattern!
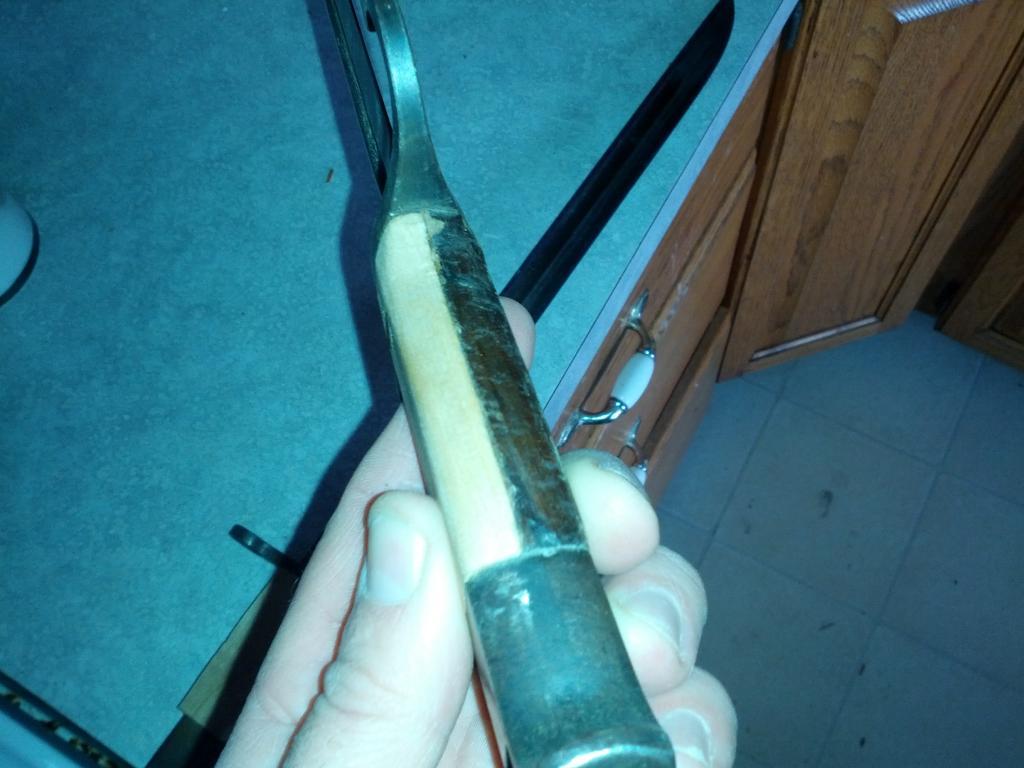
With the old wood opposite side in place, I got our a half round "rasp/ file" and contoured the new chunk!
I would suggest that the area metal and old wood be prepped with tape to prevent damage via sharp tools or slips.
Careful work leads to this!
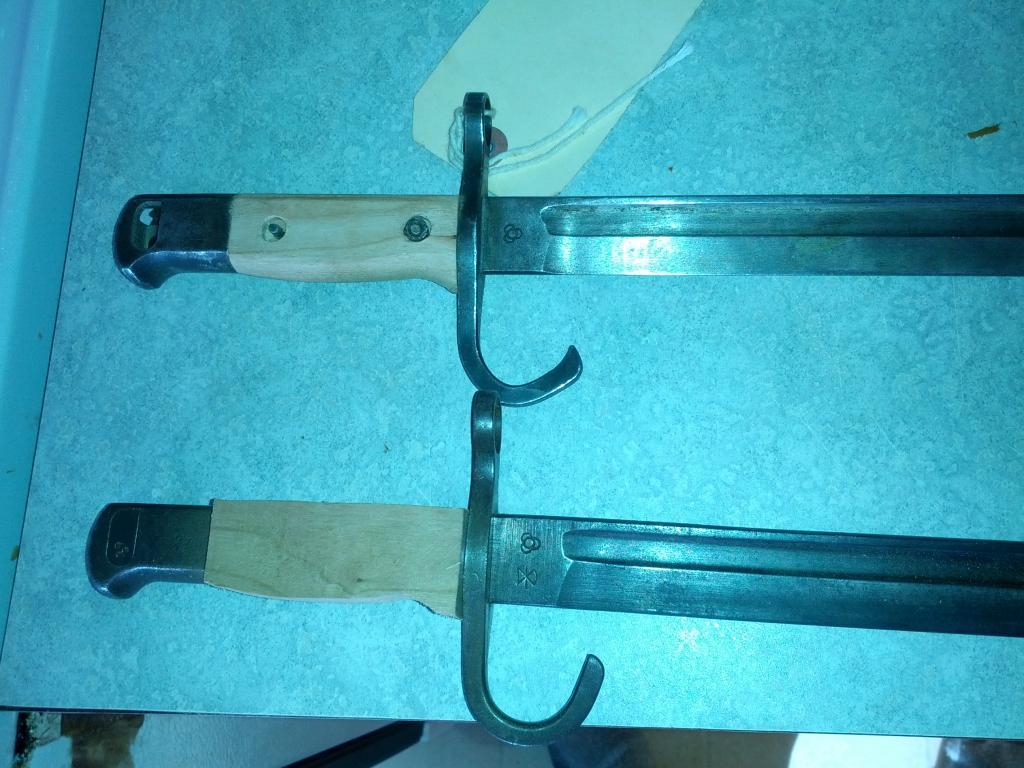
Comparison of the new wood:
Note that the bottom bayo has begun the restoration/ repair process.
Also note that I haven't repeened the "rivet" over again to hold the ferrule. The rivet diameter is around 1/8in. Whereas the ferrule diameter is a bit under 1/4in.
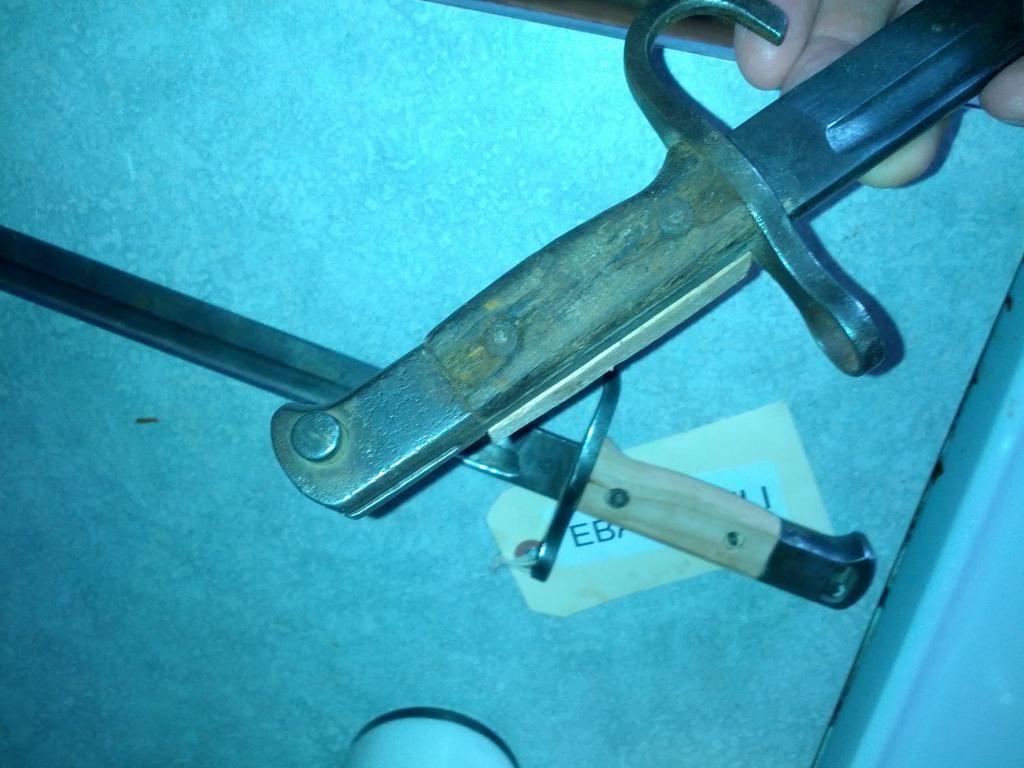
Here is a quick shot of the 2nd bayonet, and the rotted wood on the 2nd wood panel:
This second blade will be a harder repair. Both the ferrule and steel "rivet" shaft were rusted beyond belief. They effectively powdered during careful removal. As I have a lathe, making a new ferrule is a snap, along with drilling a new "rivet shaft"!
Also, what made the first blade so cheap, was the missing mechanism/ latch. As I have a loose one on another full bayonet, I will use it to pattern parts! Stay tuned and warm! Information

Warning: This is a relatively older thread
This discussion is older than 360 days. Some information contained in it may no longer be current.
- Knowledge Library

- MKL Entry of the Month
- Australia
- Austro-Hungarian Empire
- Canada
- Czechoslovakia
- Denmark
- Finland
- France/Belgium
- Germany
- Italy
- Japan
- Norway
- Russia
- South America
- Sweden
- Switzerland
- Turkey
- United Kingdom
- United States
- Yugoslavia
- Is my rifle authentic or a fake?
- Jay Currah's Lee Enfield Web Site
- On-line Service Records (Canada)
- Technical Articles/Research
- Forum
- Classifieds

- What's New?
-
Photo Gallery

- Photo Gallery Options
- Photo Gallery Home
- Search Photo Gallery List
-
Photo Gallery Search
- Video Club

- iTrader



 Register To Reply
