Disassembly
Numbers refer to the diagram that you posted.
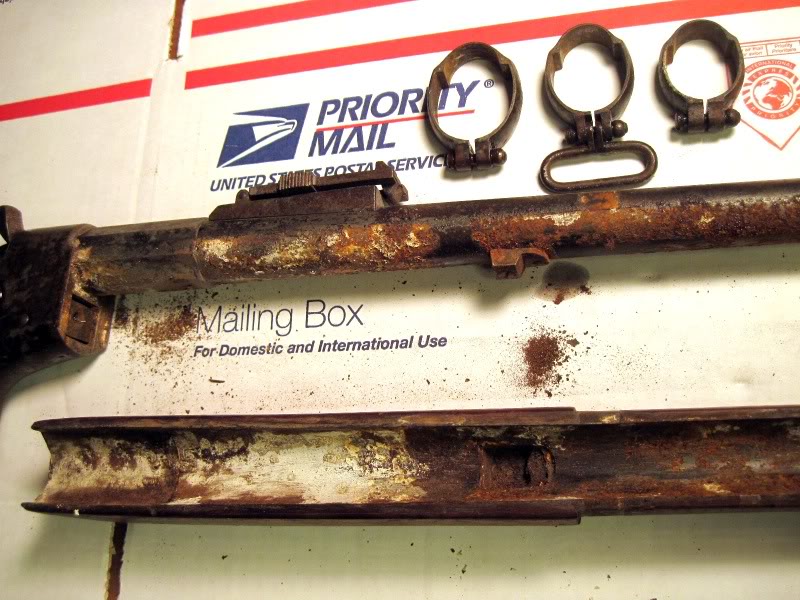
Note which way the barrel bands are facing before removing them. I am not sure which is the "right" way around, but I suspect that the U should face towards the muzzle - so that the U is upright if the rifle is standing in a rack. But whatever the theory, after so many years the bands will have "set" so that they fit best one way round, and you should preserve that orientation.
Loosen the screws (36, 39) and press in the band spring to release the barrel bands. Slide them carefully off the rifle, as any rough or rusty edges on the bands may scratch the woodwork!
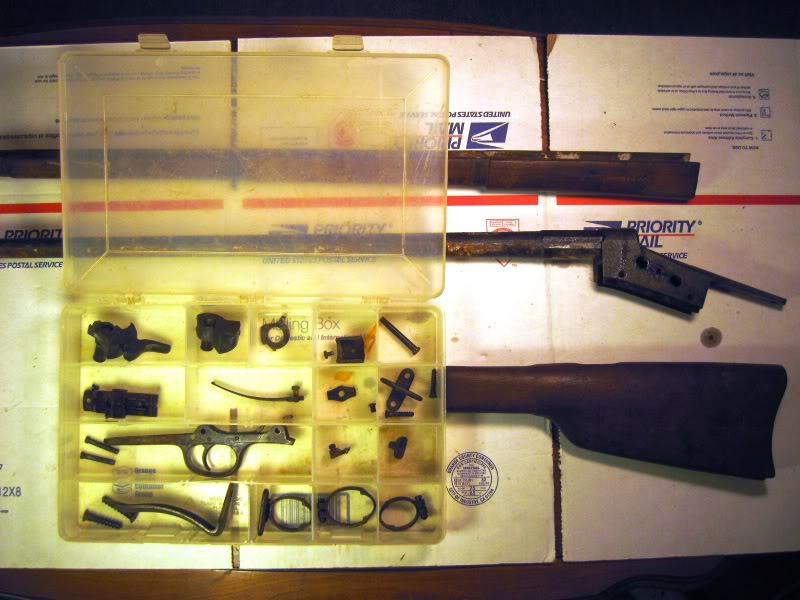
Place the bands in a compartment in the plastic box that you have acquired for holding the components. If you have not got such a box, get it now - before things start getting mixed up.
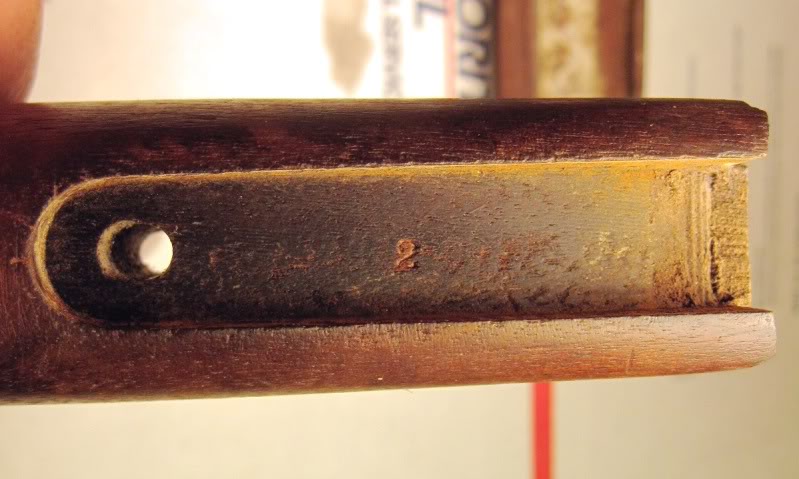
The fore-end wood is now loose, but should not fall off. The back end is shaped to form a short tenon that fits into the front of the action body, and there is a recoil boss (4) on the underside of the barrel. So pull down the wood slightly and pull it forwards to remove it from the system.
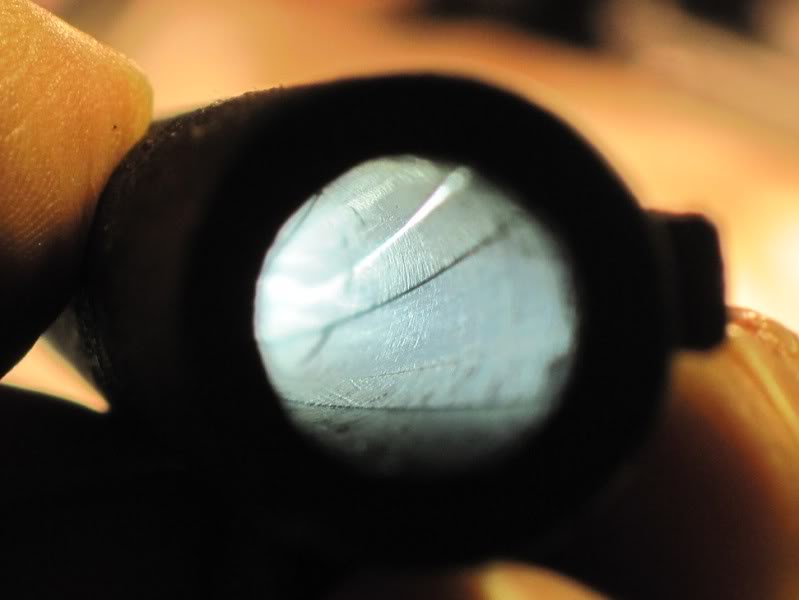
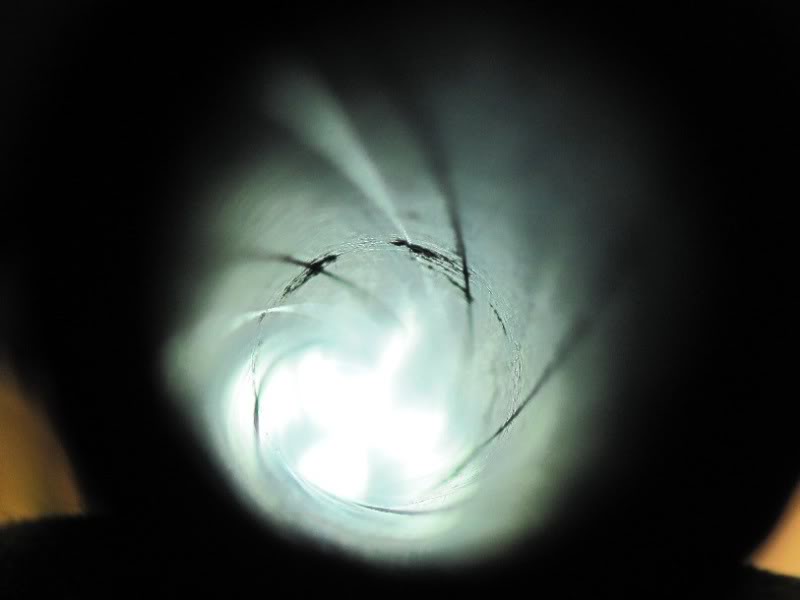
This is the point at which you may receive a slight shock. Many old service rifles are heavily rusted "below the waterline". Or full of nameless crud. Please post a picture of the underside of your barrel.
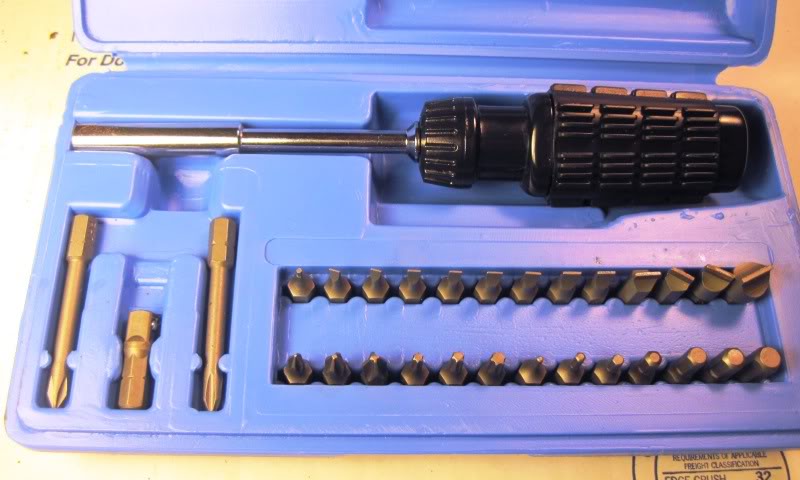
Place the wood in a safe place (not leaning against the table!) and proceed to remove the buttstock. This is where you start to use the good-quality hollow ground screwdrivers that you have either acquired or are going to just as soon as you can!
The tang screw (7) holding the butt may be difficult to remove. Clamp the rifle in a soft wrapping (folded cloth) in a bench vice, with the tang horizontal and make sure that the screwdriver is applied vertically. If this all seems a wee bit pedantic, there is nevertheless a good reason. If the screwdriver slips when you apply the torque to remove the screw, then you will achieve one or more of the following: a) ruin the screw slot b) gouge the butt c) gouge yourself, if you are holding the butt when the screwdriver slips. We want to avoid any of that happening, so please bear with me if I seem picky about such things. Use these techniques for all screws that show resistance.
If the tang screw (7) is stuck fast, do not use brute force. This increases the likelihood of an accident. Turn the rifle upside down, squirt a bit of penetrating oil onto the trigger guard plate where the screw is embedded, and go for a walk or make a cup of coffee. Then replace the rifle in the clamp or vice and remove the screw. If it still resists, try the old dodge of tightening the screw (even if it doesn't appear to move) and then loosening it. This often helps to break a rust bond. If the screw is still resistant, then you can apply the most torque by holding the screwdriver bit in a two-handled tap wrench (but this requires enormous care to avoid a slippage). This really will work - I have removed staked screws in this way - but you have to apply heavy downwards force to hold the bit in the slot, and you will really appreciate having the rifle firmly clamped as described above.
When the tang screw (7) has been removed, place it in a compartment in your plastic components box.
It should now be possible to pull off the butt. As it has been sitting there for over a century, do not expect it to just slide off smoothly. You may have to loosen the grip of the wood on the metal by tapping sharply on the back end of the trigger guard with a plastic hammer, and then pulling, or both at the same time.
By the way, there are two things that you will never need in this kind of work - steel hammers and sandpaper. Steel hammers and sandpaper mark wood and metal. They are taboo.
If the butt is still "welded" to the tang and trigger guard, remove the rear trigger guard plate screw (9) and loosen the front trigger guard screw (8). This will loosen things a bit more, helping you to remove the butt, and is anyway the next step in disassembly.
Once you have removed the butt, put it in a safe place.
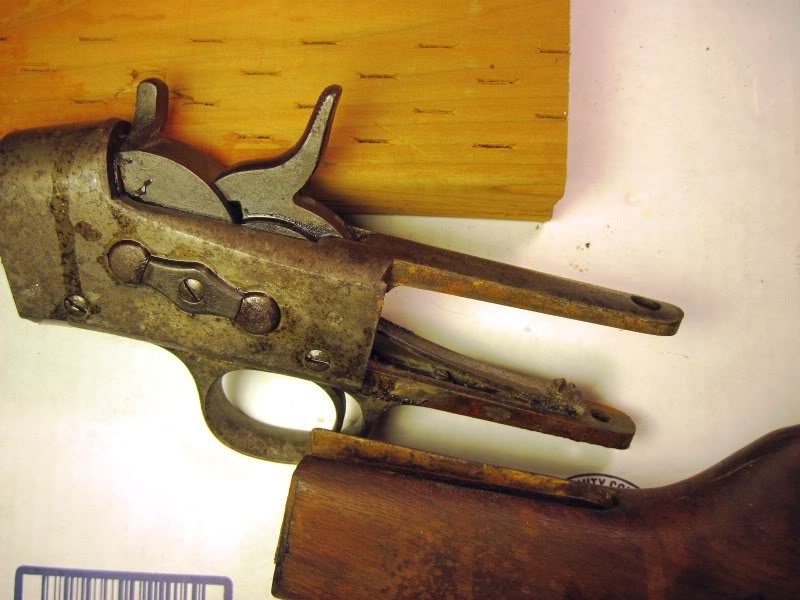
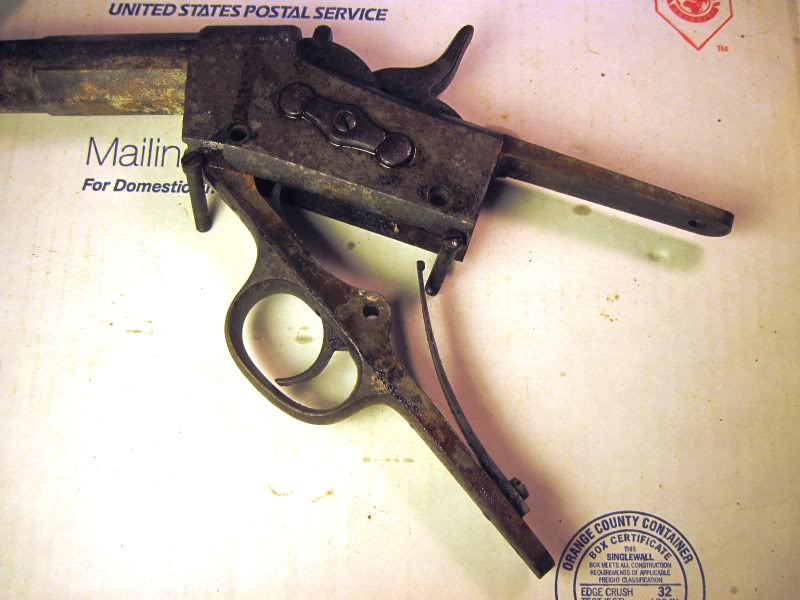
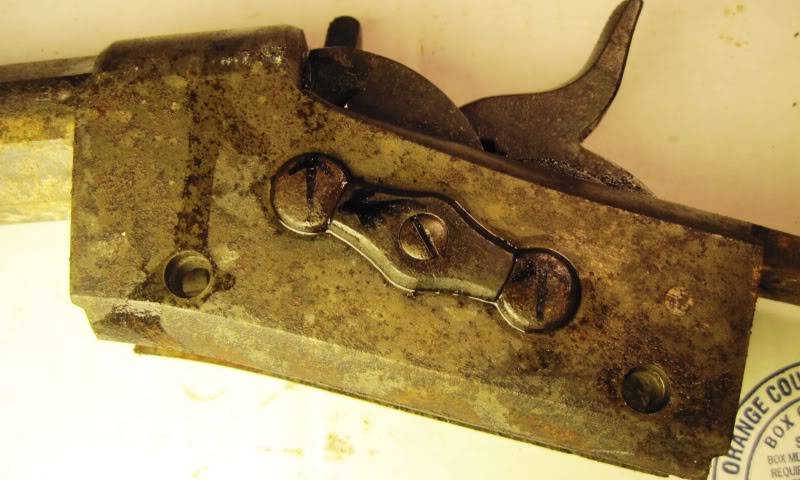
You should now find that you can swing down the trigger guard some way, thus removing any pressure on the hammer from the trigger spring. Now remove the front trigger guard screw (8) completely.
You should now be able to slide out the complete trigger assembly. You mentioned right at the start that the hammer action was very weak. So I expect you to find one or more of the following:
Rusted, broken, or partially detached mainspring.
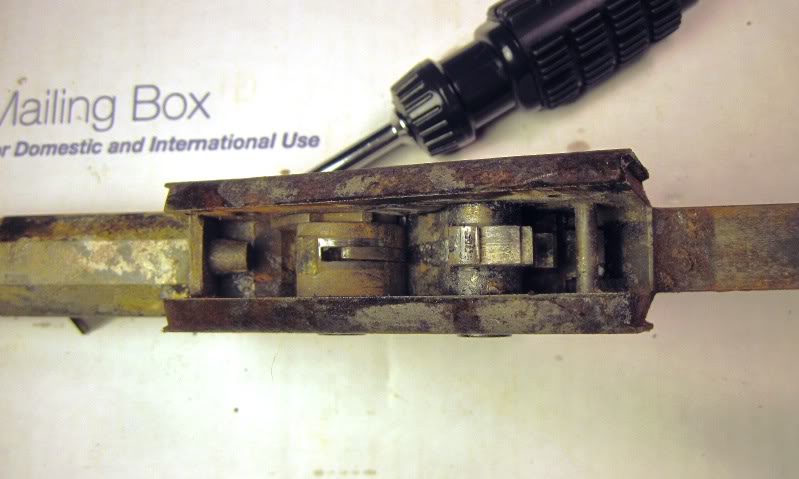
General rusting of the inside of the action.
Action plugged by muck.
At this point, another picture would be a good idea.
You are now ready to remove the rest of the action components.
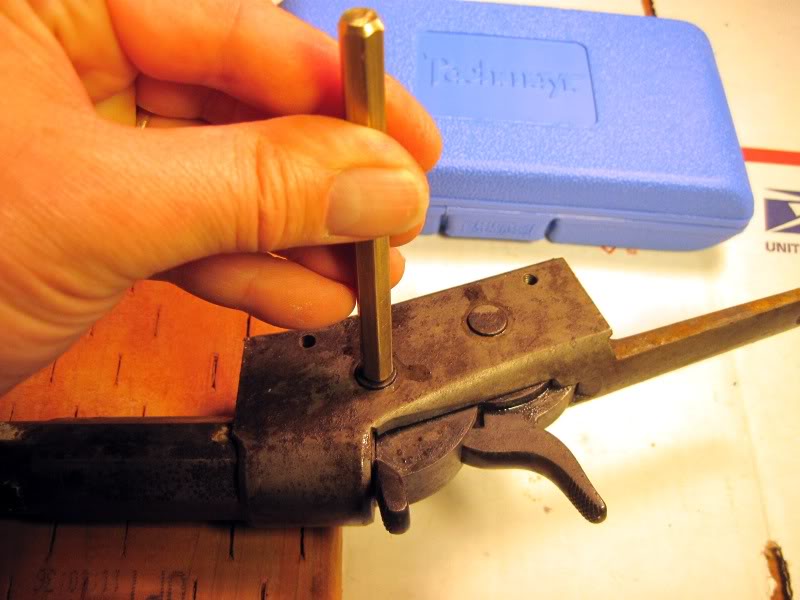
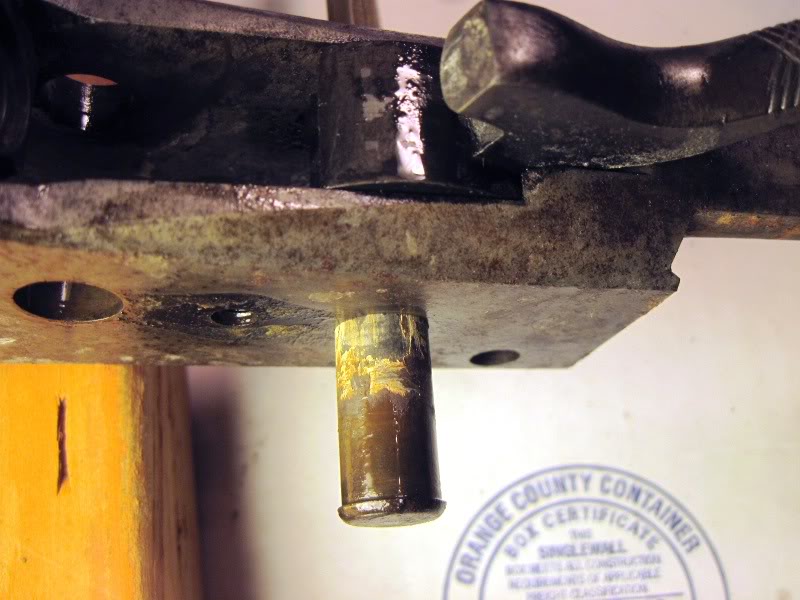
CAUTION: the two action pins are NOT quite the same. Maybe they were when new, but after a century they will have different wear patterns. Use a felt pen or stick on a label to mark which is which when you remove them. And to mark the 12 o'clock point on each
Use a felt pen to mark the front end of the elongated button (20). this is another component that is probably no longer quite symmetrical, regardless of its condition when new. Then remove the screw (21) that holds the button in place. Place the marked button in the component box.
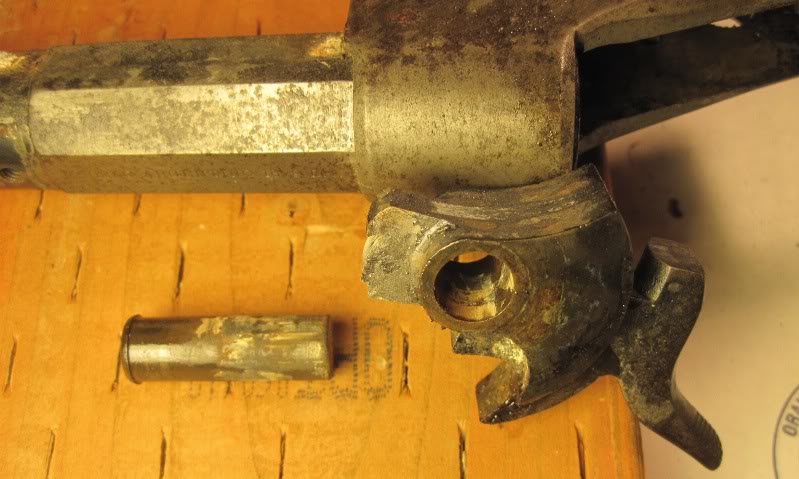
The two pins - the breechblock pin (18) and the hammer pin (19) can be pushed out from the RIGHT sight of the action body. If everything is rusted or the pins have been peened over a bit, then use a BRASS drift (just a piece of rod) and the plastic hammer to drive them out. To do this, lay the action body on its LEFT side on wood blocks so that the pins can be driven out without flying all over the workshop. Remove one pin, mark it for identification, place it in the components box, remove the second, mark that and place it in the box.
The hammer (10) and block (11) sub-assemblies should now fall out, but may have to be eased out, because of whatever was holding the hammer back.
At this point it should become clear why the hammer was so sluggish. Muck? Rust? Metal fragments?
Now is the time to make pictures, post them here, and stop for today.
In Part 3 we will get to grips with the barrel.
End of Part 2
---------- Post added at 09:38 PM ---------- Previous post was at 09:37 PM ----------
Sorry, double posting!Information

Warning: This is a relatively older thread
This discussion is older than 360 days. Some information contained in it may no longer be current.
- Knowledge Library

- MKL Entry of the Month
- Australia
- Austro-Hungarian Empire
- Canada
- Czechoslovakia
- Denmark
- Finland
- France/Belgium
- Germany
- Italy
- Japan
- Norway
- Russia
- South America
- Sweden
- Switzerland
- Turkey
- United Kingdom
- United States
- Yugoslavia
- Is my rifle authentic or a fake?
- Jay Currah's Lee Enfield Web Site
- On-line Service Records (Canada)
- Technical Articles/Research
- Forum
- Classifieds

- What's New?
-
Photo Gallery

- Photo Gallery Options
- Photo Gallery Home
- Search Photo Gallery List
-
Photo Gallery Search
- Video Club

- iTrader


 PM
PM


