-
Jungle Carbine Bayonet Repair
For anyone who may be interested I,ve just posted a peice in the restorers corner forum regarding a repair of a Jungle carbine bayonet I,m working on, may be of use to some.
Information
 |
Warning: This is a relatively older thread
This discussion is older than 360 days. Some information contained in it may no longer be current. |
|
-
Thank You to bigduke6 For This Useful Post:
-
10-02-2012 07:19 PM
# ADS
Friends and Sponsors

-
Part two.....
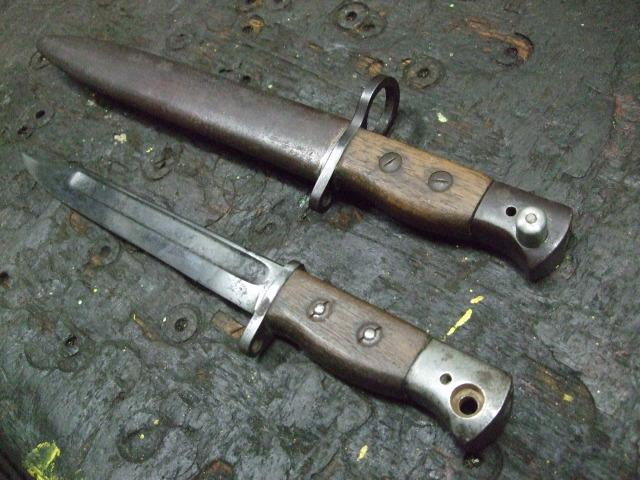
Part two is up and running on the restorers corner see link below, pics below show a before and after (its the one at the bottom of the first pic)
Jungle Carbine Bayonet Repair
-
-
Legacy Member

Nice work Big Duke! We will make an Honourary Armourer of you yet!..........Now, with an Armourers eye for detail, ensure those screw slots are all running the same way. Paralell with the blade length...................PETER! Get over here & dish out some marks out of Ten!.................
-
-
That's an old Armourers trade test trick Tankie that we've all been through. When we were training, I don't think it mattered which WAY they were so long as they were BOTH horizontal or vertical but nothing inbetween! The worst was the No4 butt plate screws especially when one would JUST overturn slightly
-
-

Originally Posted by
tankhunter

Nice work Big Duke! We will make an Honourary Armourer of you yet!..........Now, with an Armourers eye for detail, ensure those screw slots are all running the same way. Paralell with the blade length...................PETER! Get over here & dish out some marks out of Ten!.................
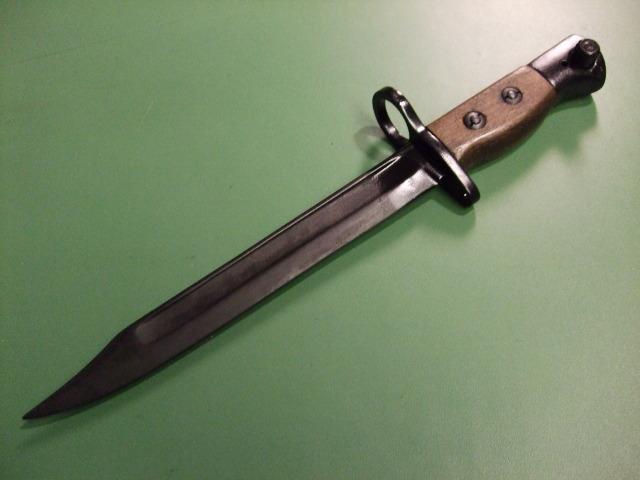
This pic may bring in a few more marks, in my defence I never had my slotted screwdriver to tighten up or corect the nuts.
-
-
Legacy Member

Originally Posted by
bigduke6
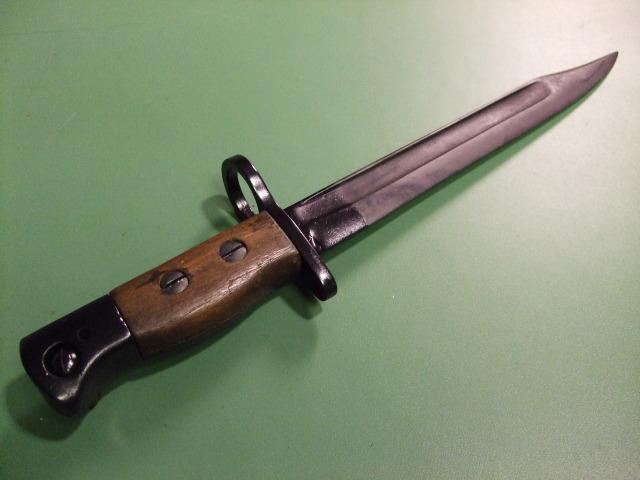
Bigduke6, is the blade on your repaired bayonet typical of what the blade should look like; top inch or so painted with the remaining portion having the dark gray phosphate coloration?
Gary
Gary
A former Cheesehead now living in St. Louis
GO PACKERS!!
-
-
Yes. The bare phosphated bayonets were hung up by the blades with metal clothes line type pegs. The blades were masked to within an inch or so of the crosspiece and sprayed black so Big Dukes is correct as per the EMER.
Occasionally you wouldn't see the masked-up line. If the sprayer just had a few to do, he wouldn't mask-up but just carefully spray and achieve a sort of sprayed-in hazy line - which I personally preferred
That's a perfect Base Workshop repair and finish Biug Duke that everyone should aim to achieve. Well done!
-
Thank You to Peter Laidler For This Useful Post:
-
Thanks Peter, but I think we should also point out to Gary and others the Phosphate finish is a lot darker than normal, and not all No5 bayonets should look like this, unless they went through a Base workshop, I don't want everyone throwing their bayonets in the phosphate tank !!!
Last edited by bigduke6; 10-21-2012 at 04:29 PM.
-
-
Legacy Member
I'd also like to that Peter, and you too Bigduke6, for all of your comments and help not just on this thread but the entire forum.
Peter, you may remember a short time ago when I posted photos of my "new" No. 5 Enfield, it was heavily blued and varnished. You recommended that I strip it and refinish it back to military specs; linseed oil on the furniture and a matt black finish on the steel components. I'm having an experienced local gunsmith do that for me and at the same time, he will also refinish my repro No. 5 bayonet, (still looking for the real McCoy [American slang for Real No. 5 Bayonet] ). The bayonet and scabbard are both blued so that will be replaced with a more realistic and proper finish, thus the reason for my questions here. Without the combined knowledge of you and Bigduke6, I never would have considered having this done.
Cheers
Gary
A former Cheesehead now living in St. Louis
GO PACKERS!!
-
-
Legacy Member

I think I've got my work cut out.
-


 PM
PM


