-
Legacy Member

-
Thank You to jonh172 For This Useful Post:
-
06-21-2017 04:48 PM
# ADS
Friends and Sponsors

-
Advisory Panel


Originally Posted by
jonh172

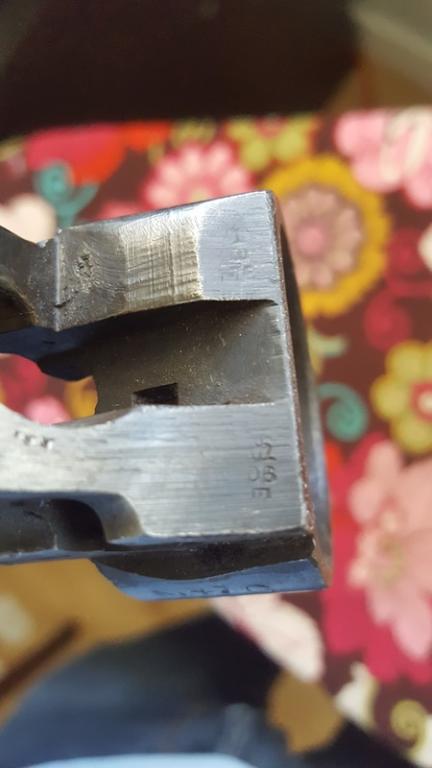
Left side vice marks

Originally Posted by
jonh172

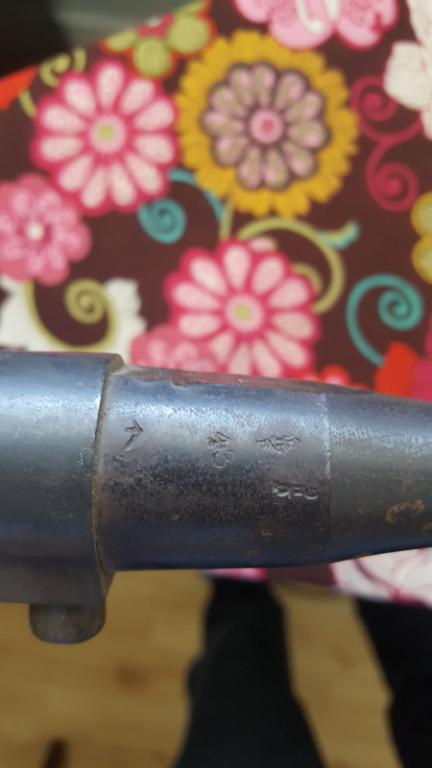
wrench marks?
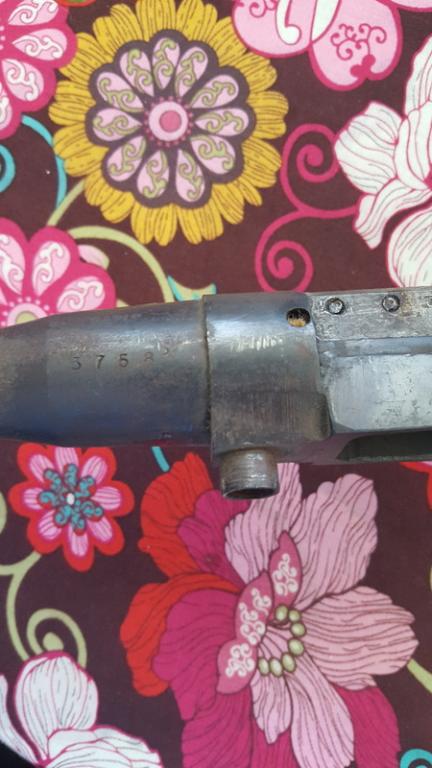
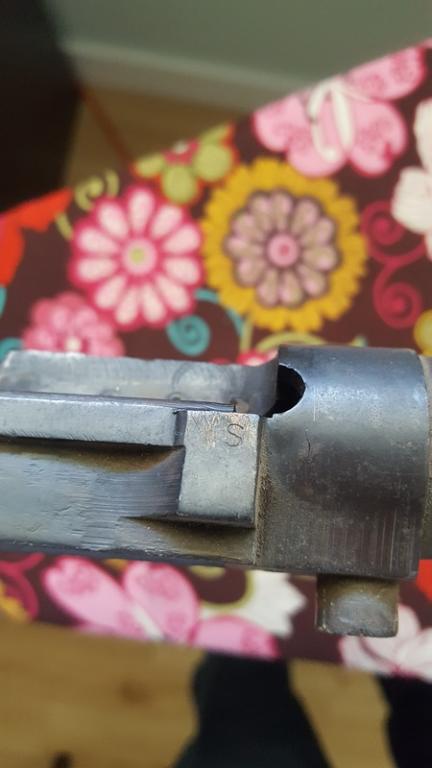
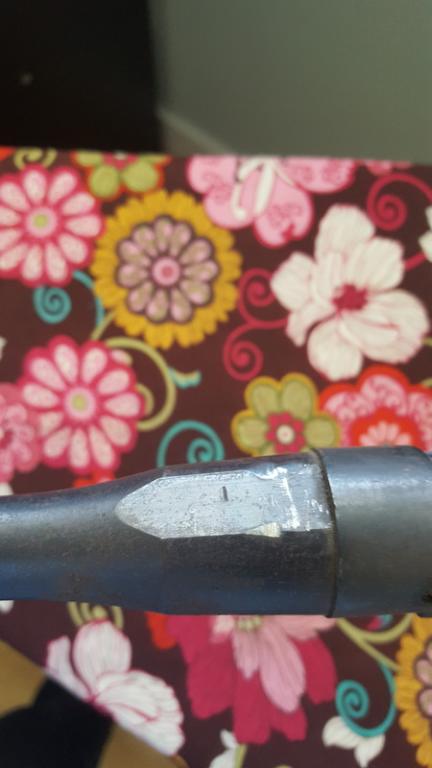
Yep, looks like someone was definitely "Having a go" at that one. No idea how to take a barrel off but going to try it anyway. I know one that used to grab the receiver by the flat bottom and top edge in a vise and use a huge adjustable wrench to grab the barrel. Looks like that here...
-
The Following 2 Members Say Thank You to browningautorifle For This Useful Post:
-
-
Contributing Member


That galling is evident of a bit of applied force, I am looking forward to seeing a Phoenix rise from the ashes and the rifle coming back to its former glory good luck to you sir.
-
-
Legacy Member


Originally Posted by
CINDERS

That galling is evident of a bit of applied force, I am looking forward to seeing a Phoenix rise from the ashes and the rifle coming back to its former glory good luck to you sir.
My luck jar must be bone dry by now for not only finding the action but also someone offering me a set of real pads to boot!
Hardest part will most likely be getting those old screw studs out, if I can do that without ruining the threads the rest should be fairly straight forward after a little optical collimation.
I've pretty much already sourced all the parts except a cheek riser and full length forend.
-
-
Contributing Member


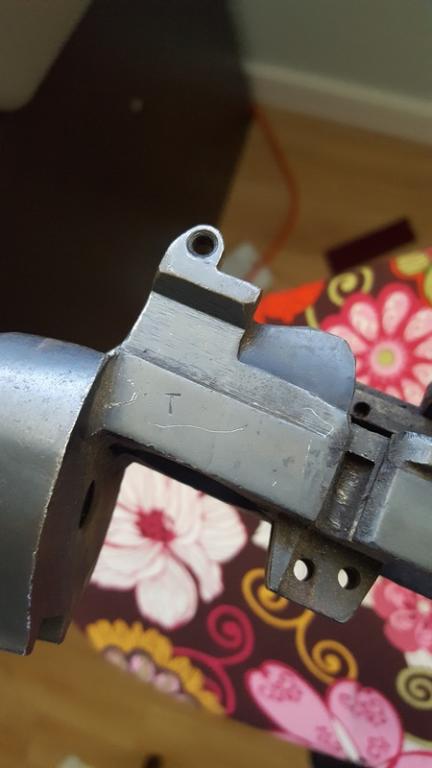
Looks like some one has had a go at the very last one on the rear pad, you may have to gently heat the screws and the area where they go through the receiver as I think they were silver soldered as they were done up to ensure they never came loose. One course of action may be pilot hole them if possible then use an easi-out tool!
-
-
To test for a twisted body we had a BODY PLATE. This was a 3/8 or 1/2" thick steel machined flat plate that had cut-outs of different sizes to cater for the front trigger guard screw and the block for the drawers/sear axis block. This was configured for the No1 rifle on one side and the No4 and 5 rifle on the other side. The plate could be held/clamped in the leather vice jaws. The body is placed on the plate and it should sit flat and not rock left/right or bow front to rear. Nothing too complicated. But the bodies are real basxxxxx to UN twist. We wouldn't bother even trying...... as when they came in to us it was usually for some other reason. I do recall that when a rifle was sentenced ZF for a twisted body it had to go back with the G-1043 paperwork marked in a certain way (forget but will check.......) to the effect that the condemnation was total
-
The Following 4 Members Say Thank You to Peter Laidler For This Useful Post:
-
Legacy Member


Originally Posted by
CINDERS

Looks like some one has had a go at the very last one on the rear pad, you may have to gently heat the screws and the area where they go through the receiver as I think they were silver soldered as they were done up to ensure they never came loose. One course of action may be pilot hole them if possible then use an easi-out tool!
I'm expecting the studs are soldered....
Heat and an easy out is going to be my first method.
---------- Post added at 08:00 AM ---------- Previous post was at 07:59 AM ----------
To test for a twisted body we had a BODY PLATE. This was a 3/8 or 1/2" thick steel machined flat plate that had cut-outs of different sizes to cater for the front trigger guard screw and the block for the drawers/sear axis block. This was configured for the No1 rifle on one side and the No4 and 5 rifle on the other side. The plate could be held/clamped in the leather vice jaws. The body is placed on the plate and it should sit flat and not rock left/right or bow front to rear. Nothing too complicated. But the bodies are real basxxxxx to UN twist. We wouldn't bother even trying...... as when they came in to us it was usually for some other reason. I do recall that when a rifle was sentenced ZF for a twisted body it had to go back with the G-1043 paperwork marked in a certain way (forget but will check.......) to the effect that the condemnation was total
I see.
The old eyeball technique sure won't do.
I have a machinist buddy here and will see if he can fashion something you described.
-
-
The pad screws were only soft soldered in, so you won't have to get it too hot.
-
-
Contributing Member


Roger does silver solder melt at a higher temp than lead or vice versa!
-
-
Advisory Panel


The pad screws were only soft soldered
Yes, that was my understanding.
Silver solder is a different animal. You need real heat to do that, soft solder is just lead and won't take much. Too, after the hole is open you can chase the thread with a tap and not hurt the tap. It just cleans the lead out. Basic guide for solder would be... Tin/lead 60/40:361-374°F.(183-190°C) 50/50:361-421°F.(183-216°C) 63/37:361°F (183°C)Melts and flows at same temp.
Lead free, Tin/silver
96/4: 430°F(221°C) Melts and flows same temp.
-
The Following 4 Members Say Thank You to browningautorifle For This Useful Post:


 PM
PM


