


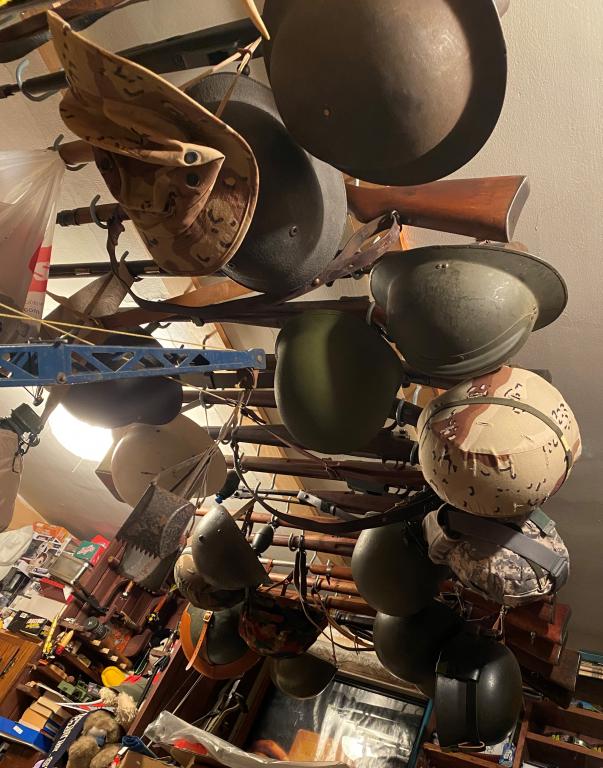
My storage is varied but I more or less gave up on vertical racks a long time ago. Both gun cabinets have been converted to shelf display cabinets. I still have one remaining vertical rack in what used to be a window opening. My remaining non-safe, non-hidden case storage is on bicycle hooks on the ceiling. My walls are taken up by either pictures, deer antlers, football jerseys or bookshelves. I do have a large 14 gun cabinet area that is currently stuffed full of other collectibles.
Advantage of the bicycle hooks is they are out of the way, don't take up any wall space, can be easily accessed and I can hang all sort of other things off of them. Each rifle also has at least one, possibly two helmets hanging off them.
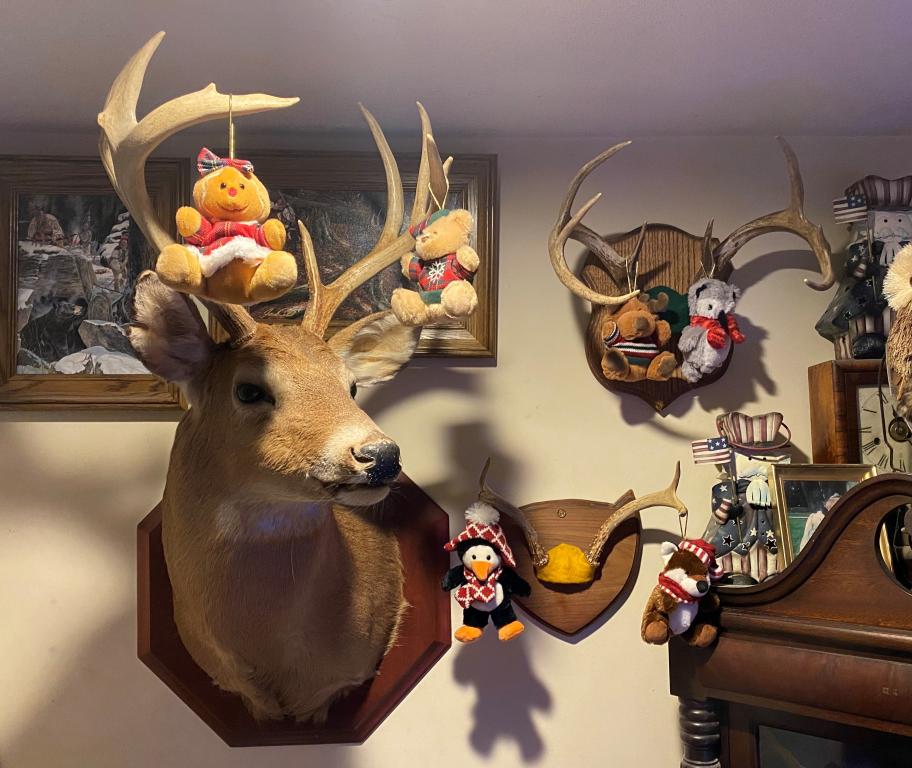
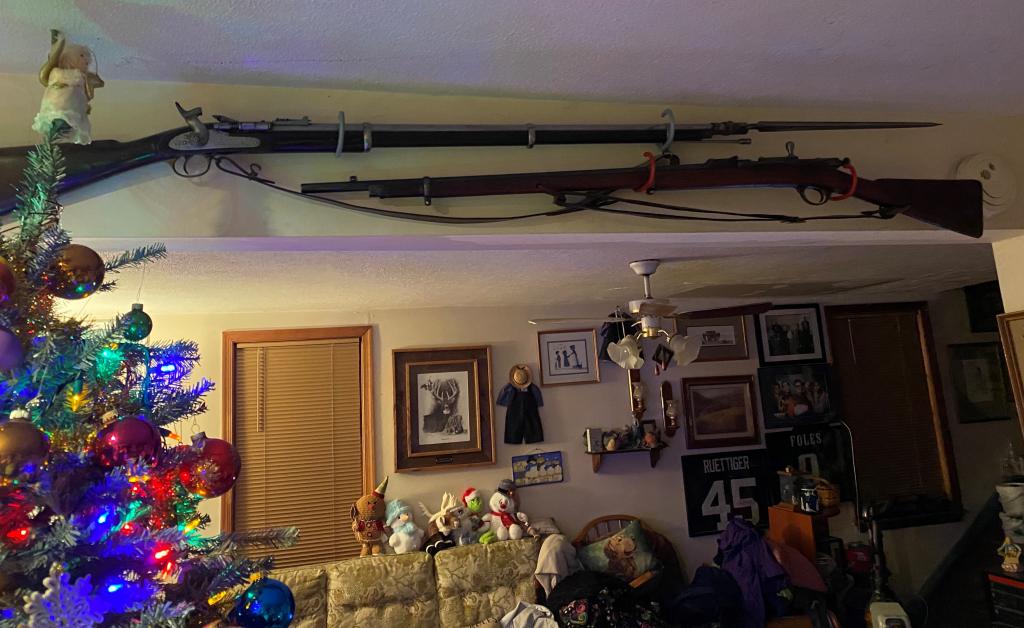
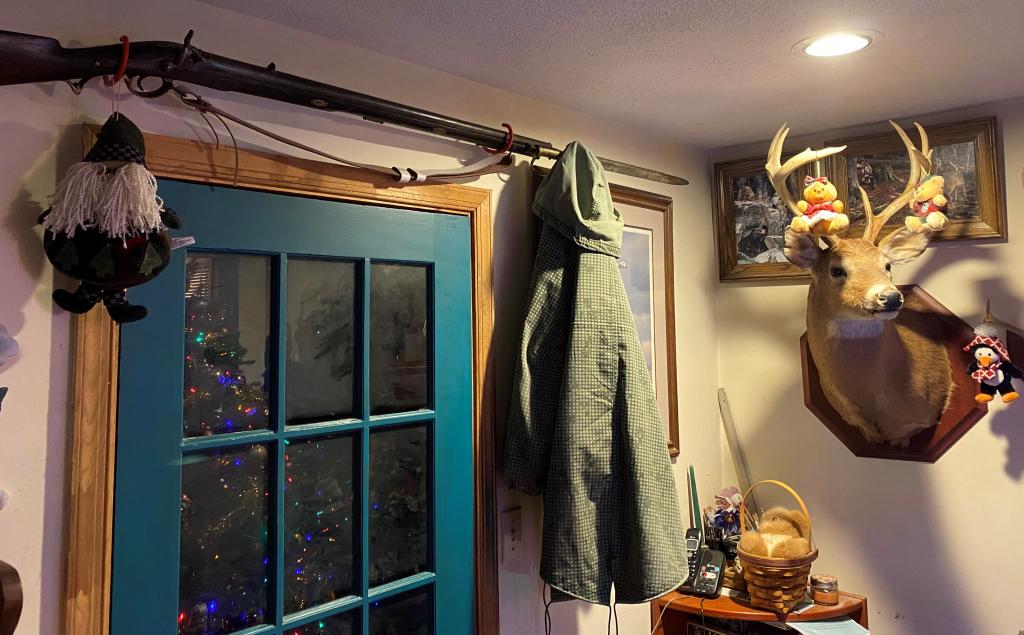
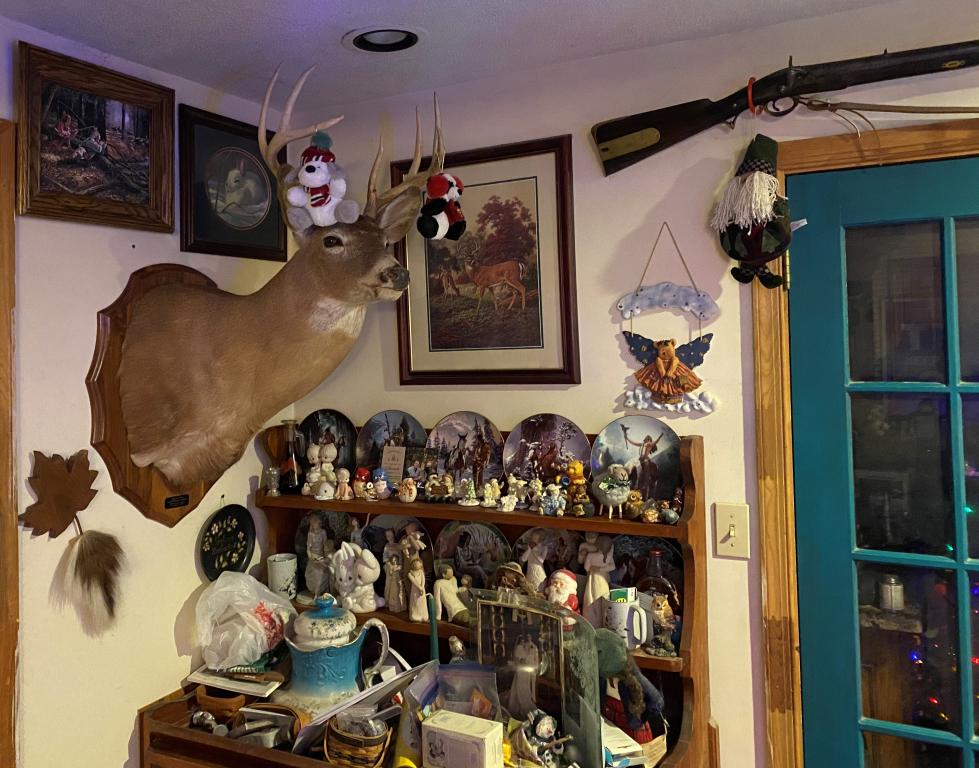
They have also slowly been sneaking into the wife's domain of the living room. There are now three hanging on the walls above openings and two sets of deer antlers mysteriously moved down beside the actual mounted deer in the past couple of weeks.
I'm following the frog in the pot of cool water on the stove theory. Temperature is rising very slowly. She did notice the deer antlers and objected to the first set but that was going there no matter what, it was the most recent set from this year which I think I posted somewhere here. The second set took her three days to notice but it was the very first buck I shot when I was 12 so she couldn't object to that, I was a mere child. Besides, gives her more places to hang Christmas ornaments.
- Knowledge Library

- MKL Entry of the Month
- Australia
- Austro-Hungarian Empire
- Canada
- Czechoslovakia
- Denmark
- Finland
- France/Belgium
- Germany
- Italy
- Japan
- Norway
- Russia
- South America
- Sweden
- Switzerland
- Turkey
- United Kingdom
- United States
- Yugoslavia
- Is my rifle authentic or a fake?
- Jay Currah's Lee Enfield Web Site
- On-line Service Records (Canada)
- Technical Articles/Research
- Forum
- Classifieds
- What's New?
-
Photo Gallery
- Photo Gallery Options
- Photo Gallery Home
- Search Photo Gallery List
-
Photo Gallery Search
- Video Club
- iTrader

 PM
PM